
A sketch for the design was approved. Fabrics were selected and the word was started.
As always a paper pattern was made. The outside is the main shape of the box and if you look closely you can see the marks for the parts to be cut out.

The image is traced on the 1/2" ply board for the main cornice box.

The sides are cut and attached to the front piece with wood glue and drywall screws.

The 1/4" ply board front should be cut using the 1/2" front already cut. This could help eliminate variations between the two and make for a better fit. The picture above shows the 1/4" ply board after the design cuts are made. Cutting the shapes out of the paper pattern would have made it less accurate. Instead a punch was used to mark the ends and corners of each shape and a a straight edge was used to join the marks together.
In decorating this home office it was decided to pick up the keystone element found in the wall of bookcases.

Here you see the end pieces of the 1/4" ply board are cut and fit on the ends.

Next the 1/4" pieces were temporarily screwed to the main cornice box. Edges were sanded to assure a good alignment.

After the sanding is done the pieces are disassembled and and clearly marked so the can be returned to the right spot after painting,

The outer sides of all 1/4" ply board are primed with an oil based primer.

Because I am going to use a crackle paint, red is applied to be the color that shows through.

The crackle medium is brushed on and allowed to dry. The pieces are again temporarily assembled and the top coat of paint is applied over the crackle medium.

Cornice after crackle painted.
Once again the pieces are disassembled lacquered and stained if you like .When the stain is dry
two more coats of lacquer applied. A top board was attached with enough overhang to accommodate planned moldings.

The area of the fabric inset was marked. Polyester batting was attached inside the marked area.
The fabric is aligned and stapled in place. It is important that the padding not go beyond the cut out so as not to cause a gap between the cornice box and the outer 1/4" pieces.
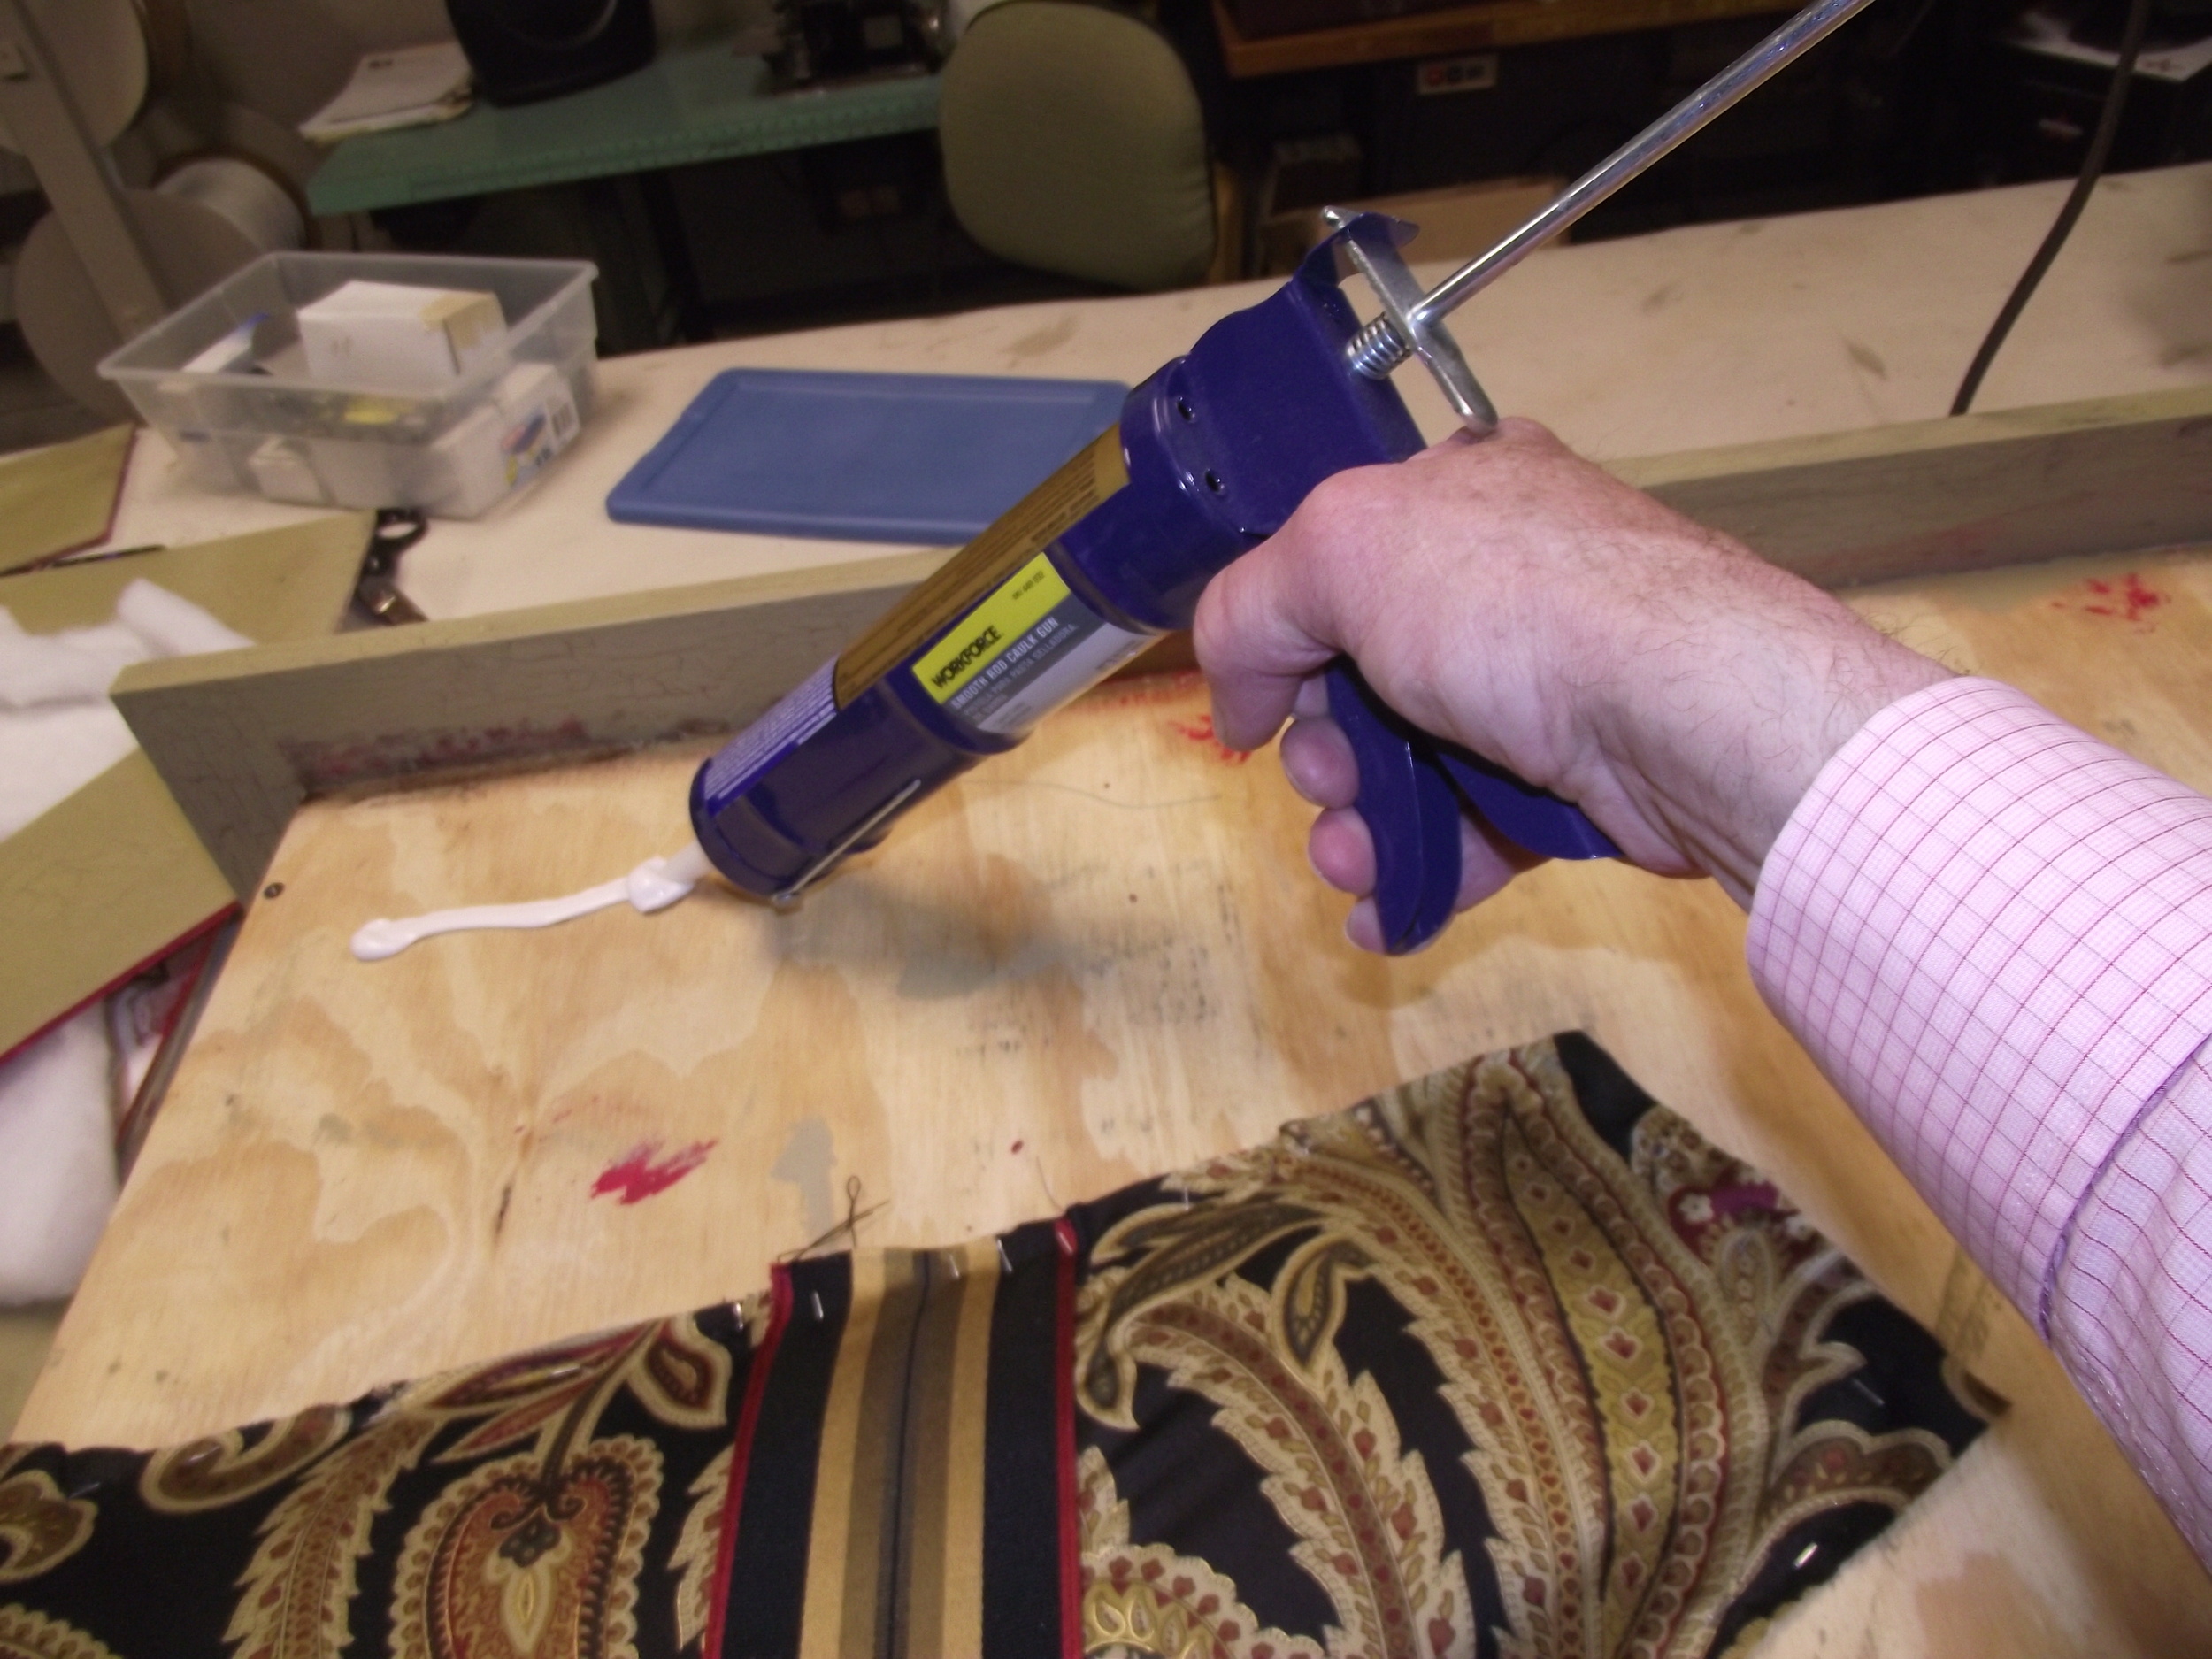
Construction adhesive is used to attach the painted pieces to the cornice box. The pieces are screwed into place and edges clamped to ensure a tight fit. When the adhesiveis dry the screws are removed for the last time. The holes are filled and touched up.

The molding under the top board is added along with the keystone and the gold leafed sash bead.
Done
I hope you found this useful. Check out my other How to blogs.
Bill Gantt