In the past I have shaped the mounting board on valances to add interest by bringing the center of the valance out further into the room. This time I decided to design a narrow flat cornice that came out into the room in the center.
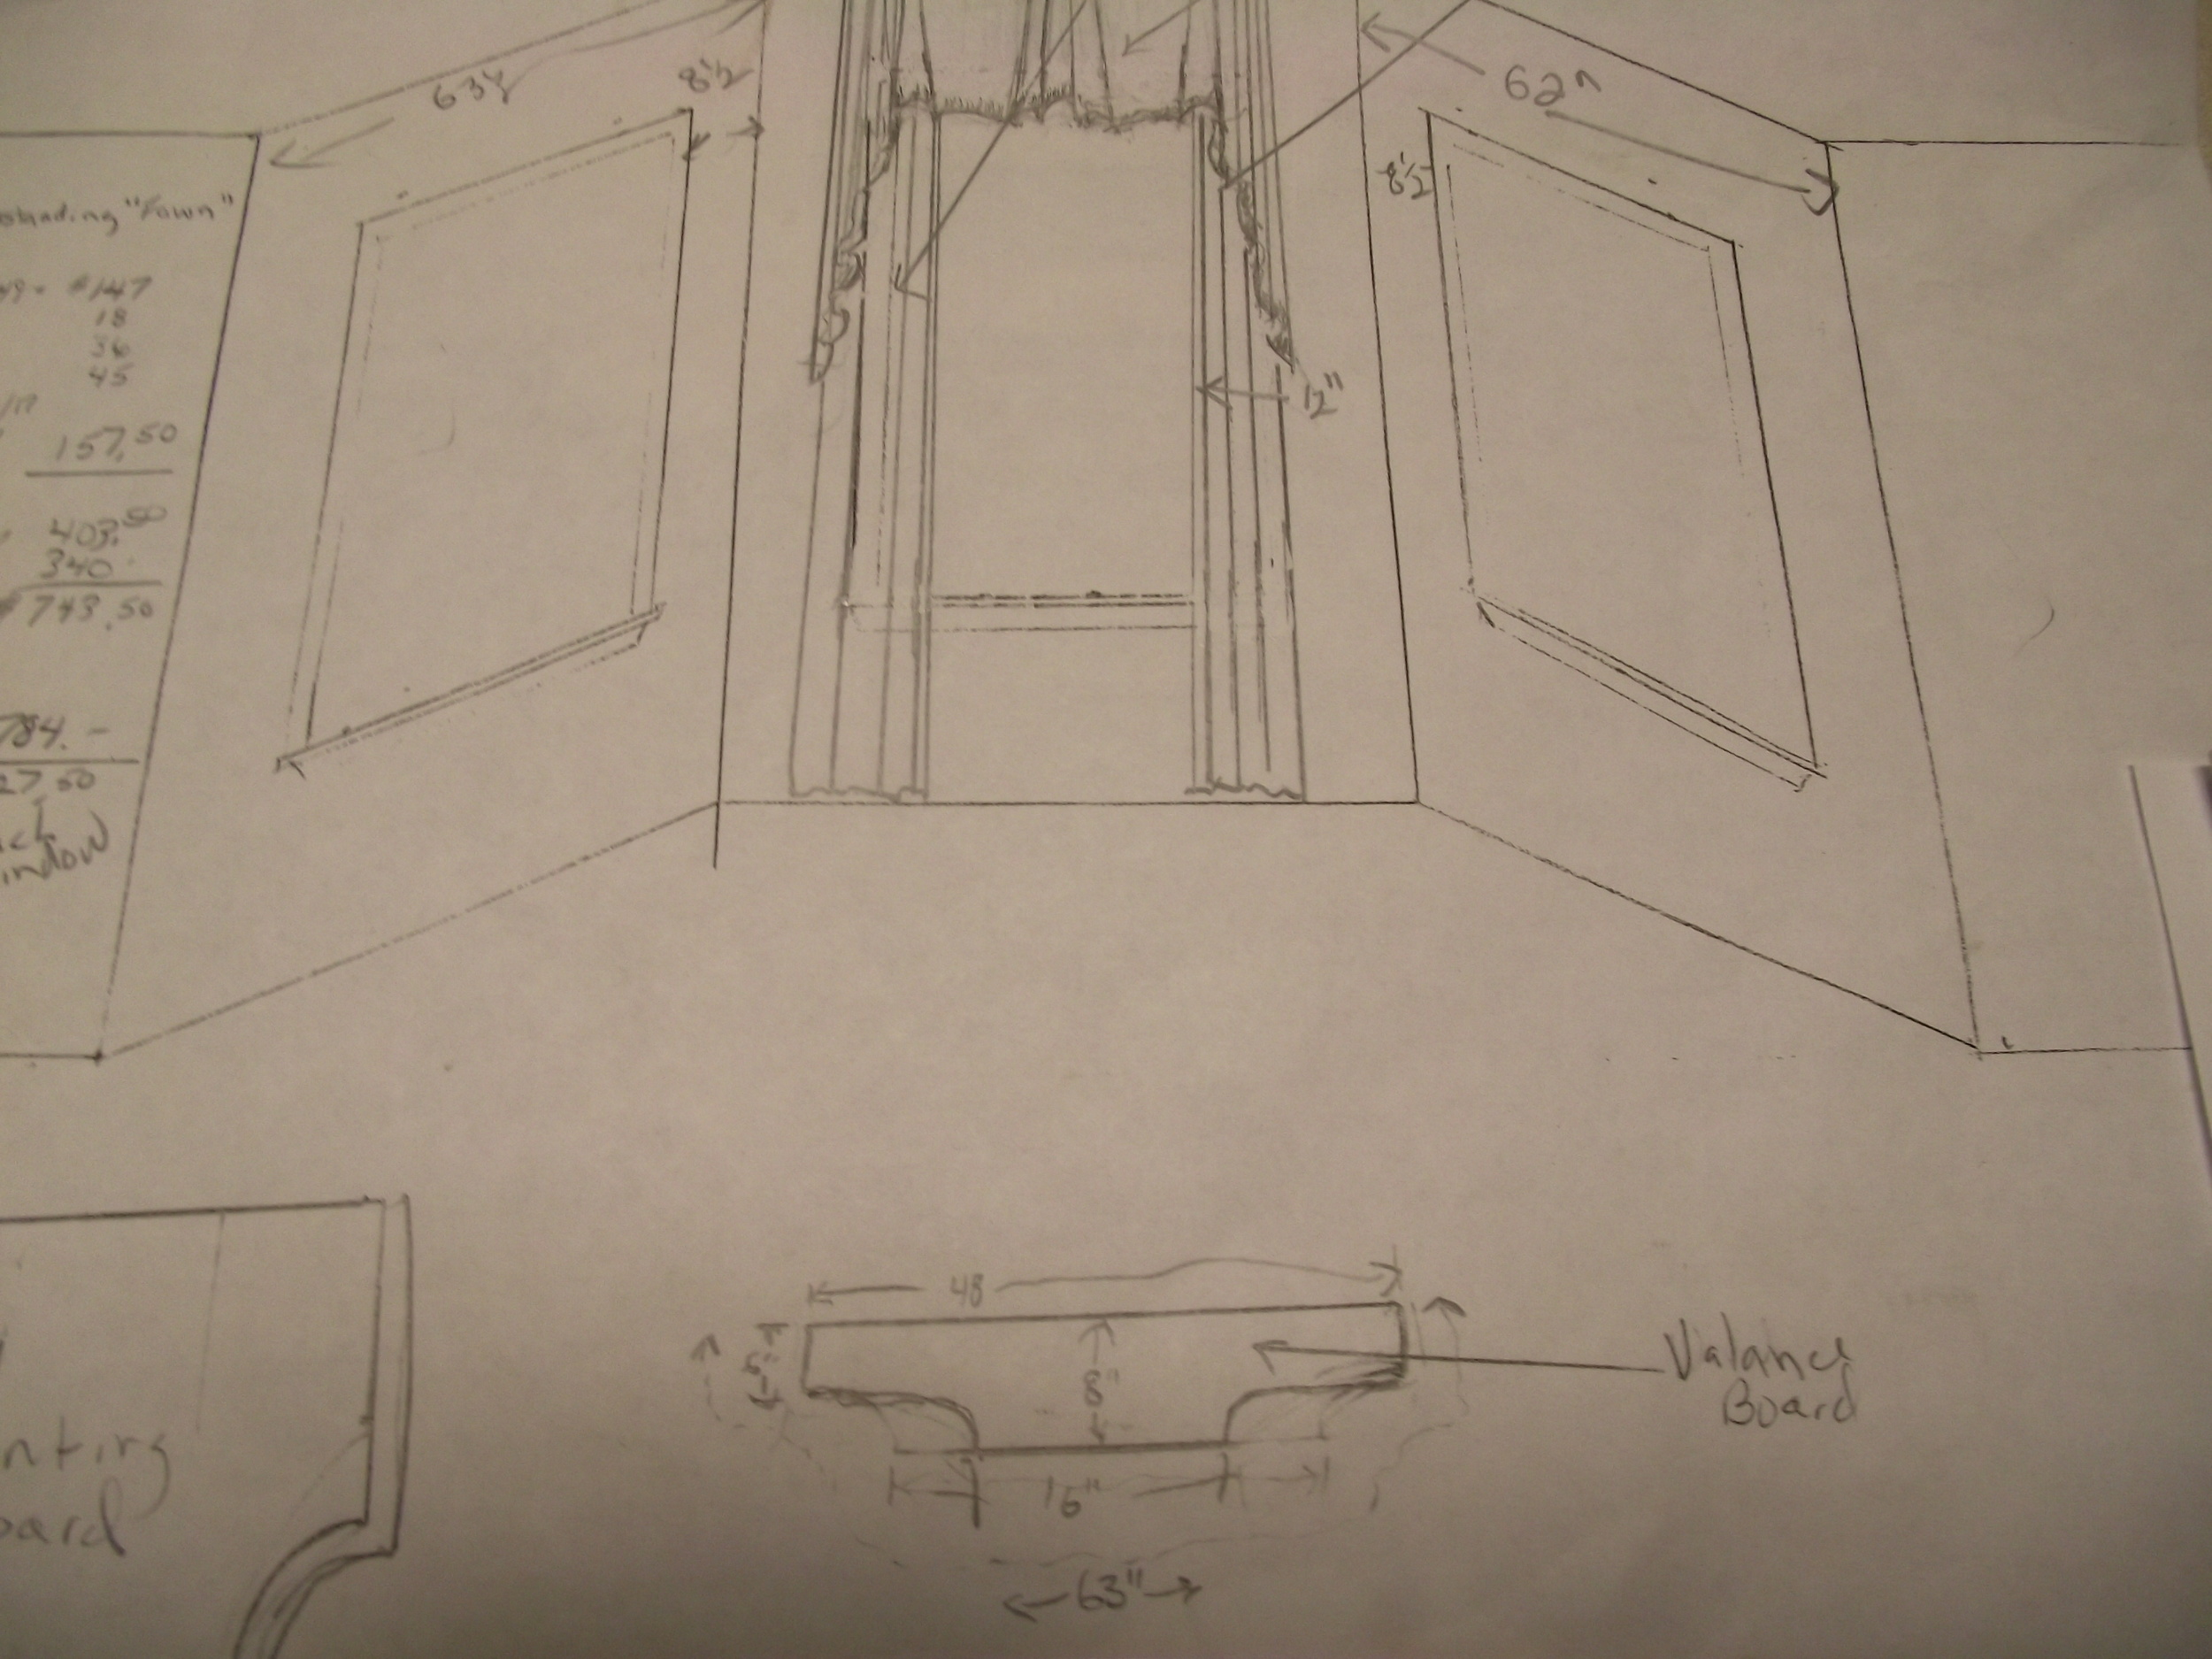
Measurements were taken and sketches done. The plan was approved and work began.

As always a paper pattern was made, folded double and cut so that both sides were the same.

The pattern for the valence board was traced onto 1/2" ply board and cut out. It was then necessary to make a second board the same shape but about 3" deeper and 3" wider. I used the valence board to draw this onto another piece of ply board. The larger piece will become the top of the cornice board.
For each cornice board made you need to trace the shape of the second piece again on ply board and draw a line 1" in from the outside edge. This will become the bottom of the cornice.
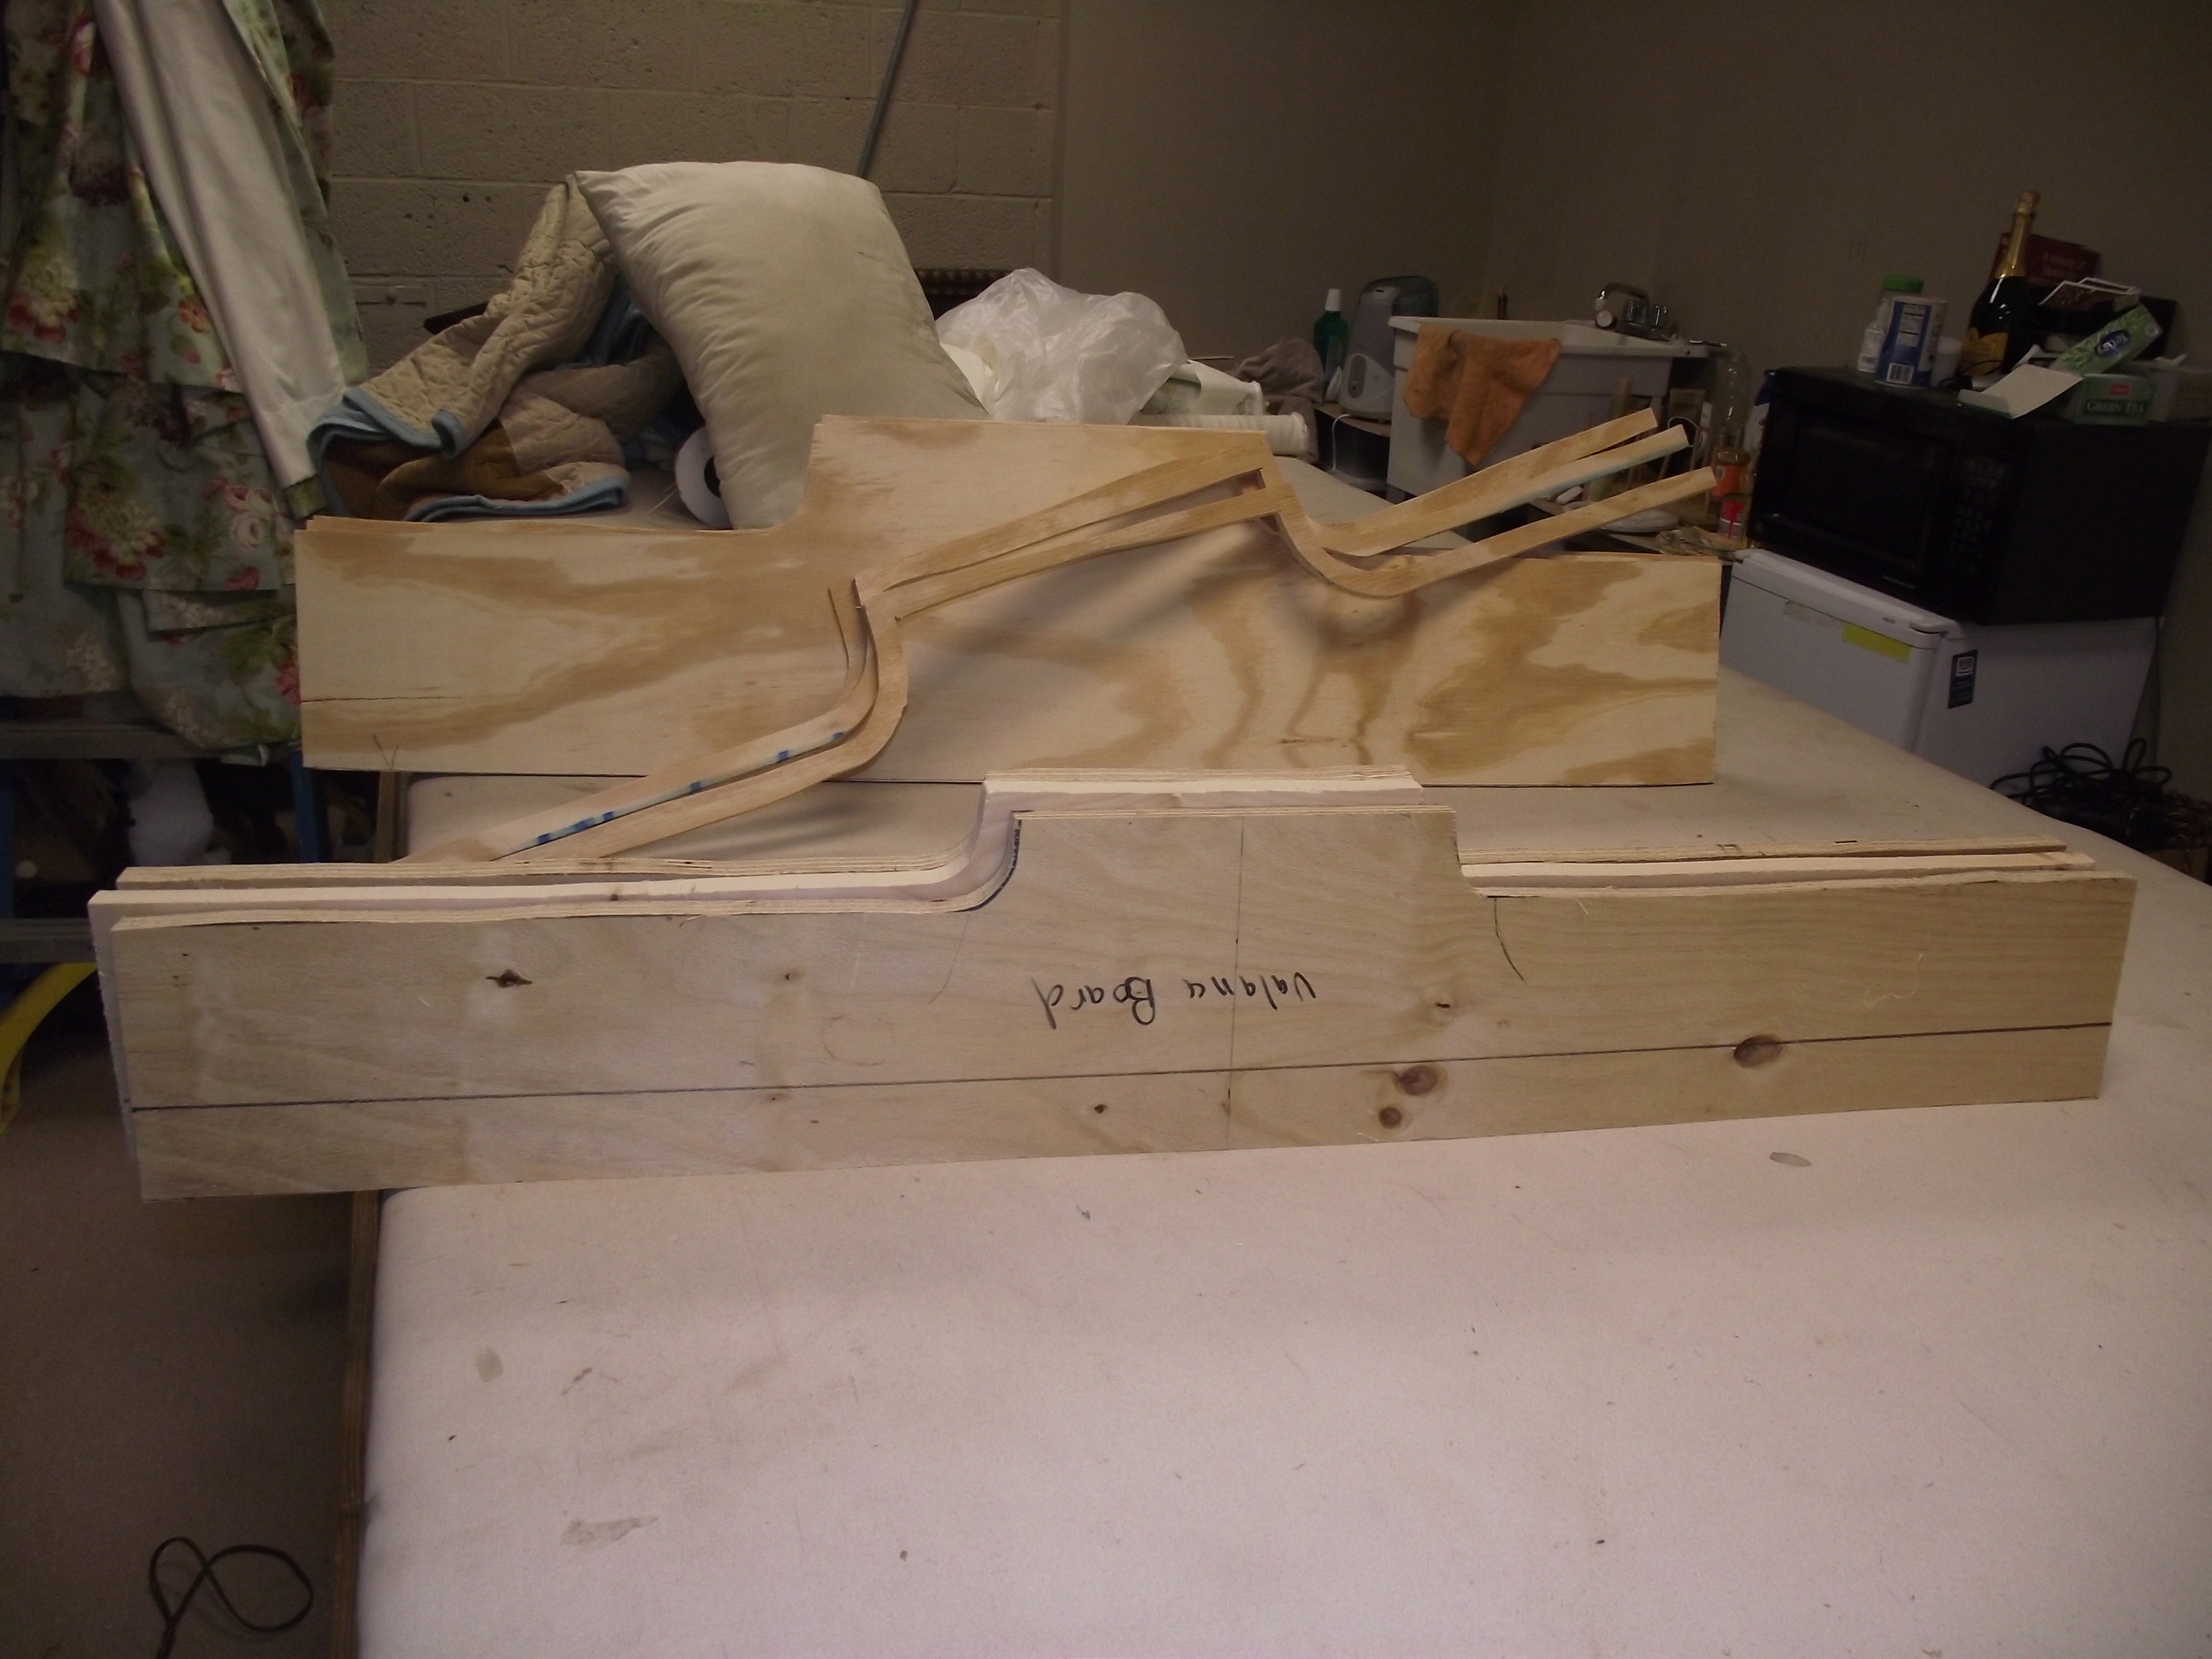
In the picture you can see the top of the cornice board, the mounting board for the valance which must fit into the box and the 1" shaped ply board that will become the bottom of the cornice board.

Ply board pieces are cut to be the height of the cornice less the thickness of the top and bottom piece. They are cut for the flat part areas only and are glued and screwed into place between the top and bottom pieces.

Assembled cornice board frame

Since the bottom edge of the cornice board will show it is covered with a coordinating fabric.
Material is cut from the corners of the bendable molding to allow close to a 45 degree angle on corners. Care is taken not to cut all the way through the molding.
The cornice was designed to be faced with a detailed molding that looks carved but is actually a"bendable " molding. I elected to attach the molding with staples. I tried to staple where the marks would not be very noticeable.

Bendable molding being attached to cornice frame. Notice the 45 degree corner.

Here you see the moldings are attached to they frames and painting is begun. Because they are to pick up the tones of the dark furniture in they are first painted a terracotta color.

Now the molding is painted out in detail, picking up the colors in the draperies. It was so pretty with the terracotta it was a shame to have to stain it.

The valance is now pleated and stapled to the shaped mounting board which will fit into the shaped cornice and be screwed into the top of the cornice board.

Done!!
I hope you found this useful and enjoyable. Please let me know what you think and check out my other bolgs at ganttsdecorating.com
Bill Gantt