
To build and cover a round top ottoman you will need the following tools and supplies:
5/8" ply board
drill
saber saw
wood glue
miter saw
1 1/2" drywall screws
thumb tack, pencil, string
staple gun with 3/8" staples
furniture webbing
4" medium density foam
furniture batting
3/8" welt cord
fabric, lining and heavy flannel or canvas
1 X4 oak or poplar for corner braces
Determine the height you want the ottoman to be. After deciding on the finish height subtract a little less than the foam thickness ( in this case 4' foam but subtract 3"). This is the height the frame must be built.

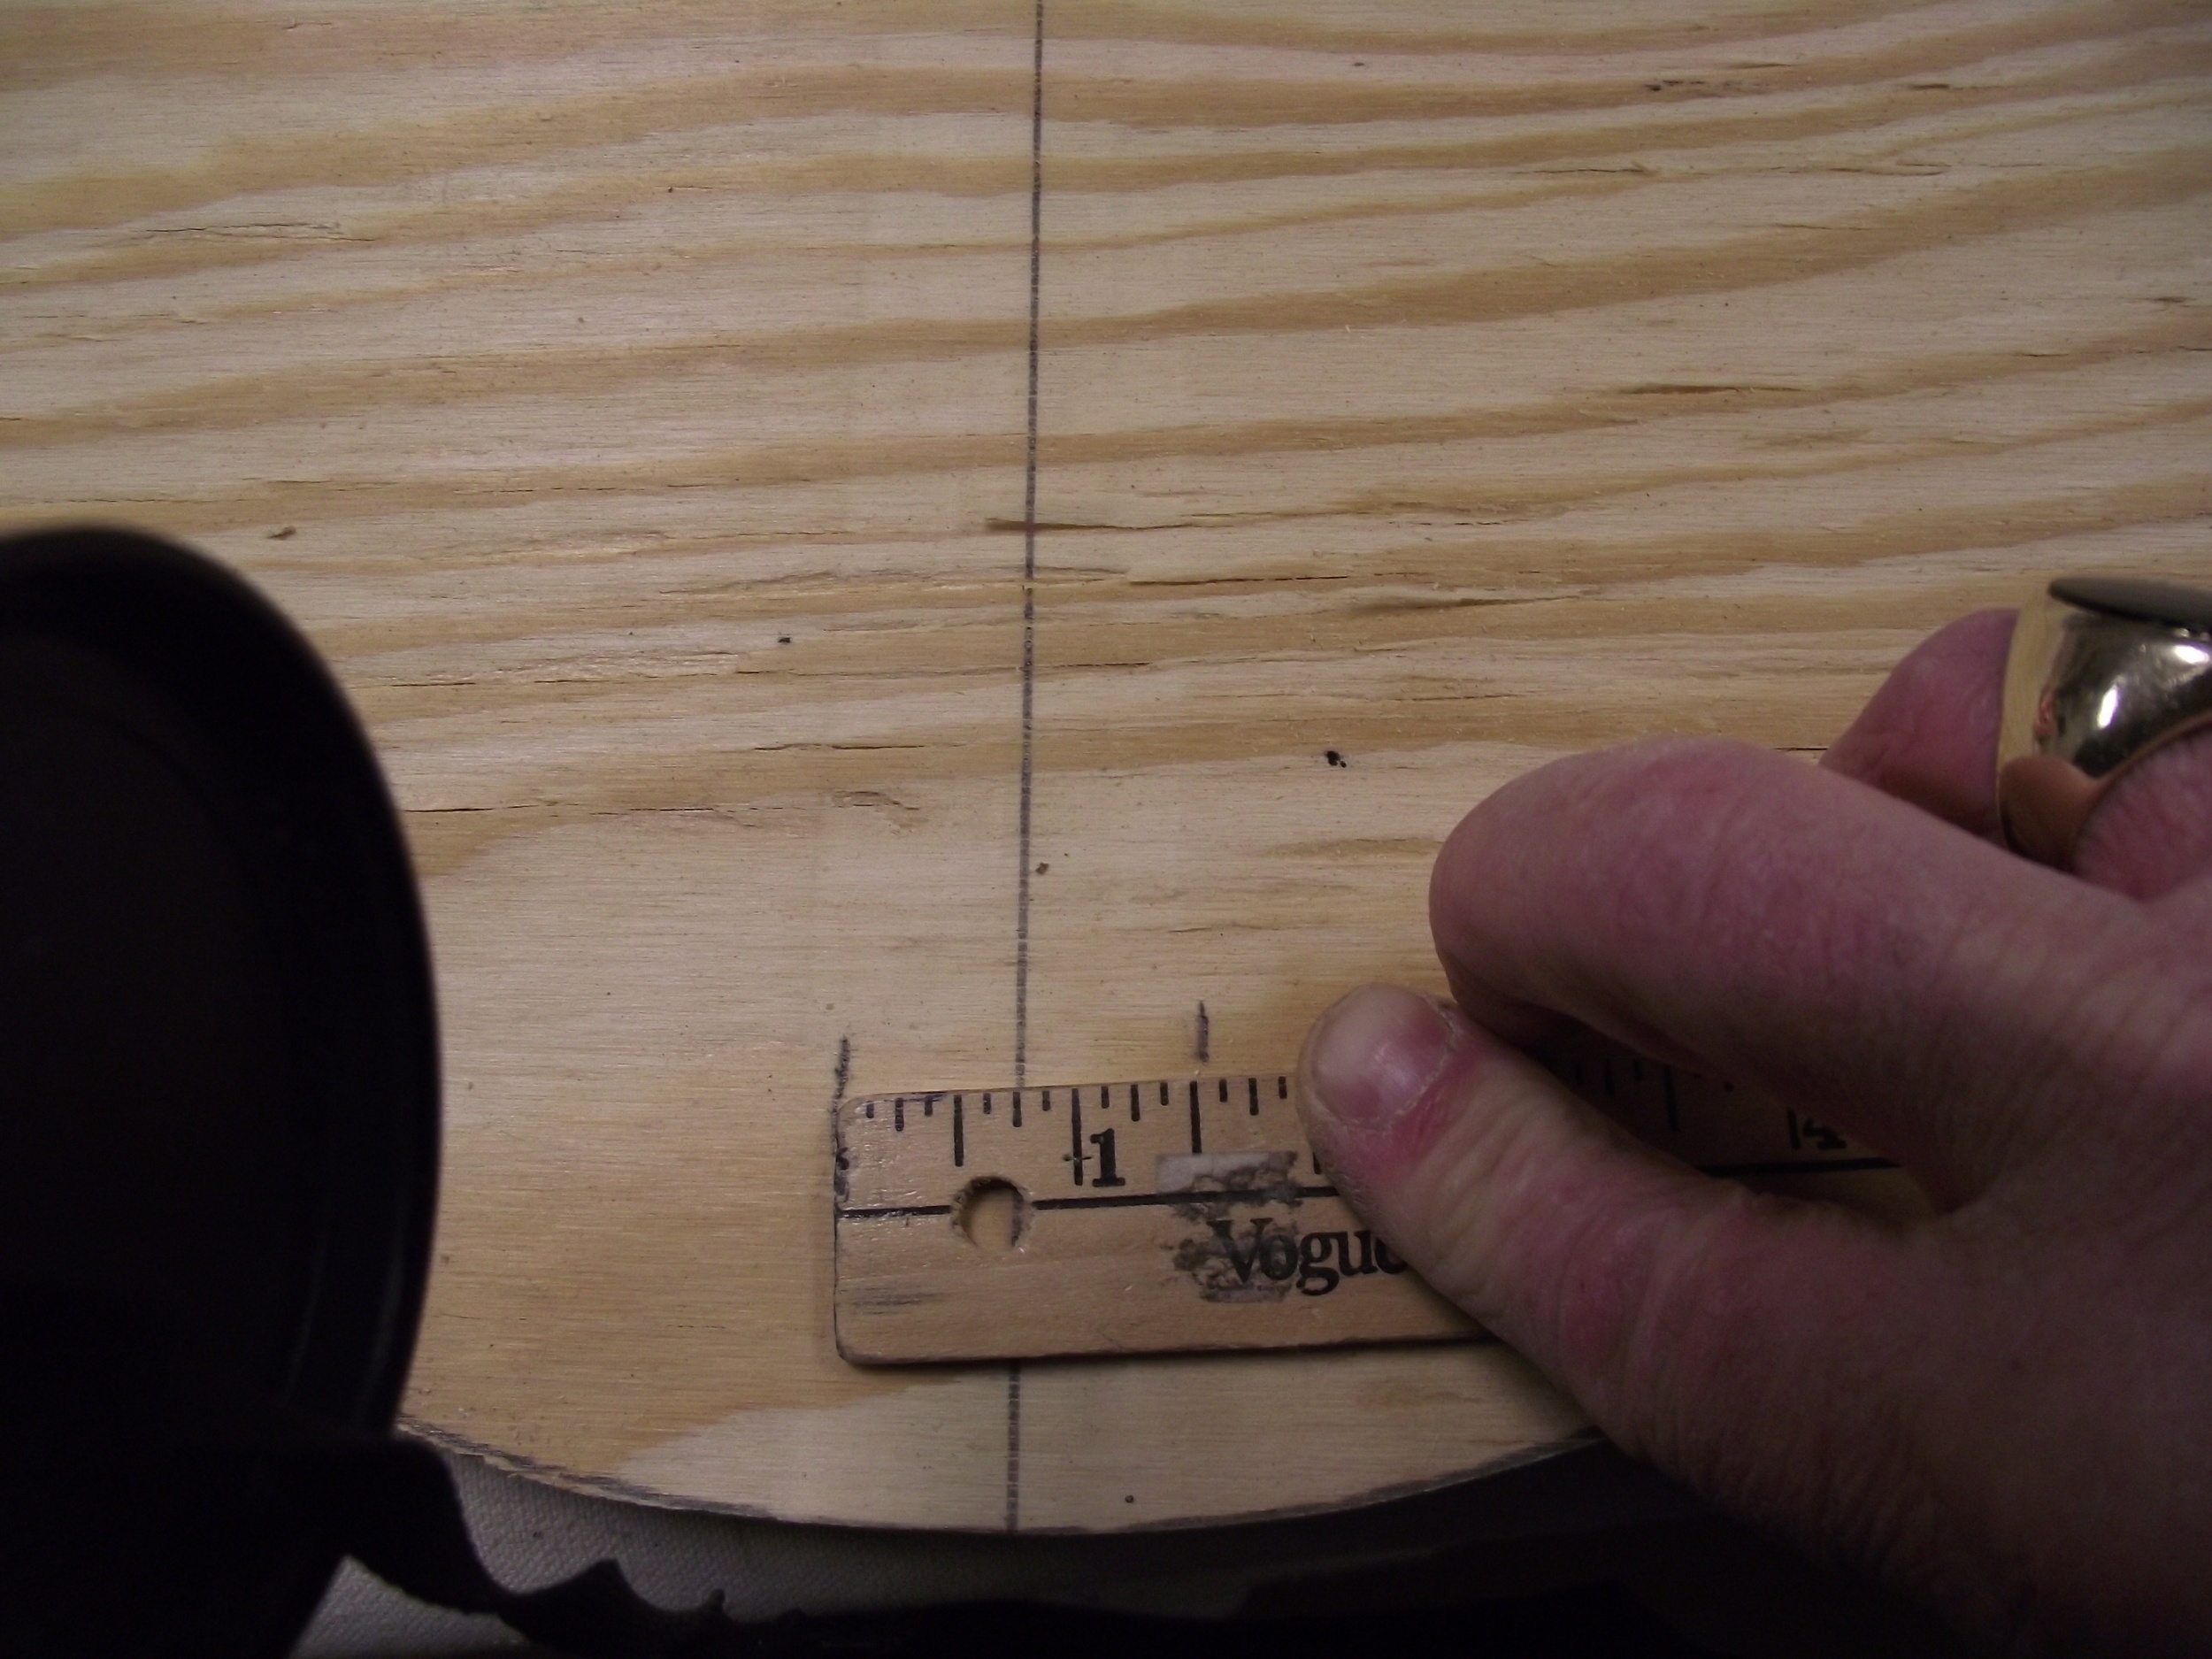
Now decide how large you want the ottoman to be. Divide the width in half. This gives you the circles radius. Tie a knot on the string. Push the thumb tack through the know where the center of your circle will be on the ply board. Measure the string from the thumbtack to the radius length and put a knot at that point. Put the pencil point through the knot. Keeping the string taunt on the tack and holding the pencil straight up draw the outline of the ottoman top piece on the ply board. Now tie another knot in the string 3" closer to the center. Draw another circle.
Take out the second knot and using the first knot and thumbtack draw a second separate circle for the bottom of the ottoman.

Using a saber saw carefully follow the pencil lines you made and cut out top and bottom circles.
Now using the drill drill a hole in the top piece circle large enough to let the blade of the saber saw pass through. Drill the hole nest to the inside circle on the side you are cutting out. Cut out the inner circle.
Using a framing square with the outside corner placed next to where the thumb tack held the string, draw a 45 degree angle on the circle. Using a straight edge complete the lines of the angle. This will divide the circle into 4 equal parts.
Using the lines on the bottom full circle as guides mark the same places on the top part circle.
Now mark 1 1/2" width centered on the line. Next mark 1 1/2" from the outside edge toward the center of the circle. If you like you can check it for squareness by holding the leg stock on top of your marks and trace the actual edge of the stock. Repeat the process on the other three sides.
To make cutting easier drill a hole at each inside corner on the squares. This will allow you to turn the saw in each corner. Be sure to come back after the wood is out of the way and "square up" the inside corners where the hole was drilled.
Place this circle on top of the top circle and use it as a template to mark the top circle.
Cut the four pieces of leg stock the frame height less 5/8" (thickness of the top piece).
Determine how long you want the legs on the finished ottoman to be. Usually a minimum of 1 1/2" and mark that on each leg.
Using the miter saw cut 8 hardwood corner braces. They should look like the ones at the left side top of the first picture. It is important to emphasize here that the braces must be either oak or poplar. Soft wood (pine) will not make a reliable solid frame.


On this project I drilled and glued the corner braces to the bottom piece first and then attached the legs on to the braces. In hindsight it might have been easier to attach the braces at the height marks on the legs first and then attached the legs to the bottom piece. Either way will work. Always pre drill the hardwood holes the same diameter as the drywall screws you are using. This allows the screw to achieve maximum tightness. It also prevents the oak from splitting. In almost every case if you do not predrill the oak will split. A split corner brace must be replaced

After the legs are glued and screwed to the bottom piece it is time to attach the corner braces to the top of each leg piece. 45 degree corner braces not only strengthen the frame they also assure that the legs will be squarely attached. Another reason to use corner braces to attach pieces together is that a screw screwed into end grain will not hold. Screws need to go through "side" grains to hold.

Attach these braces to the side of the legs so that they do not interfere with the open part of the top circle. (Look closely and you can see that I learned side not center on this project.) If the outermost corner of the braces protrude beyond the top circle piece mark and cut the tip off with your saber saw. Position the top circle predrill for the screws. Glue and screw through the top circle piece into the corner brace. If you had screwed into the "end grain" of the leg stock and not the corner brace, the top would have not been soundly secured.

Now it is time to web the frame.

Using standard jute furniture webbing, start on the top. Staple the end with 5/8" staples. If the staples do not go in completely hammer them the rest of the way in. With the webbing still attached to the roll, pull it tightly to the opposite side and attach with several staples. Now cut the webbing and repeat the process. When the top is done as shown, web the sides.

Now measure top to bottom, add 3" and cut canvas or heavy flannel. Cut it long enough to wrap entirely around the center. Start on one leg and staple the end of the strip top to bottom keeping the fabric taunt and staples about 1/2" apart. Position the starting piece so the excess fabric is on the top. Pull the fabric tight as you staple to the next leg. At the third leg stop and leave the last quarter circle open. Go back now and staple the fabric to the bottom piece and pulling it tight staple to the top piece. Leave the last quarter unstapled for now.

Make a new paper circle pattern with a diameter 2" more than the wooden top piece. Using this new pattern mark a circle on a piece of medium density 4" foam. Using an electric carving knife carefully cut out the foam circle.

Place the foam piece on top of the frame. Using a tape measure, start at the top of the frame measure up across the foam, down to the top frame piece on the other side. Add four inches to this measurement, divide it in half and using string and pencil draw a circle outline on a piece of lining material. If you decide to use a solid piece of fabric use this pattern to cut it. If you plan to use multiple colors or just to seam pieces of the same fabric together for a better effect; fold the pattern in half and press in a crease. for four pieces fold the pattern in half again and press another crease. For eight pieces fold again and press again. If you plan to use multiple colors now it the time to lay out and mark where the colors will be places on the pattern. Cut one triangle from the pattern. Use this pattern to cut each triangle. Sew the triangles together starting at the widest part and sewing to the point. Use 1/2" seams .

I covered a piece of shade cord to make a small red welt between each triangle. When all pieces are sewn together your top should look similar to mine.


No round ottoman is complete without a button in the center. You can use large ready made snap together models like shown or you can draw a circle on 1/4" ply board and make your own. If you elect to make your own button be sure to drill two holes in it. Cut a piece of heavy cord and pull it through the holes so that the center is on top. Knot the cords tight on the under side. This must be done before starting to cover the button. Cut a circle of fabric a few inches larger than the form. Pad the top with a circle of polyester batting., Sew the fabric by hand to cover the form.
Attach the round top. Staple on alternating sides keeping it centered as you go. It is also important to keep the tension equal as you staple it to the top circle piece.
Now it is time to attach the button. Use scrap fabric about 6" wide and roll it up to about thickness of a pencil.
With both ends of the button cord through the head of a large needle, push the needle into the center of the top. Push hard until it penetrates the center of the top webbing. Access the needle inside by reaching in the 1/4th of the side left open. Take the needle off the cords. Put the fabric roll between the cords, pull tight and tie a secure knot over the fabric wad. This keeps the button cord from pulling back through the webbing and becoming loose. If you pulled hard enough on the cord before knotting The center of the top should be a few inches lower than the outside edges.
Now finish stapling the 1/4th side closed.

At this point cut a piece of heavy polyester furniture batting. Cut a strip long enough to wrap the side of the ottoman and as wide as the frame is tall. Spot tack the batting in place.
At this point you can elect to cover the bottom with one piece of fabric, paint the legs and finish the bottom with a cord. You could also match the seams of the top cut fabric for the sides sew them together and attach. My preference was to cover the bottom in a solid and matching the colors and seams skirt it.
Make a welt cord. Put the ottoman on a hard flat surface. Determine where the welt will be stapled on the top piece. Use a yard stick on the flat surface to measure where to staple the cord as you work your way around the ottoman.
If you plan to add a skirt, you can simply staple the fabric close to the welt face out .
If you plan not to add a skirt, you must lay the fabric face down on the top staple it on top of the welt cord selvage. Then staple a 1/4" cardboard furniture strip snug against the welt. then pull the fabric down and under the frame and staple. finish the bottom off with another welt cord.
For my ottoman I covered the bottom with a solid piece of fabric. Then cut square pieces 1" wider than the top edge pieces and the length from the bottom of the welt to the floor. The same size pieces of lining were cut, sewn together face to face and turned. Each piece was aligned with the face down to the top and stapled in place. When all the pieces were attached a 1/4" piece of furniture stripping was stapled on and the skirt was turned down over the side and steamed in place.
Done!!

I hope you found this useful
Bill Gantt