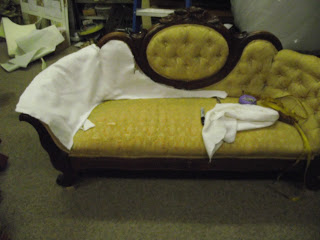
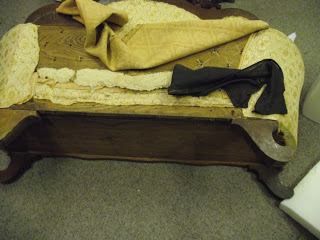
Not long ago I came into possession of a mahogany Victorian sofa. It had been recovered I was told, in the 50's .
The quality of the job was not very good. The buttons were uneven and much of the sofa was very hard to the touch. It sat extremely low to the floor, to the point I, at first considered trying to figure a way to make the legs longer.
The first step before stripping was to make a pattern out of lining for cutting foam and covering fabric.
 |
| Out of an abundance of caution, foam was cut before the stripping was started |
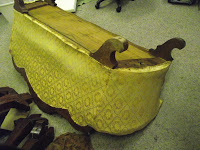
I turned it upside down and began pulling tacks. In stripping a sofa, simply reverse the procedure of covering one. There being no cambrige on the bottom, I took off the parts that usually go on last - the outside back and outside arms With those off I gained access to the nails holding the inside arms, back and seat cover on.
 |
Fabric coming off back of sofa |
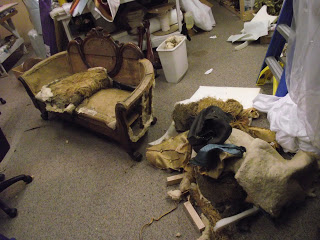 |
| 150 years of allergens released as frame comes to the surface. Old cotton batting and straw on the right. |
When those began to come off I was exposed to every allergen known to man. At least it seemed that way.
The person who recovered it in the 50's apparently left all the original stuffing in it.
Once that was in the trash and I was able to breath through irritated sinuses, I was ready to work on the springs.
 |
| Springs tightened and retied |
Rather than remove the ties that were on the springs, I tightened the springs and then following the old cord that was still there, completely retied the whole seat. I have learned that the closer you tie the top coils to each other the firmer the seat is. Sitting on just the springs I could tell it was going to sit much higher.
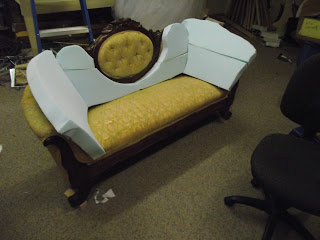
New fabric was put on the inside arms, back, outside back and springs.
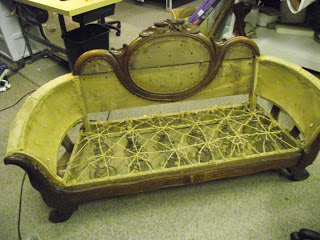 |
| Frame with newly tied springs |
Rather than stain the mahogany dark again I applied a sanding sealer and 3 coats of brush on lacquer.
Since pleating and tufting was to complicated for me, I decided to only tuft.
INTERIOR DECORATOR INTERIOR DESIGNER3" medium density foam cut early in the process was used on the back and arms. The lining patterns I made were used on the back and chenille fabric cut larger than the pattern was used on the front.
The lining pattern was marked for buttons in a diamond pattern, alternating rows 3" apart.
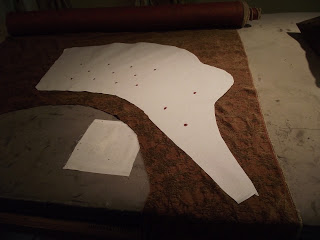 |
| Pattern laid out on chenille |
The back and arms were tufted before they were attached. Eight or nine inches of upholstery cord was left on the buttons. After the tufted arms and back were attached some but not all strings were pulled through and tied again to pull the back and arms into shape.
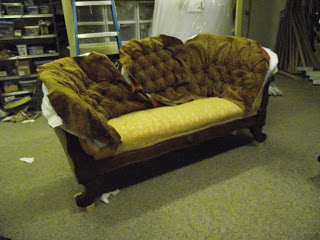 |
| Button tufted pieces in place before being attached |
A 6" piece of medium density foam was used in the seat. Heavy flannel was used to pull it into shape.
All the parts of the sofa to be recovered was now covered with polyester furniture batting.
The outside back and arms were covered with chenille. The excess fabric was removed with a razor blade.
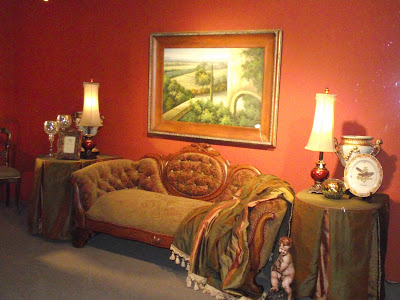
The sofa was completed by gluing a decorative cord around the edges. I decided against throw pillows since the new rounded arms were comfortable and to not cover my tufting work. Instead I selected dupioni silk in complimentary colors, made a stripe patterned fringed throw.
 |
| Complete and in the Show Window |
Please tell your friends about my blog and let me know what you think of it.
Bill Gantt