 |
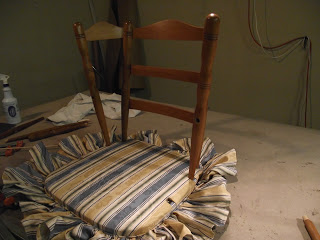
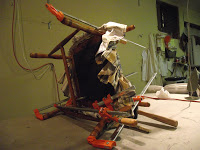
| Partially assembled chair |
When your old wooden furniture begins to creak and sway, it is time to re-glue it. Do not try temporary fixes. Do not put finish nails into joints-they won't hold and make a proper repair harder.
Do not try to force some glue into a loose joint-it won't hurt but it also won't hold.
It's a little scary the first time, mainly because you are afraid you might break something or be unable to put it back together again. If reassembly is a big concern, you can take several pictures before you knock it apart.
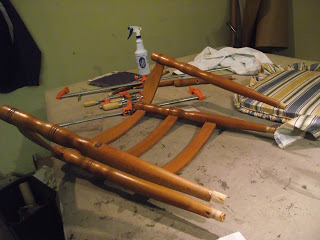
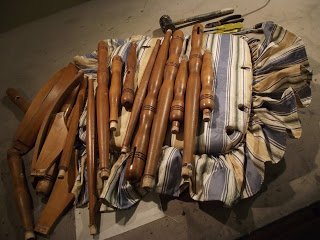 |
| Disassembled chair |
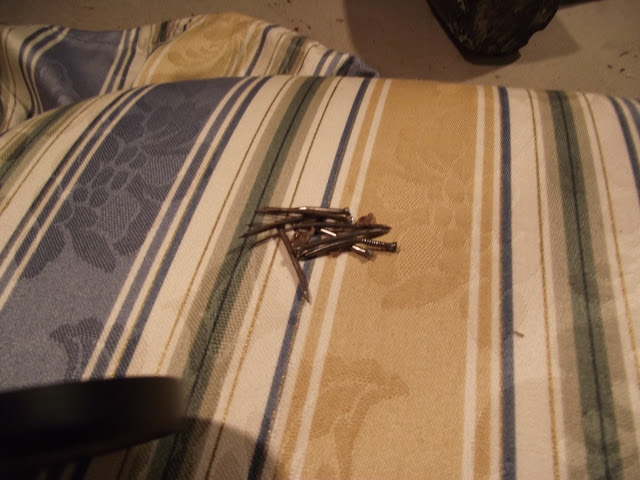 |
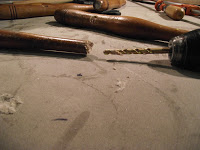
| Nails that had to be removed from joints |
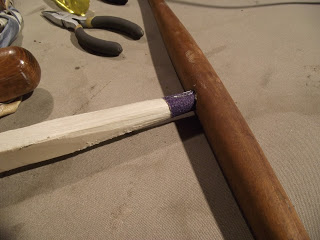 |
| Tool I made to sand the inside of joints |
Once all the joints are taken apart, it is essential that you sand the old glue off. Using a medium grit sand paper sand both the male and female joints.
Because I always have sore fingers trying to clean out the female joints, this time I made a tool to help. I whittled a square piece of wood a little smaller than the hole. I then, wrapped it with a strip of sand paper and stapled the paper in place on the end of the stick. The sand paper had to be replaced every few joints but it certainly saved on the finger ware.
 |
| Slotted back sections |
 |
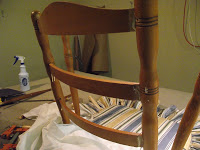
| Main Back parts are fitted back together |
If they don't fit together easily you need to sand more of the old glue off. Once you know everything will fit back together coat all the joints thoroughly with wood glue and with as little time as possible reassemble. Be prepared to clean any excess glue off the surface as it appears. I use water based glue and wipe it off with a damp cloth.
 |
| Wood glue applied to joint |
 |
| You can see here the excess glue |
 |
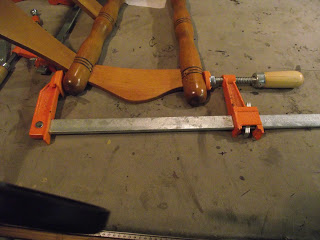
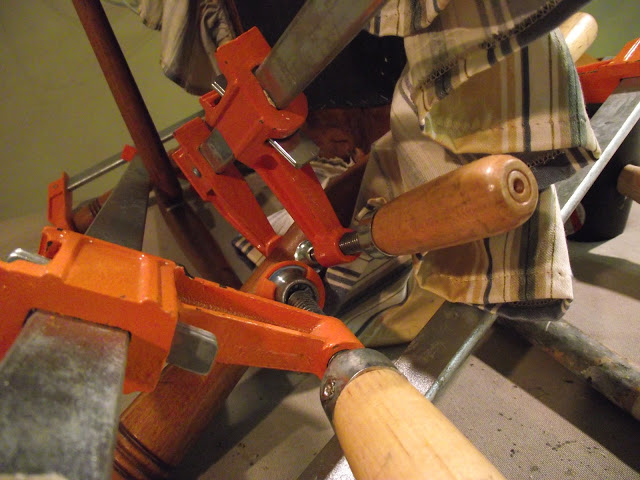
| Glued section is clamped tightly with furniture clamps |
the investment. Leave the section clamped for six or
eight hours for the glue to set up.
 |
| Another part of the back is glued and clamped |
If, after you glue a section, you find it won't fit into the next section as planed; use your rubber mallet and knock enough joints apart to allow you to fit the next section. It's frustrating, but necessary.
Re-clean the parts of glue and re-glue them at the same time as the part that prevented reassembly.
Re-clamp and wait for the glue to set up. I probably have this happen once on almost every project. The only way to prevent it is careful planning and experience.
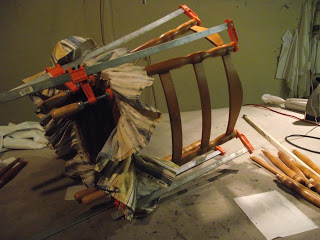
 |
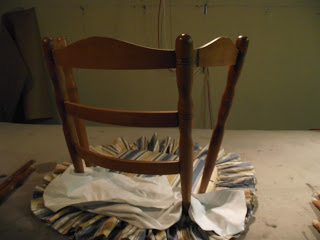
| Back section of chair completed |
The back section is glued and attached to the seat section. Sometimes it is hard to keep the clamps in place on two pieces coming together on an angle.
I use a small clamp on each angled part to prevent the larger clamp from sliding down and coming loose.
 |
| Back section is glued and clamped to the seat |
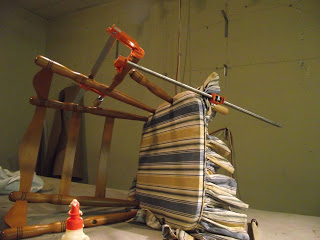 |
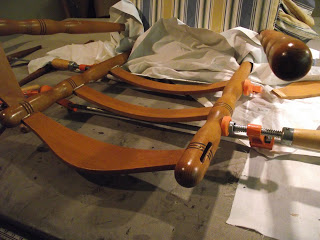
| Chair arm is glued and clamped |
it is necessary to clamp it in both directions.
One clamp holds the vertical section tight into the seat and the joint under the arm piece.
The other clamp holds the arm piece tight into the back fitting.
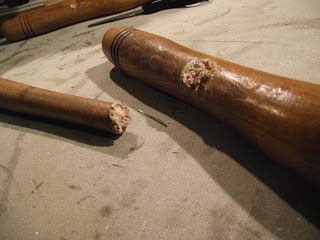 |
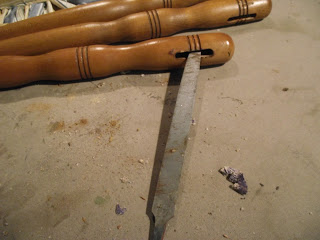
| Male end broken |
Earlier I said, if a joint won't loosen after tapping and twisting. It is tight leave it as is. That advice is a result of my determination to take a tight joint apart on this chair. You can see what happened. To my knowledge there are only two ways to fix this. One is to have an entirely new piece made. The other is to drill both pieces and glue and insert a dowel to join them together.
 |
| End of chair rail is drilled to accept dowel |
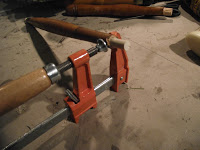 |
| Dowel is inserted, glued and clamped |
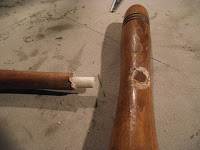 |
| Female is drilled out to same size as dowel |
 |
| Leg assembly is glued and clamped to chair bottom |
In this case I was unable to clamp the leg assembly. It just shows how you have to be ready to roll with the punches. The last picture shows how a small clamp is used to keep the larger one from sliding down the leg and coming loose.
I hope this is helpful. For more "How to " blogs go to ganttsdecorating.com.
Bill Gantt
INTERIOR DECORATING INTERIOR DESIGN