Gantts Decorating

<br>
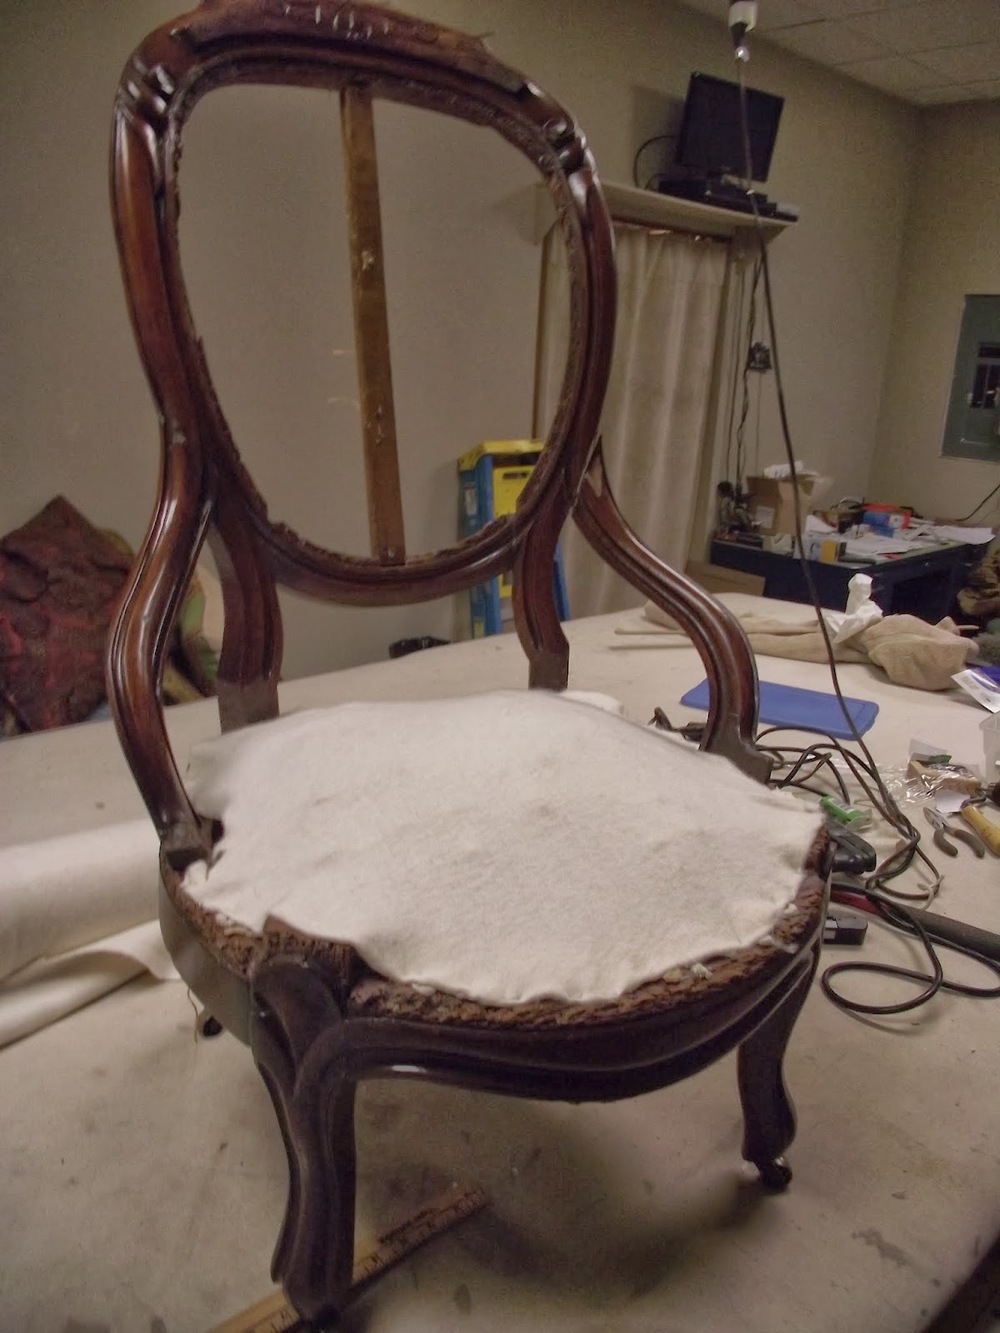
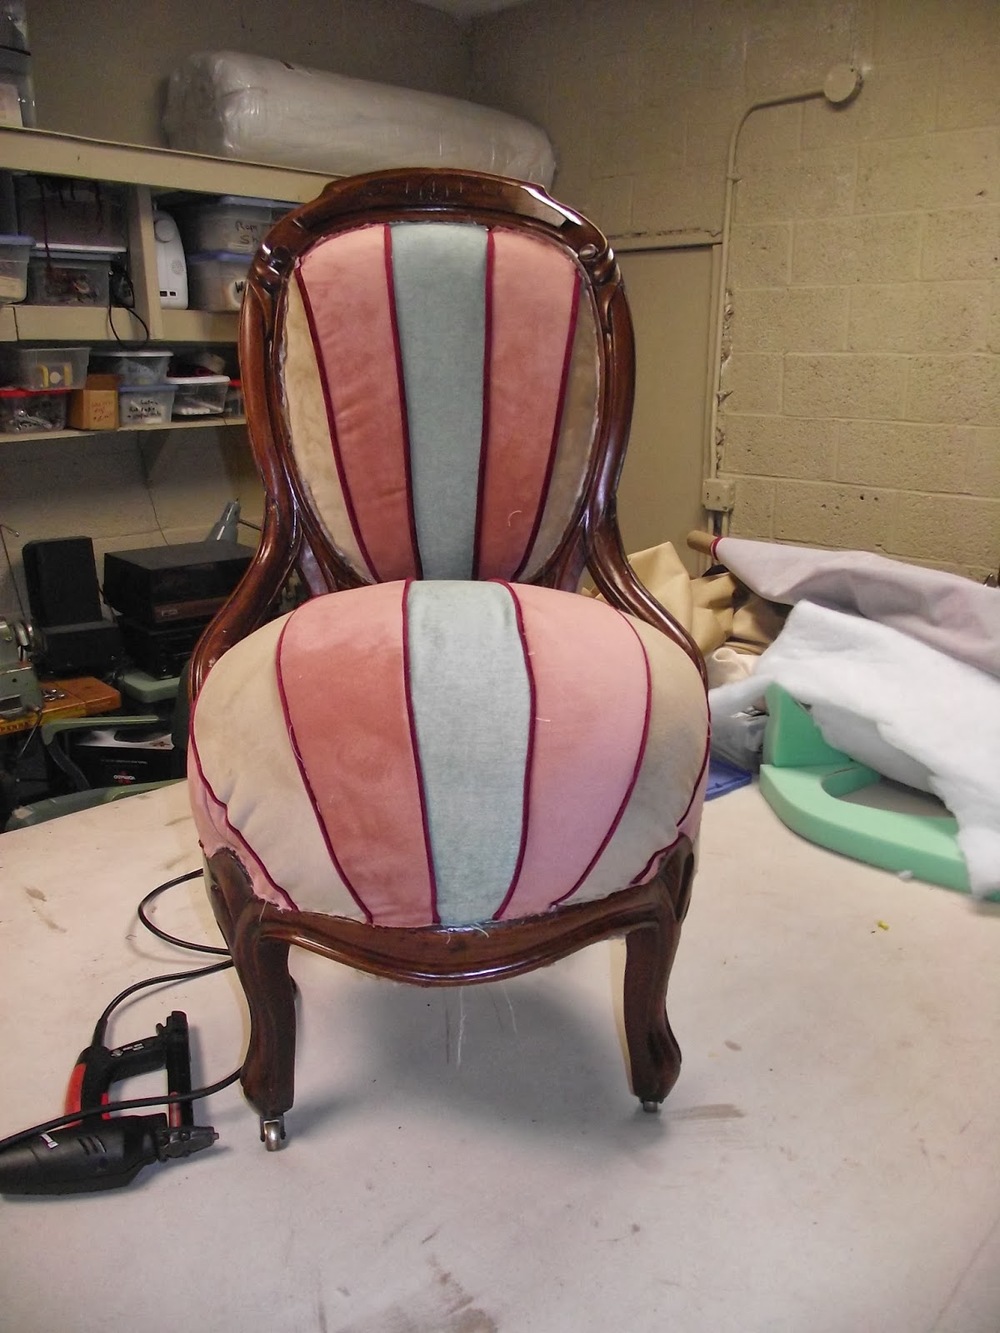
This is the chair before the work began. It had a loose arm and almost all the joints were loose. There had also been some "finish nail repair". (Never try to repair with finish nails. They don;t hold and damage the wood.

<br>
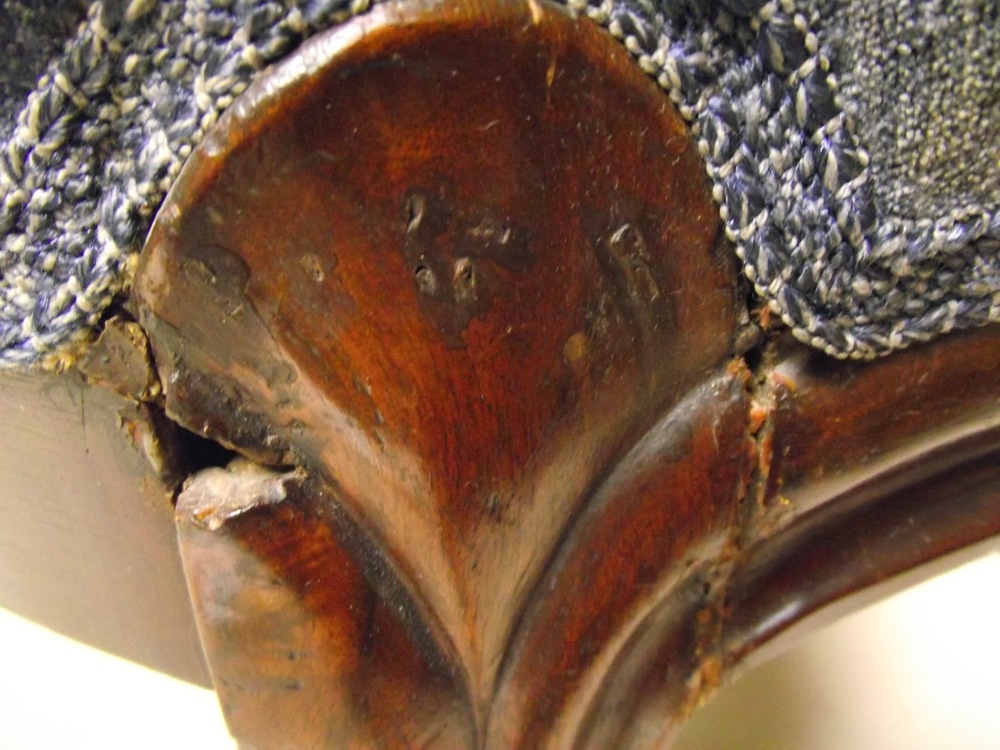
These pictures show how loose and deteriorated the joints
had become. The more fabric I removed the more it seemed
the fabric and webbing was about all that was holding the
chair together.<br>
I started by pulling the fabric loose from the inside
back of the chair. The gimp that had been glued
on the last time it was covered strengthened the edge
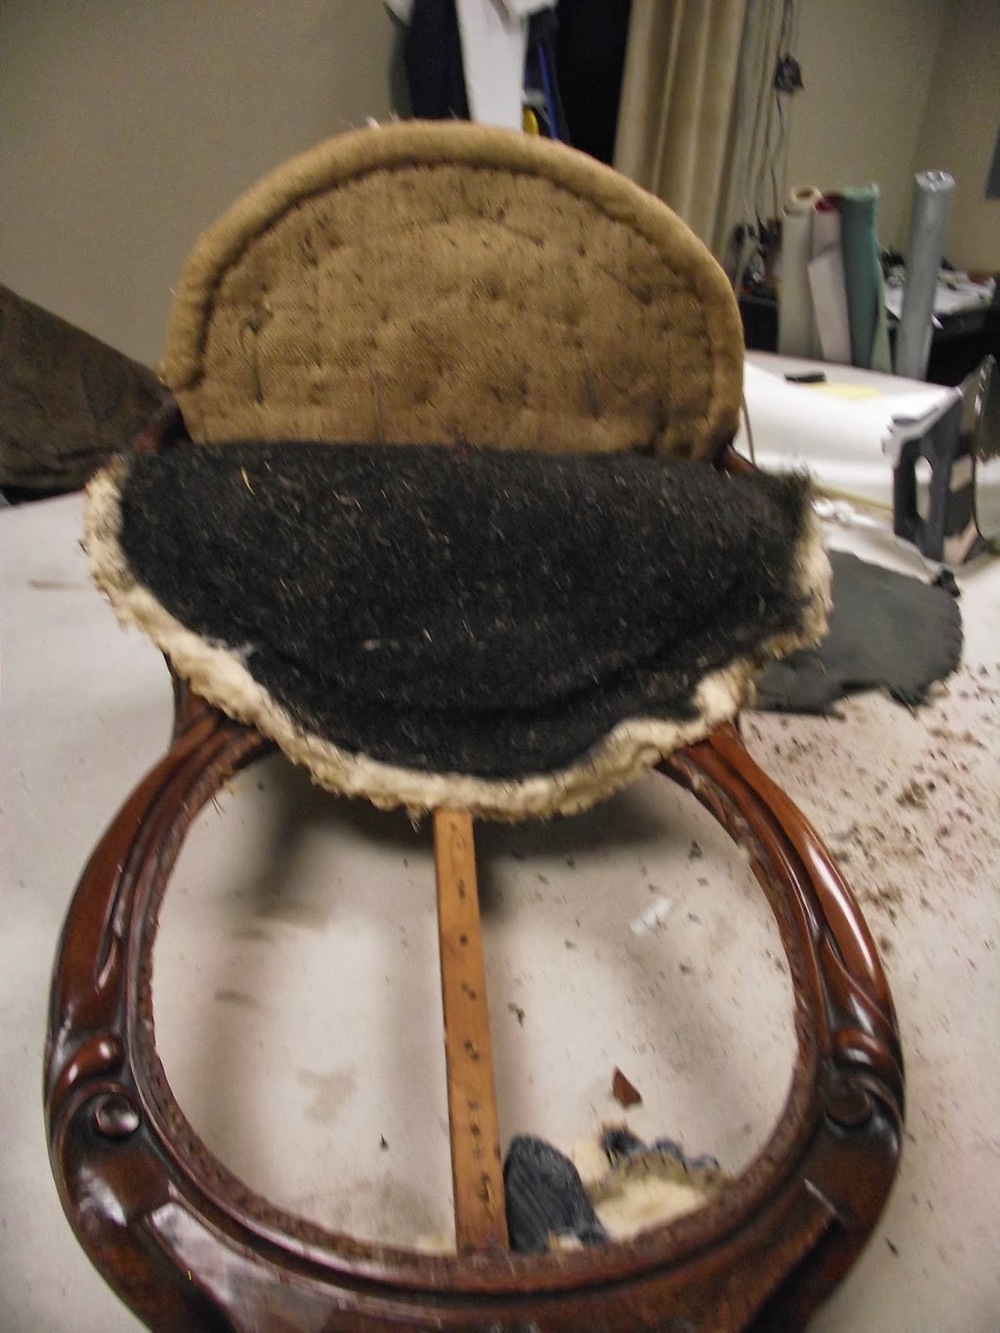
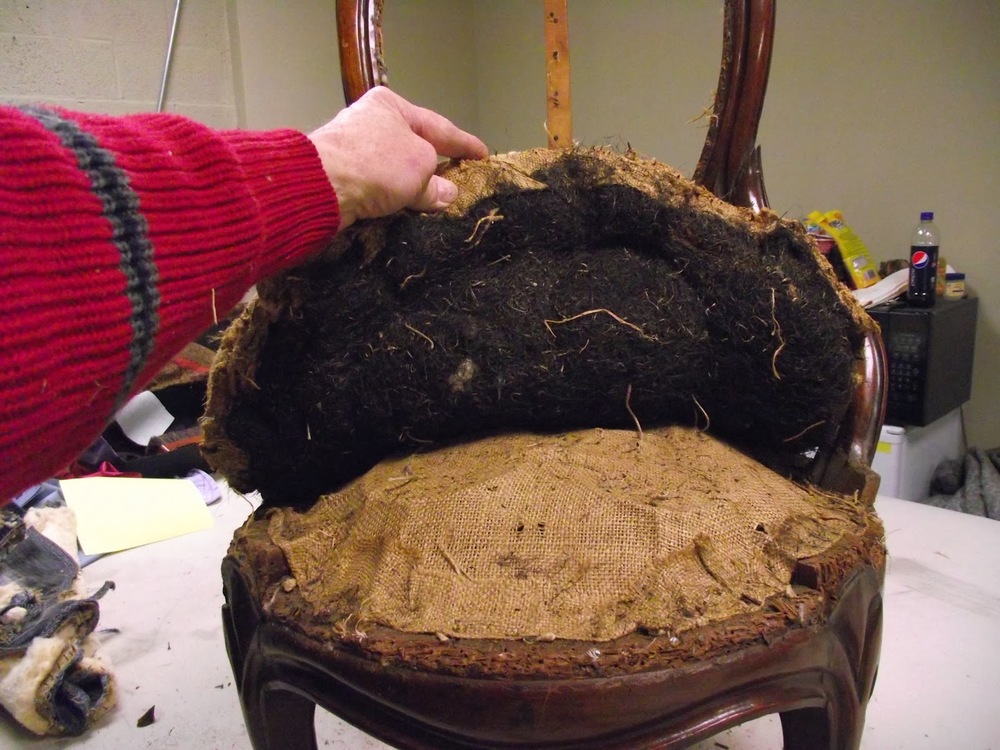
of the fabric and allowed most of it to come off along with the tacks. This then exposed the old dusty cotton batting.<br>
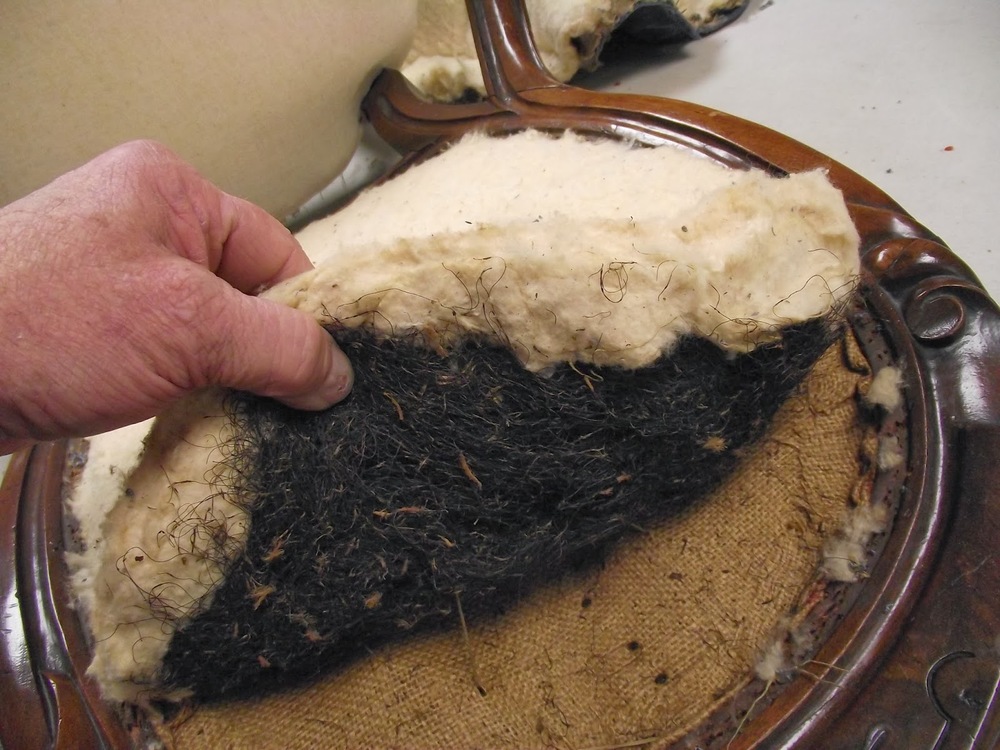
Under the cotton batting is a layer of old dried out horse hair. The horse hair is tacked to the burlap under it.<br>
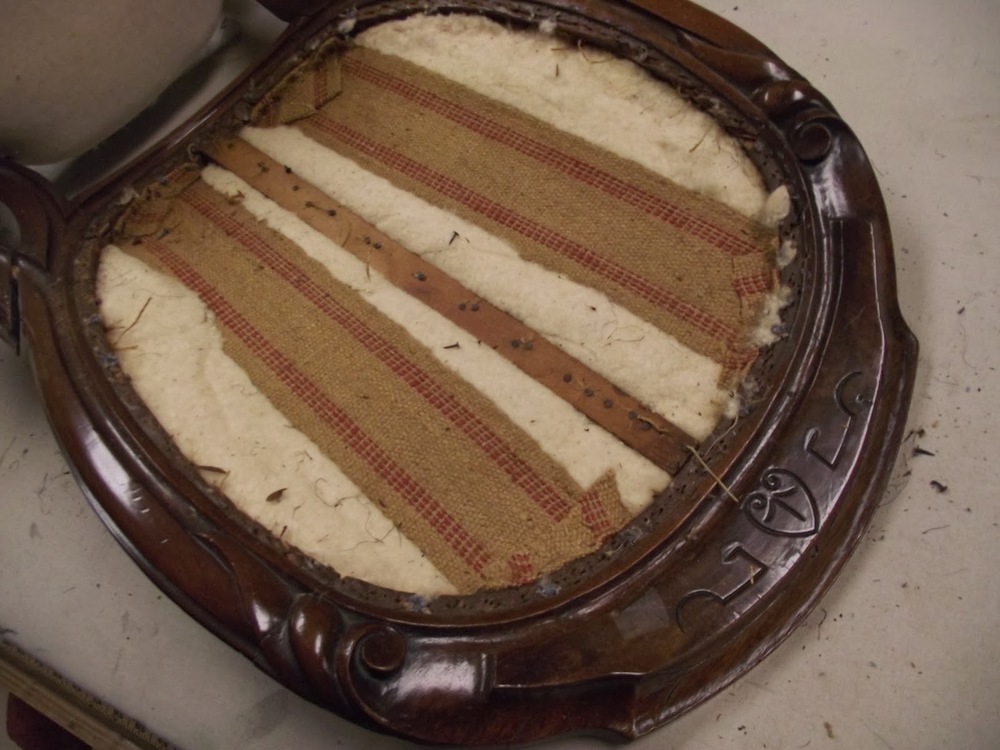
With the cotton and horsehair removed, the burlap is removed revealing a wooden center support, webbing and cotton batting used to pad the back of the chair back.<br>

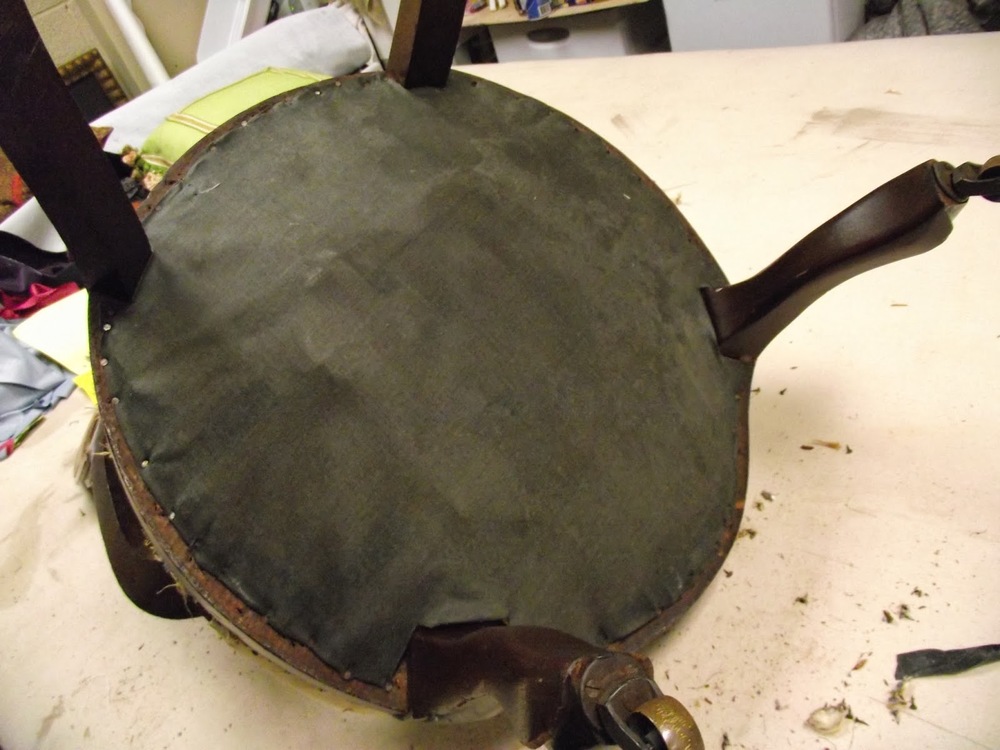
The webbing must be loosened and all the old tacks pulled out. With all this removed all that is left is the fabric on the back side of the chair back. It is removed and all the old tacks or staples must be removed from the frame. Care must be taken not to damage the part of the frame that will show after it is rebuilt and covered.<br>
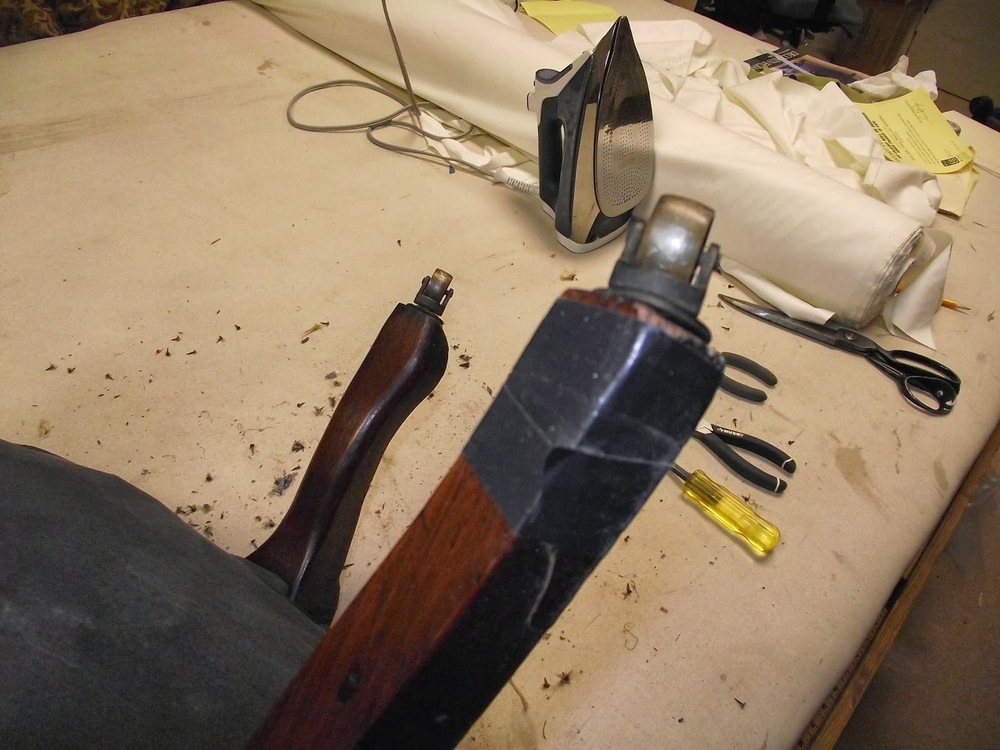
An old leg repair shown here is wrapped in duct tape. Surprisingly enough when I removed the tape the repair was sound. Apparently whoever repaired it used the duct tape to hold it in place until the glue dried and never took the tape off.<br>
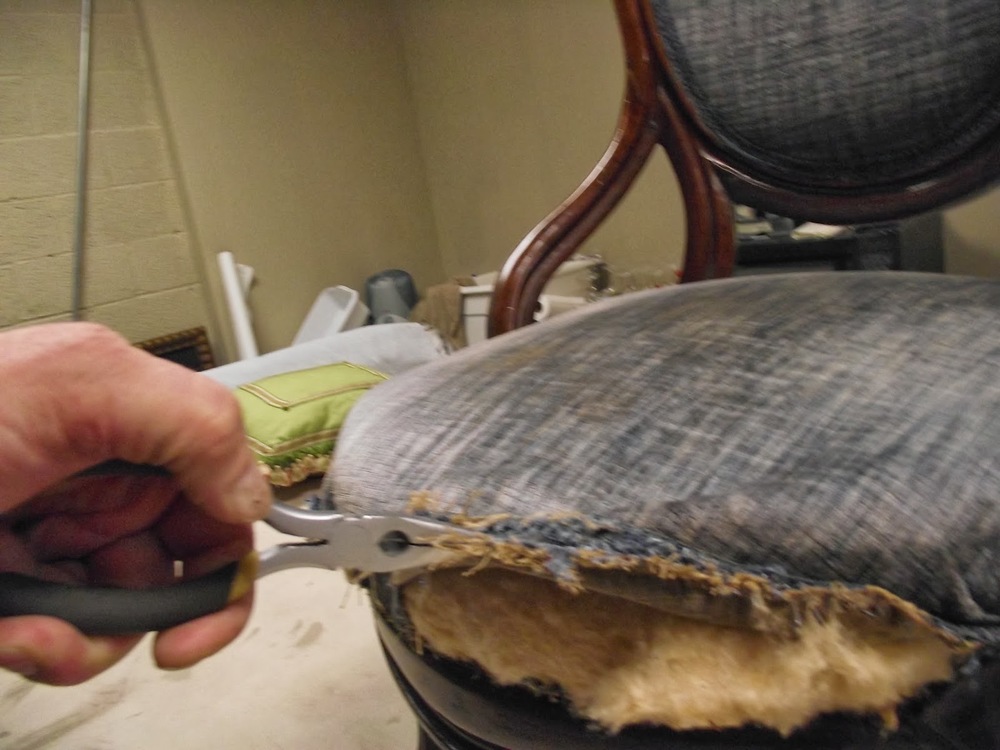
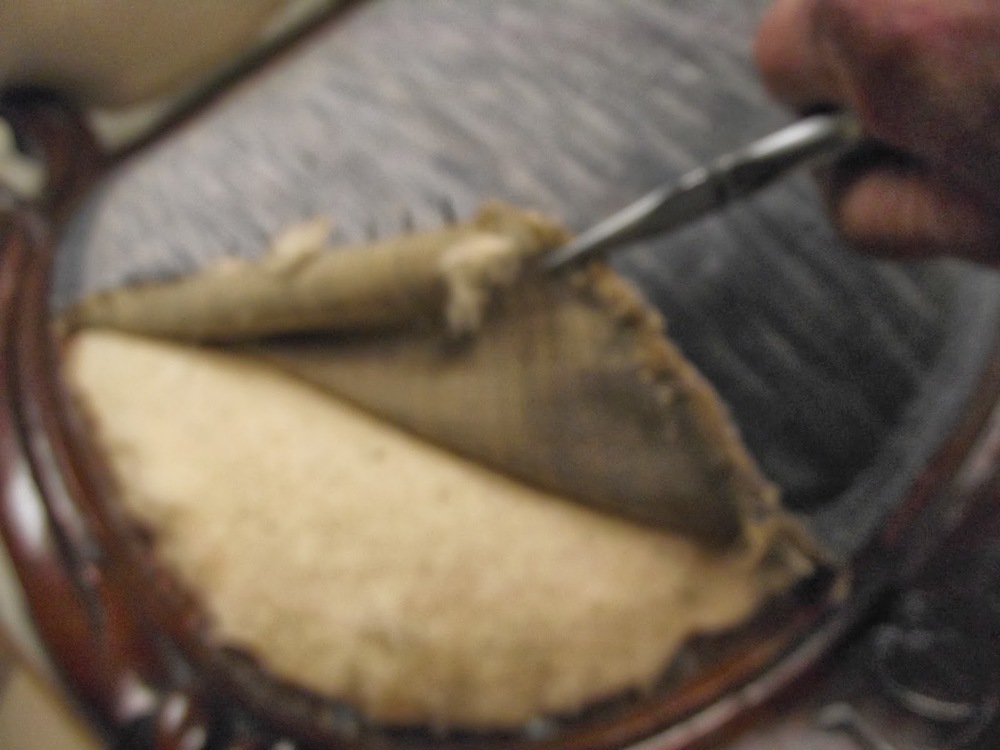
Now it is time to attack the seat. I used needle nosed pliers to pull the gimp and fabric off the frame. This exposed more cotton batting and horsehair. You really should wear a face mask while doing this. This old furniture is a Pandora's box of long forgotten allergens<br>
With the seat cover, horse hair and cotton batting removed another layer of burlap appears.<br>
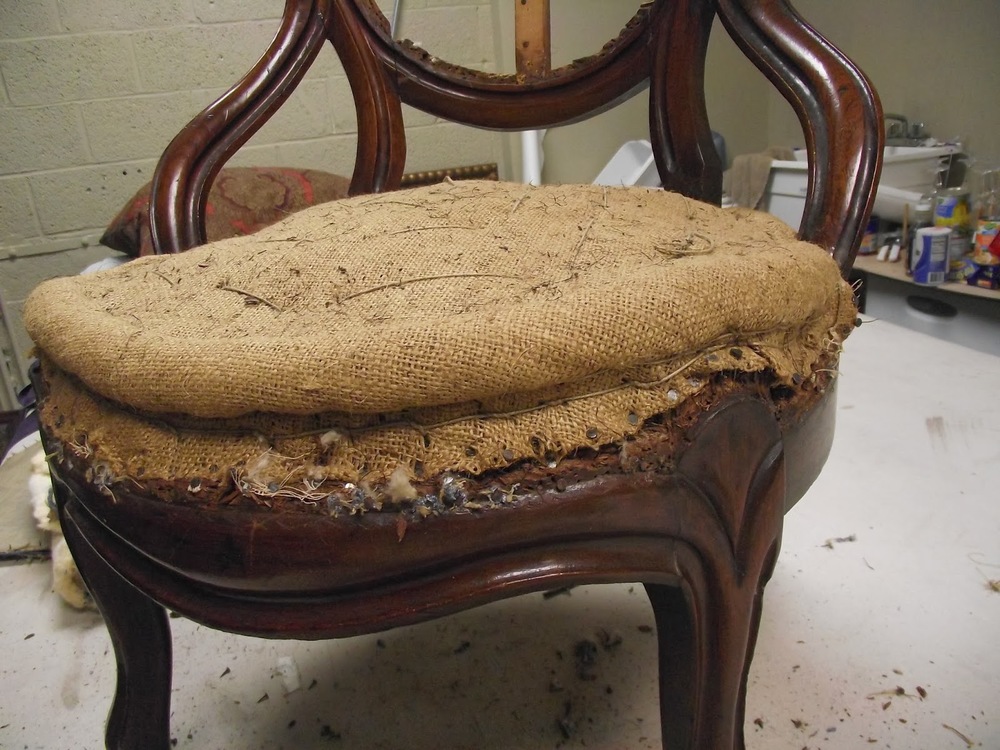
All the furniture tacks or staples must be removed to pull this layer off.
Removing this layer reveals burlap stretched over the top of the springs.>br>

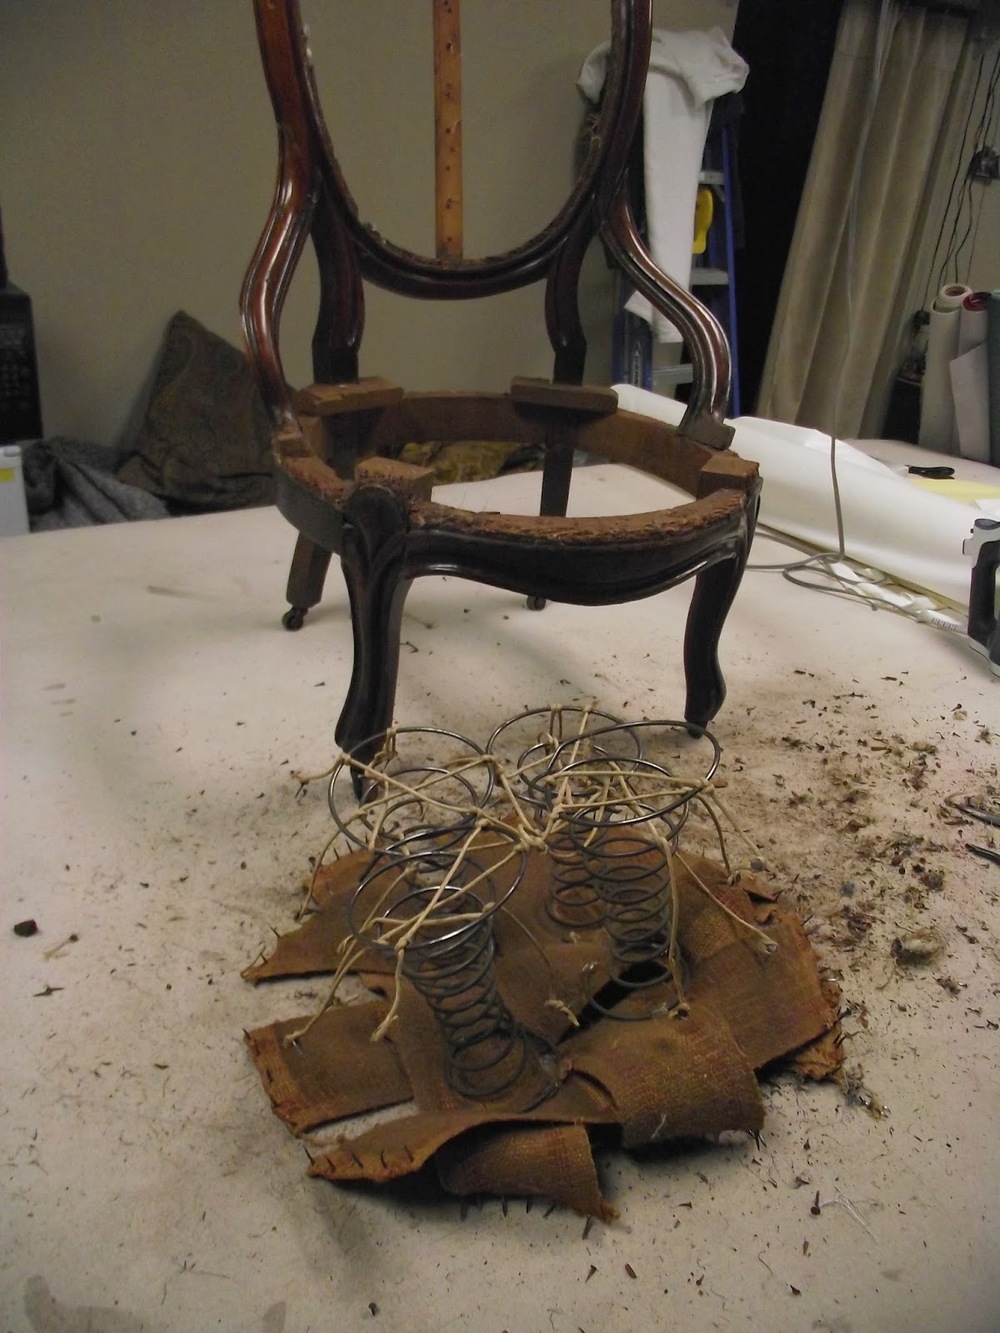
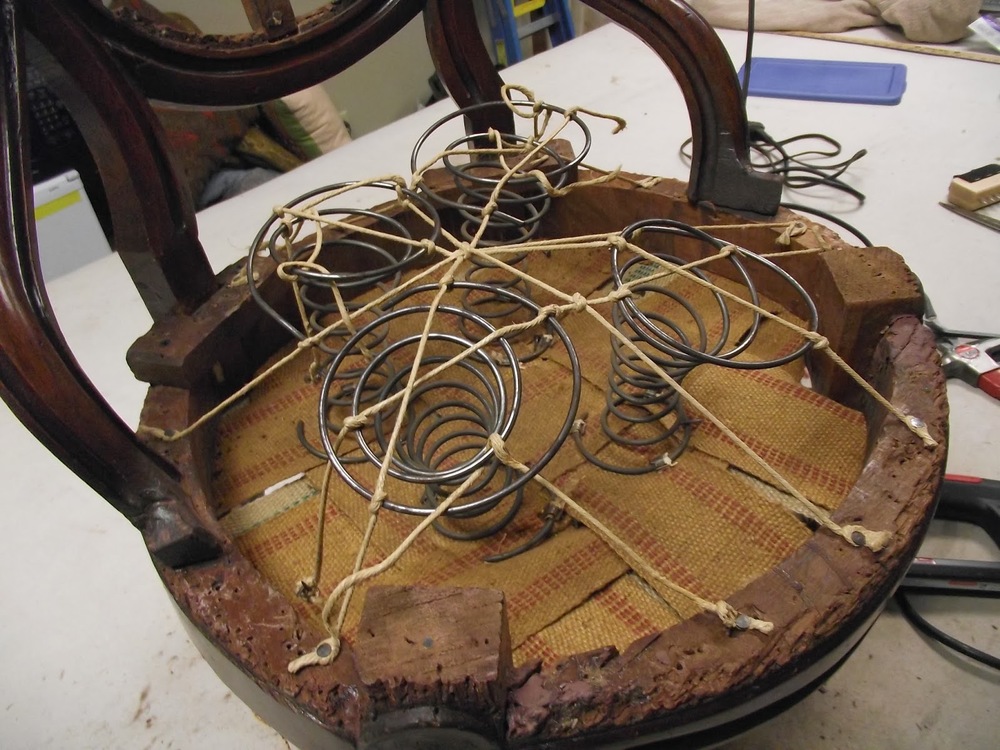
With the springs exposed, be sure to pay close attention to how they are tied. It is a good idea to take a few pictures for future reference. If the frame is sound, often the springs are retied tighter and not removed. At this point of the project it was obvious that the chair was being held together as much by the webbing and fabric as it was by joints, So the springs had to be removed. I loosened the old cord from the frame, but left it on the springs to be a guide when it was time to put them back.<br>
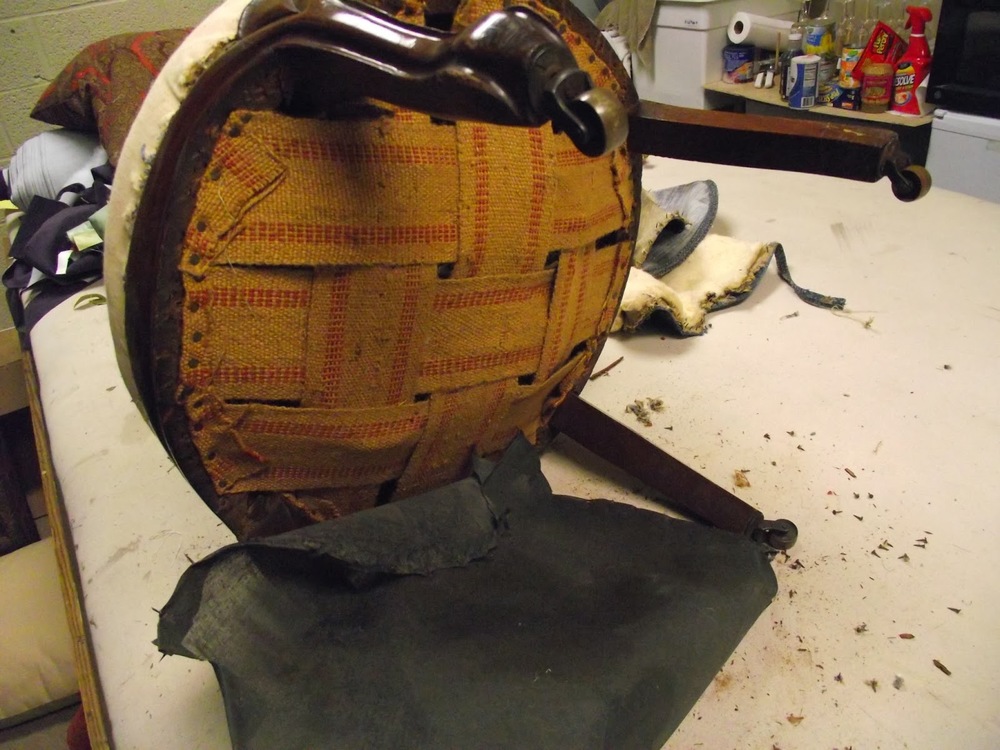
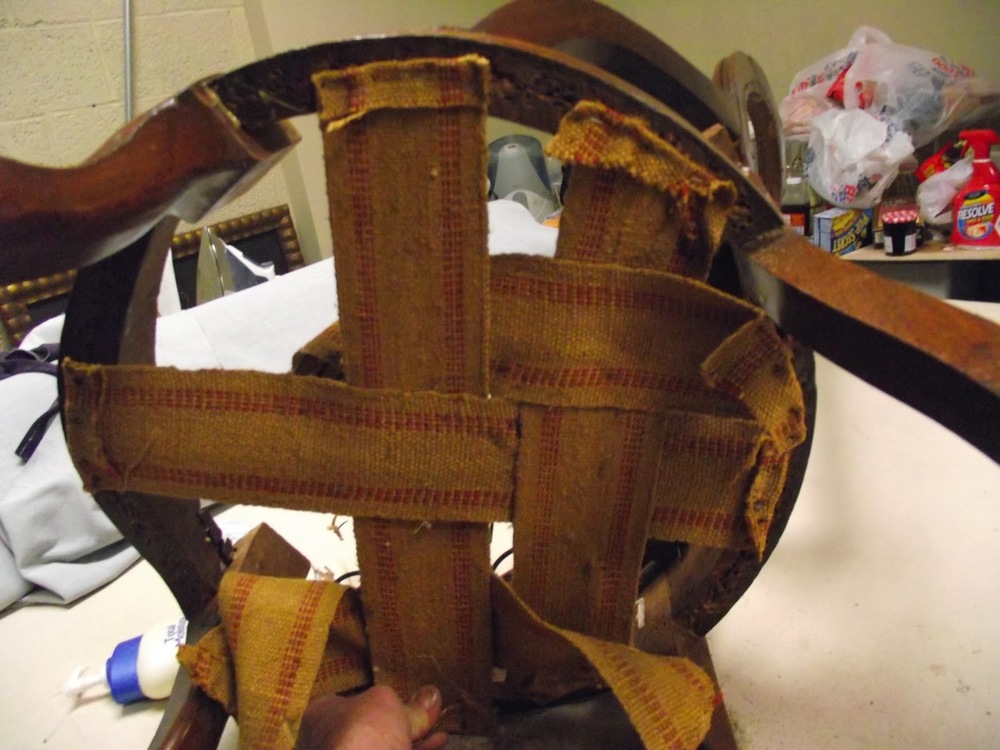
The chair is turned bottom up, tacks are removed. This then exposes the webbing to which the springs are attached. Since I do not have the necessary tool to attach the springs to webbing. I took the old webbing off the frame and left the springs attached to it.<br>

Now with a rubber mallet, it is time to dissemble the frame.


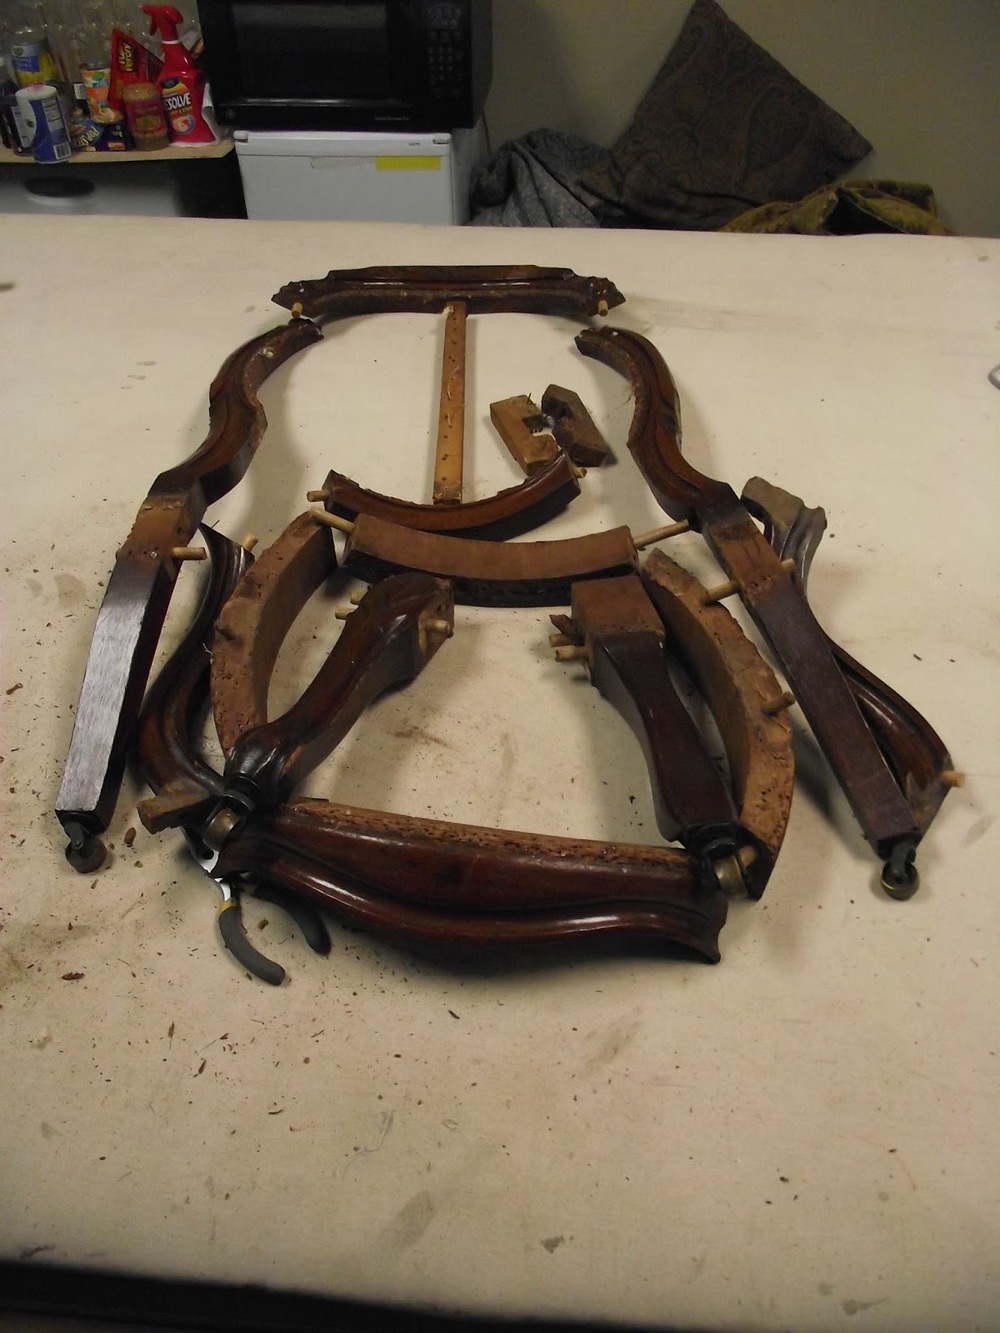
Carefully piece by piece, joint by joint the frame is taken apart. Every joint in this chair needed to be taken apart and old glue sanded off and removed from the holes and re glued. If you have any joints that are sound do not take them apart. Trying to loosen sound joints can cause breaks in the frame. In this case as you can see there were absolutely no solid joints.<br>

Reassembly
is like putting a puzzle together. Once all the joints have been cleaned of old glue it is time to re glue and reassemble.
There may be specialty clamps I don't know about for curved pieces, but regular clamps are difficult to get placed to hold the joints in the proper position.
As you can see I resorted to using strong cord and pulling the parts tightly together with tourniquets. Be sure the part you are gluing can be fit together with the other parts before letting the glue set.<br>


The back pieces were glued and dried overnight.
Now I am able to use regular clamps to attach the back assembly to the seat and front leg assembly.<br>
The old webbing with the springs still attached is stapled to the bottom of the frame. Because it has sagged over the years and because I can't stretch it, I reinforce the seat using new webbing. This webbing I can pull extremely tight and do. <br>

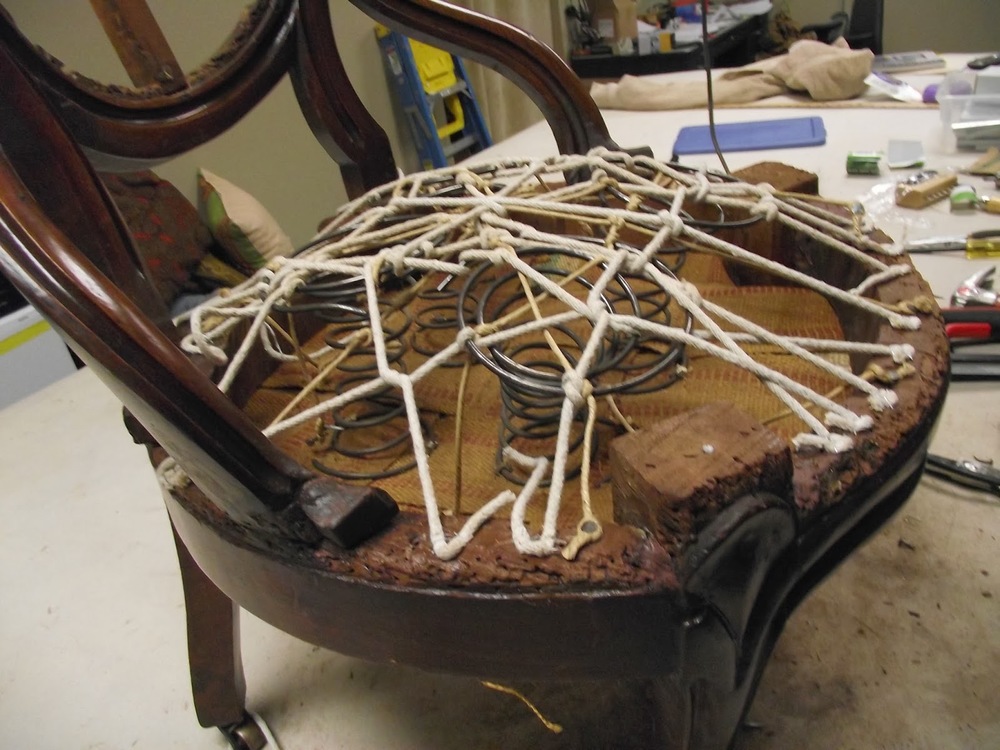
The old ties are attached to the frame as close to the way they were as I can get them. Now the springs are re tied with new cord, leveled an tightened.<br>
Heavy flannel is pulled tight and attached over the springs.<br>
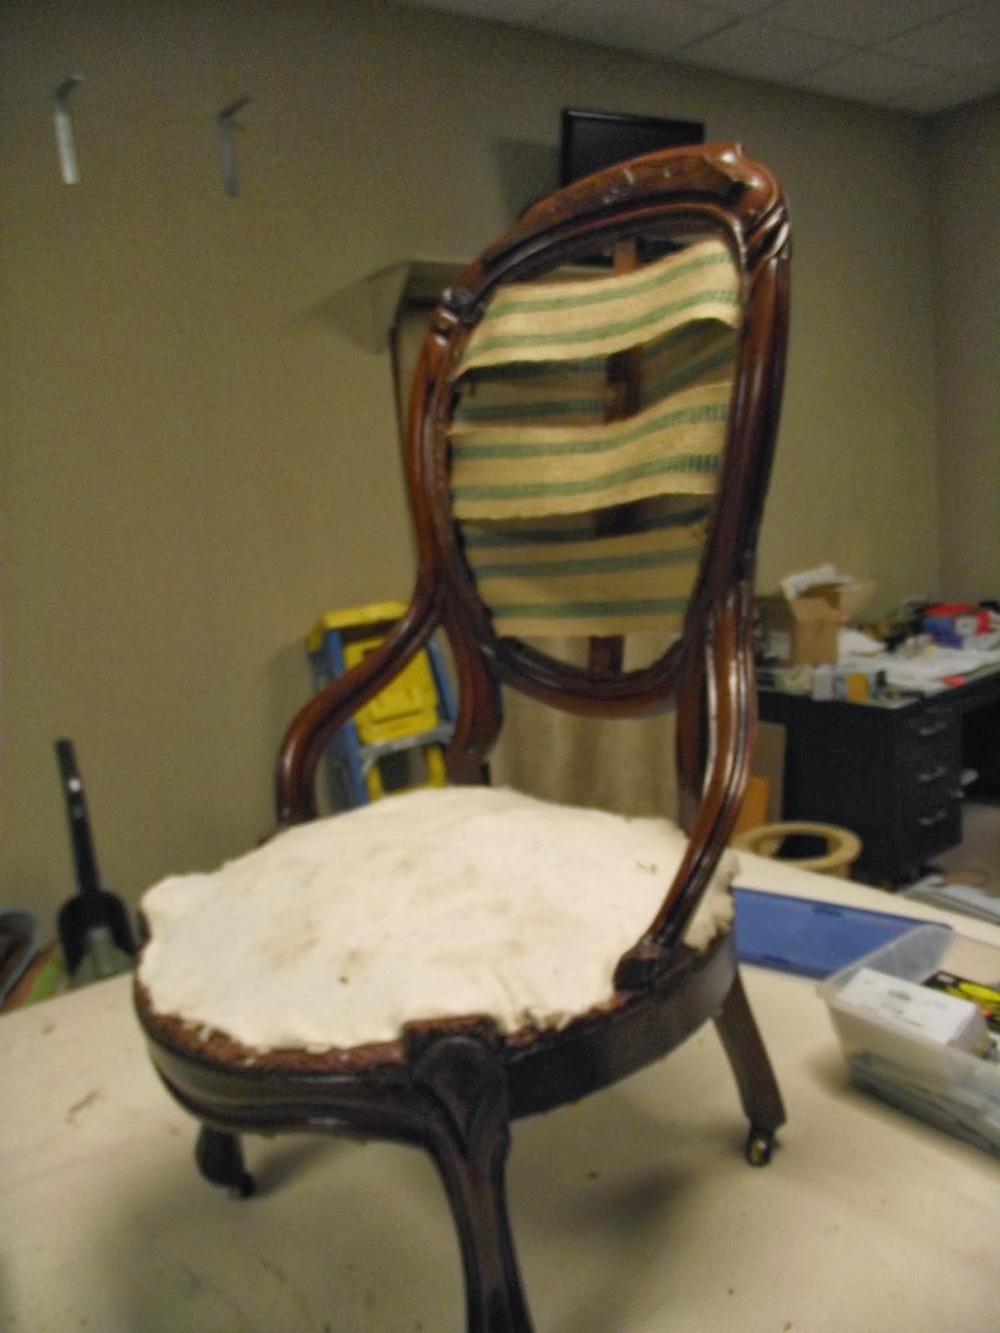
Next webbing is attached to the front and back of the back. I elected to
put it horizontally to bridge the vertical wooden back support. <br>


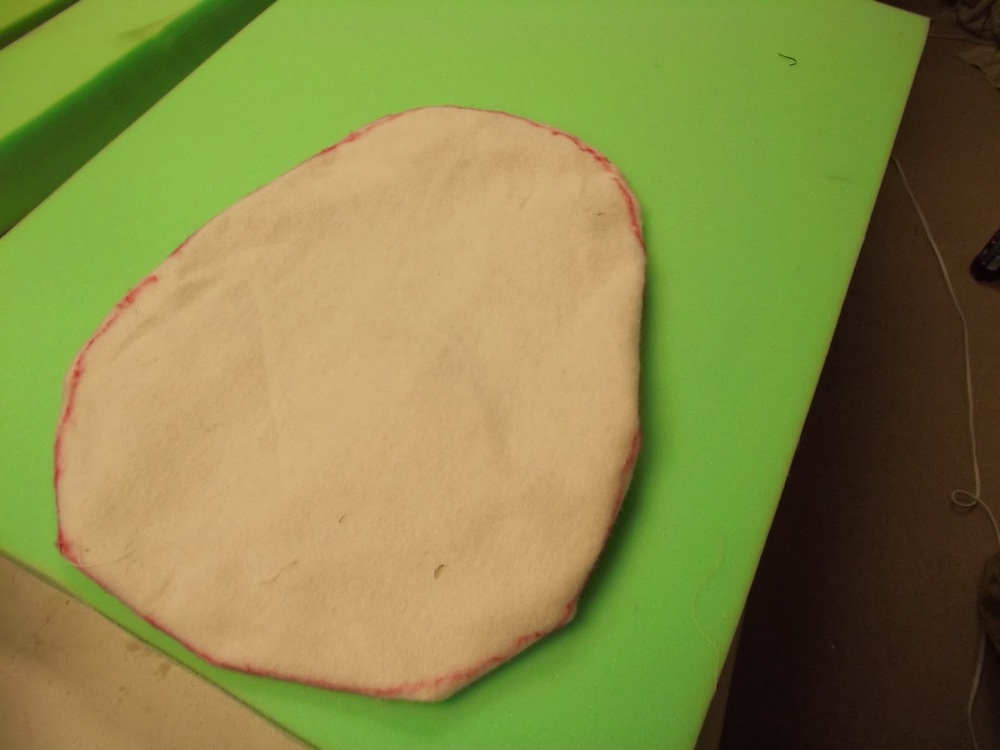
Heavy flannel is laid in the depression of the front of the back where the foam sill go. It is marked with a marker. The edges are turned under rather than cut off and it is used as a pattern to mark the two inch foam.<br>
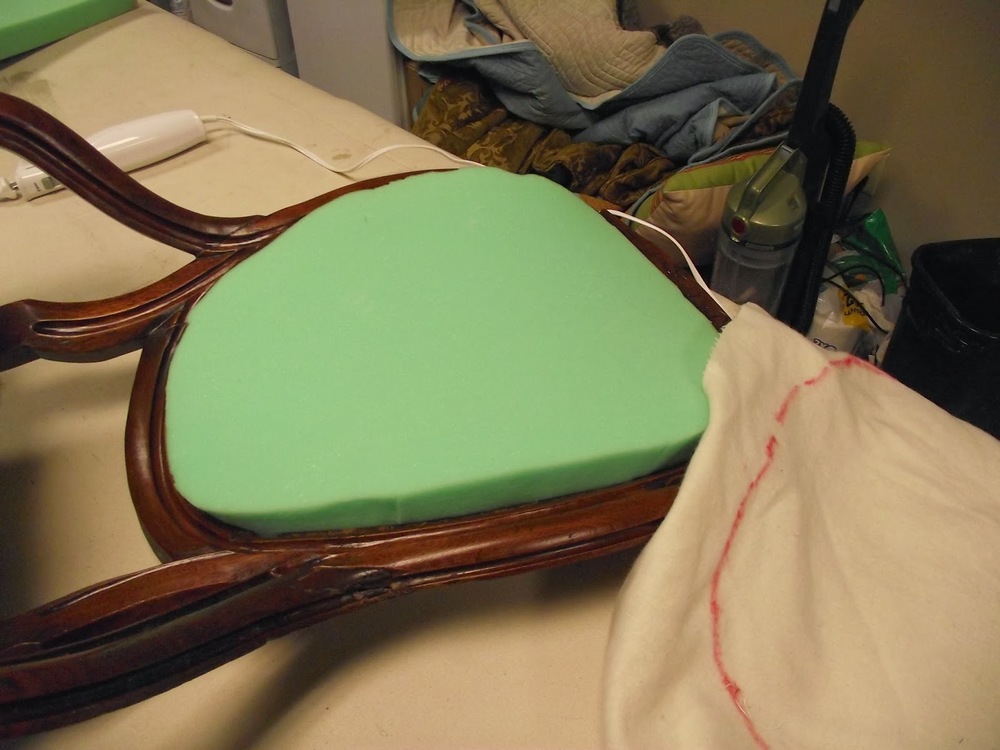
The pattern is positioned on the foam. The shape is ,marked on the foam. Using an electric carving knife, cut the back foam to shape.<br>
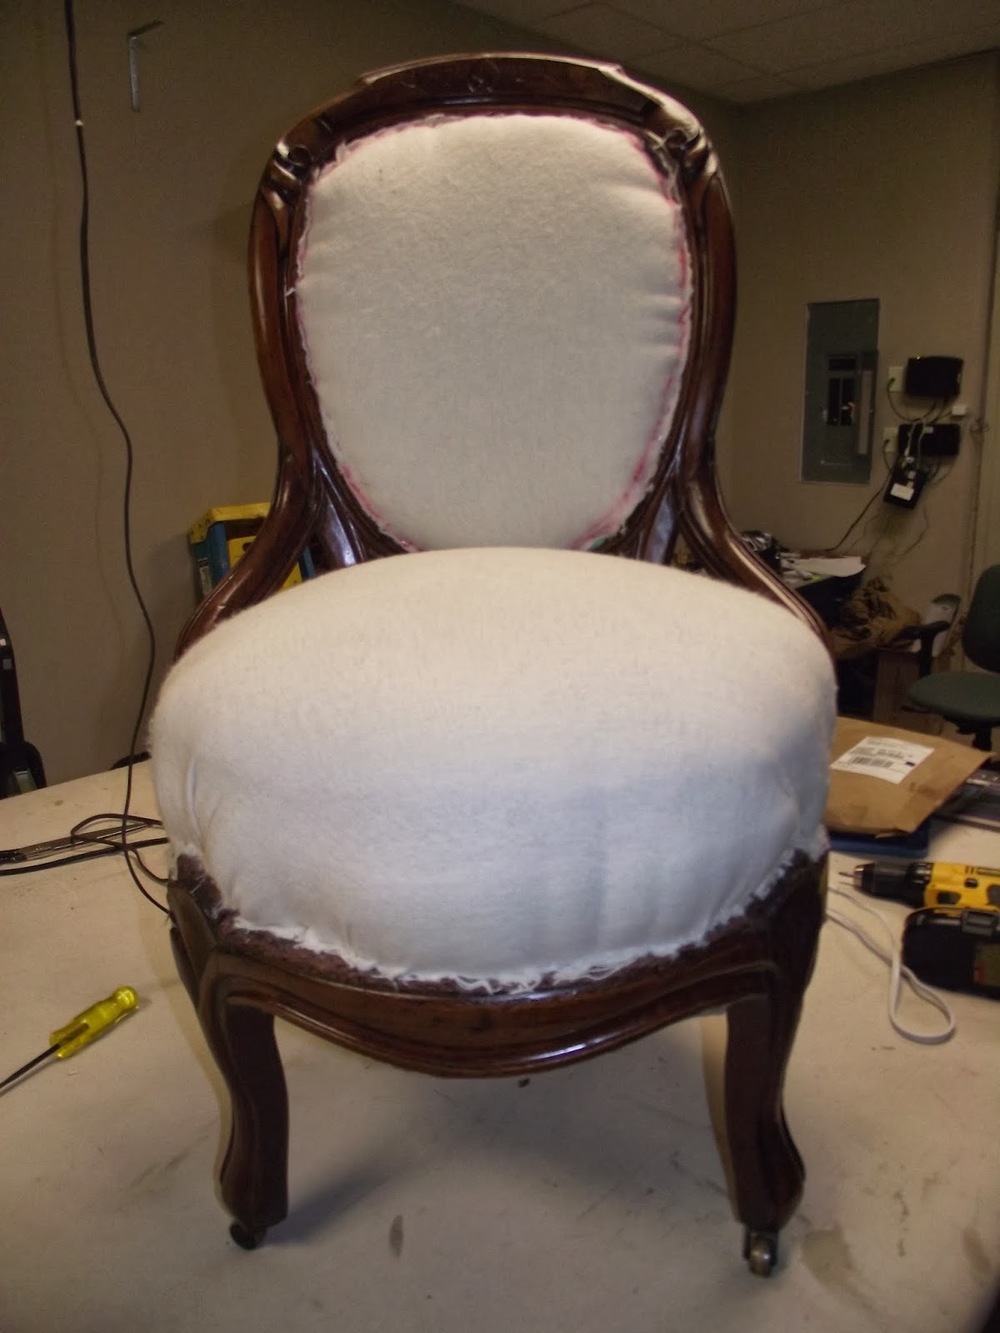
The foam is placed in the recess on top of the webbing and the flannel pattern edges are unfolded and is stapled over the foam.<br>


Using 1" foam the same method is used to pad the back side of the chair .<br>
To make a pattern for the seat, flannel is laid over the springs and thumb tacked into place, marked cut and used as a pattern to cut the 3" medium density foam. Don't forget when you make any pattern to fold it double and trim so both sides are the same. As you can see in the photo, the foam is marked and cut where it will have to fit around arms and legs. After the seat foam is cut, staple the flannel pattern on the seat to cover the retied springs.<br>

Next using brute force, patience and persistence, work the foam into position on the seat above the springs.<br>

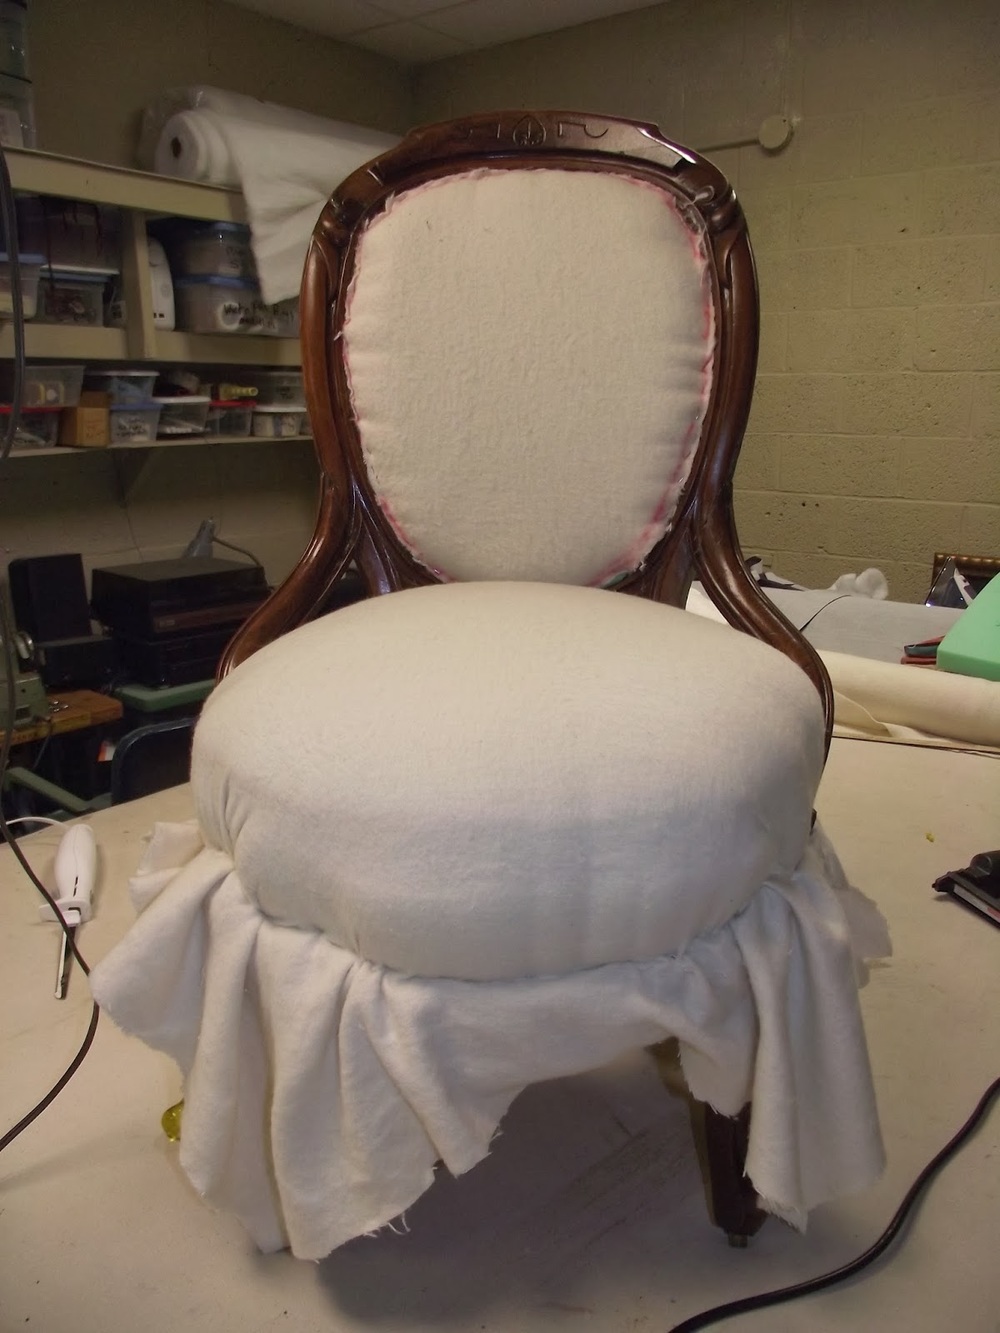
In order to get the seat to a comfortable height, I elected to use two pieces of 4" medium density foam. A large piece of heavy flannel is used to shape and hold the foam seat in place.<br>
Once satisfied that the shape and height is as I want it, the excess flannel is cut off using a single edge razor blade.<br>

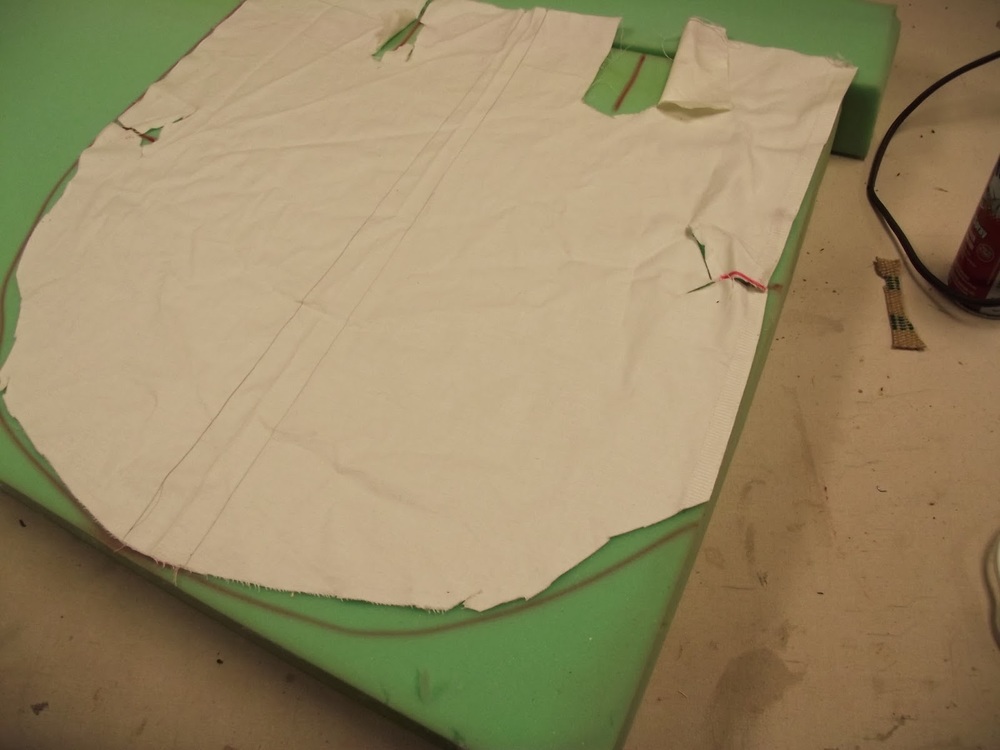
Since we could not find a stripe with the colors we wanted I elected to make my own. This gave me the unique opportunity to sculpt the stripe to conform to the shape of the chair (See blog on making your own stripe). <br>
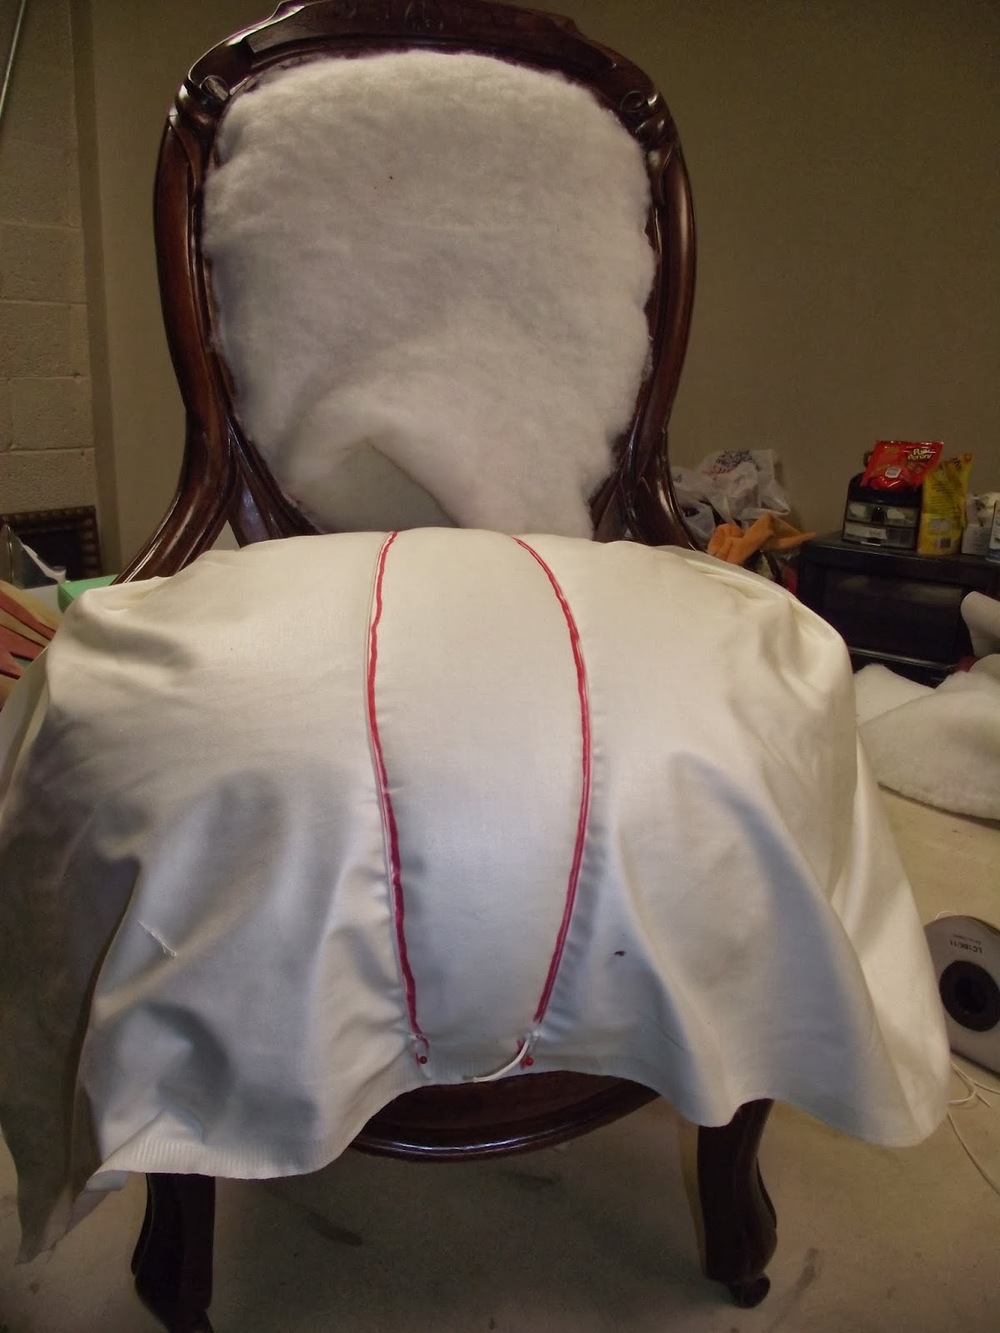
The stripe for both sides of the back were made as shown in the photo above. To make the seat stripe conform to the shape of the seat a piece of lining was pinned over the chair. Then two pieces of string were run from back to front. The strings are farther apart where the seat is wider. Lines are drawn on the lining and this shape is the shape all of the different color pieces of fabric are cut.<br>

Here you see the fabrics aligned and stapled to the frame.
Once satisfied with the shape and stripe placement, the excess covering is removed with a single edged razor blade.<br>
The last step is to make a double welt and staple and glue it to finish the edges.<br>
I also made and covered a round ottoman to go with the chair. Instructions "
How to make a round ottoman"
will be shown in the next blog.

My client was delighted with this interesting treatment of her chair.
I hope you found this useful . Please let me know what you think or share any questions you may have.
Bill Gantt