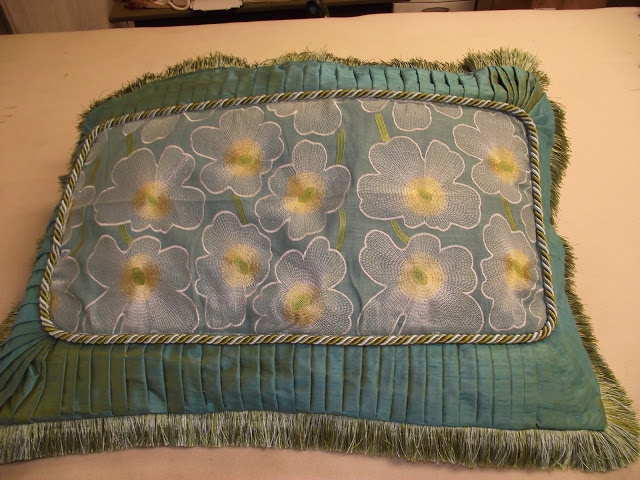
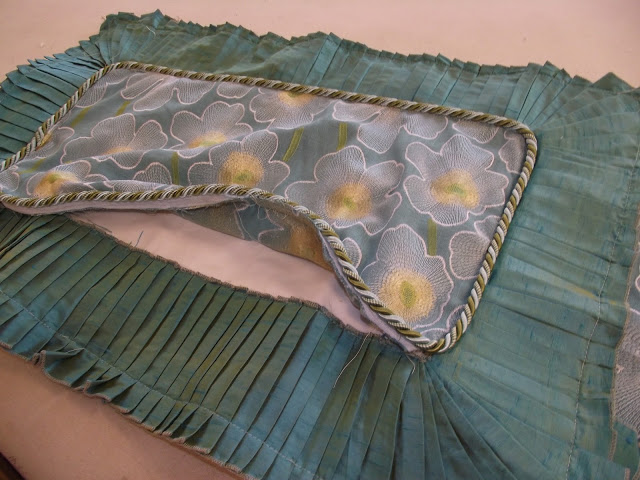
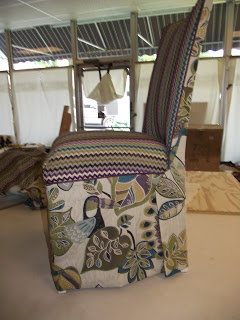
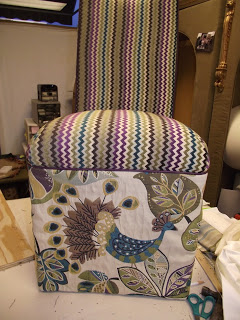
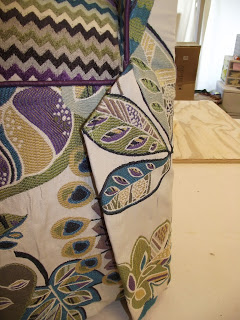
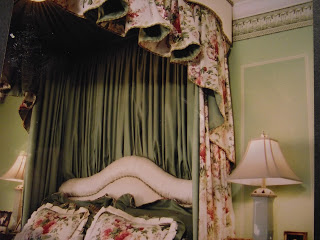
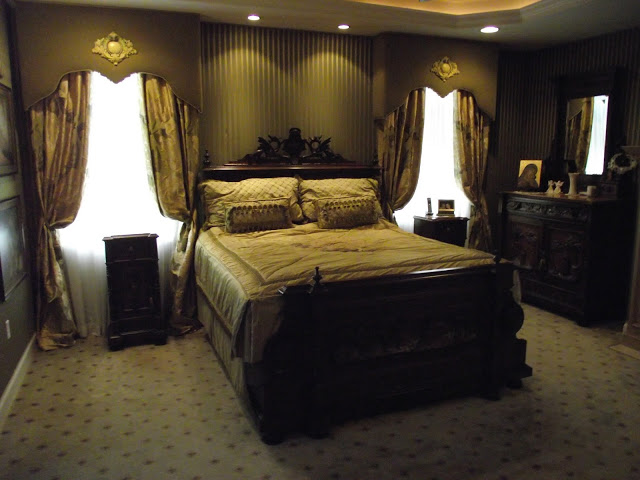
This Master Bedroom was designed around a fabric my client found. It was a large floral woven pattern floral fabric. It would not have been my first choice but as always it was my job to build a beautiful room around it. The fabric had great colors so I began looking for fabrics , papers and trim to compliment it.
On a visit with my clients we were looking at both fabric and wallpaper samples. None of the wallpaper samples were exciting. <br>

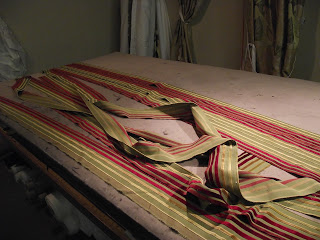
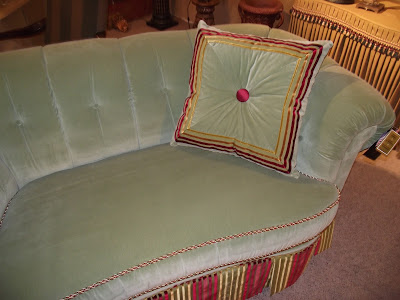
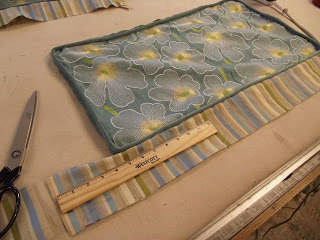
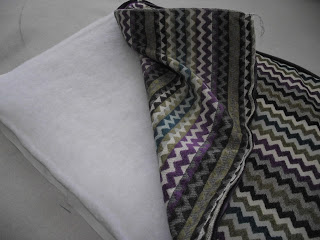
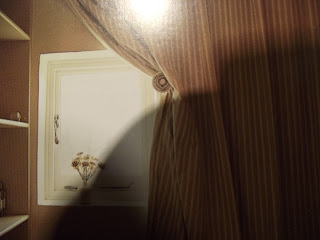
My client noticed a fabric and commented it was a shame the fabric couldn't be put on the walls.The fabric was a beautiful woven stripe. I said that fabric can be installed like wallpaper and that we would use it for that purpose. I also lived to regret my next comment. Having been a professionally trained paperhanger many years back I had hung fabric on walls and said, "If we cannot find someone to hang it I will do it myself."
I quoted the job. Quote accepted I placed orders and contcted two paperhangers. They were both given fabric samples to test. One said it should be paperbacked. The other said he couldn't do it. I tried a sample on the wall at the shop and thought I could hang it. Long story short. I couldn't./
So now I have walls and I have fabric. I suggested to my client that I can attach it to the walls as if they are upholstered.
They agreed.
This was not the first I had upholsterd a wall. I also did a music room with upholstery to soften the sounds.<br>
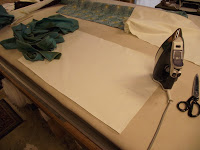
Step 1
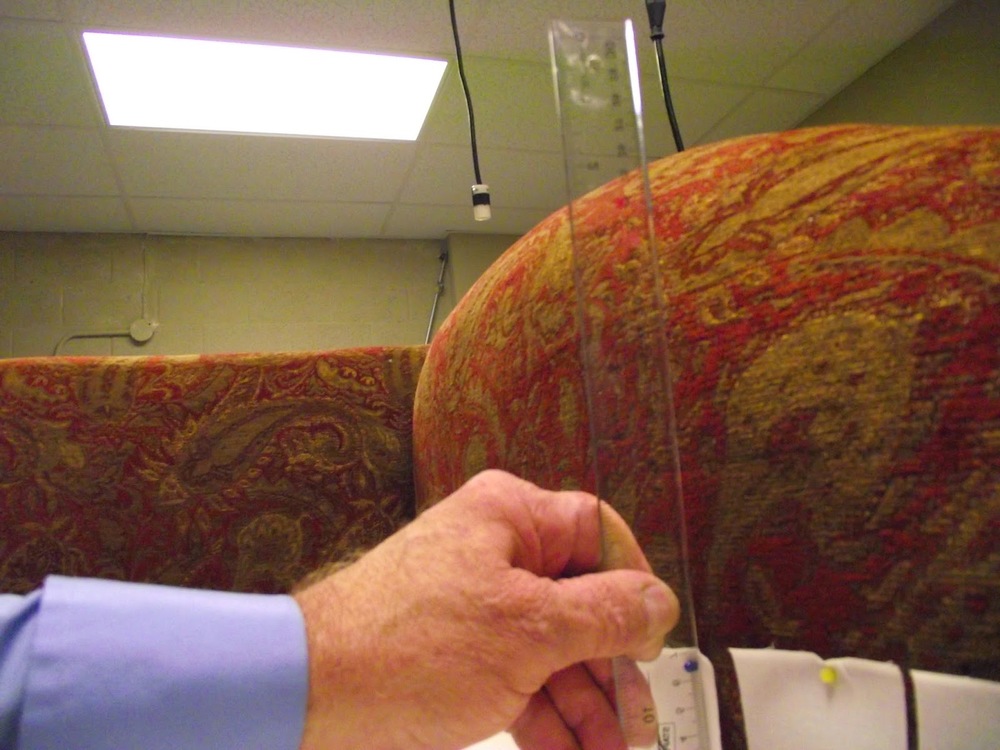
Measure all walls and do a set of elevation drawings showing all windows, doors ect.
On the drawings show ceiling height
space from corner to window or door,width of the window and the space above and below the window. Show the total width of the wall.
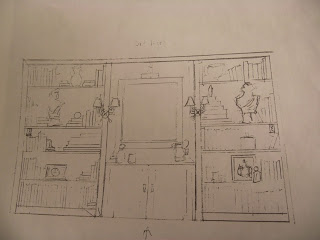
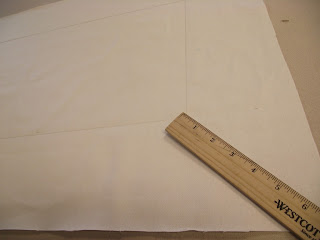
It is good to draw the outline of the room as if looking down at it, showing the shape of the room.
Label every flat space or wall in the room and mark it with a letter or number.
Be sure you have an accurate elevation drawing for each and label it to correspond with the space it represents on the outline drawing.
Step 2
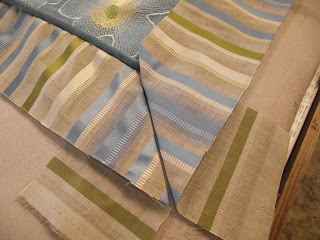
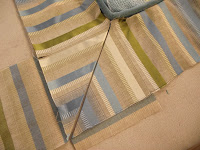
Using your ACCURATE drawings determine how much fabric you need. Most fabrics are 54" wide. Determine where you want the seams of the fabric to fall and mark them on your outline drawing.
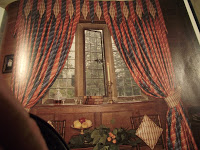
I like to plan to not have a seam on a focal area of a wall. For example above the bed I centered a 54" width over the headboard and worked out toward the ends of the walls.
If the fabric is plain or a stripe you can plan to put a seam at the edge of each window. This allows you to save fabric by sewing a short piece above the window and another short piece below the window.<br>
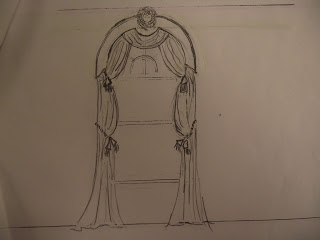
These two examples show the Room Outline drawing and the A Wall or bed wall elevation drawing. I neglected to put measurements on it. It should include as I said before :
Ceiling to floor
Top of window to ceiling
Bottom of window to floor
Space between windows
Space outside edge of window to corner on both sides.
The Green lines on the elevstion show where wood strips need to be attached to the walls.<br>
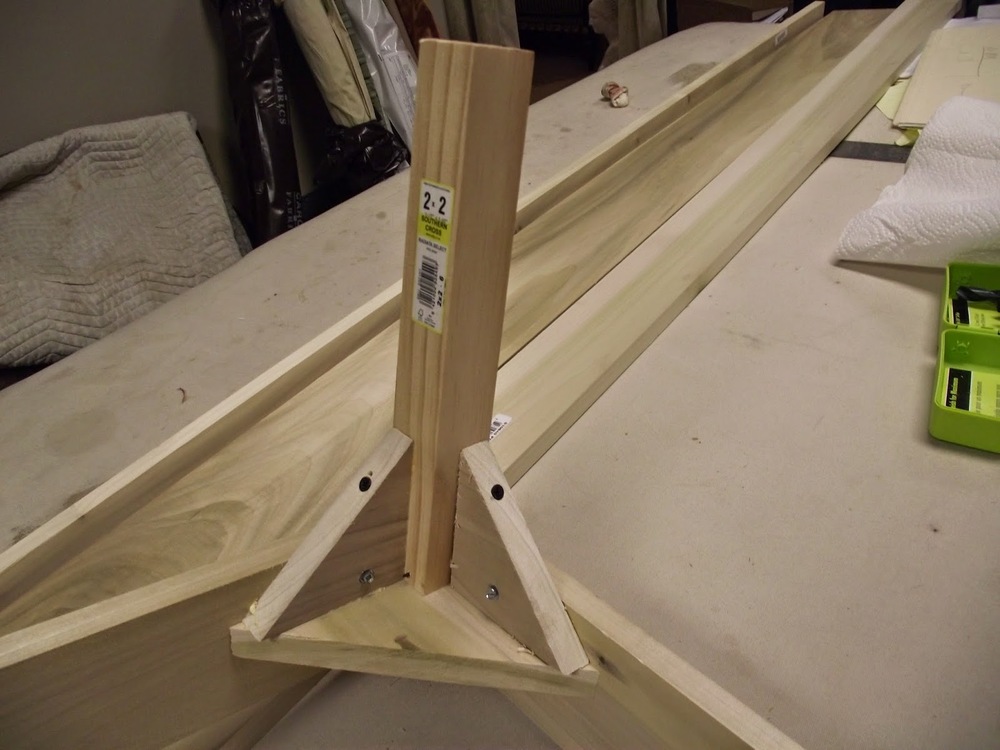
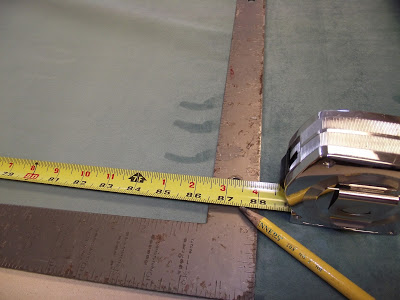
Step 3
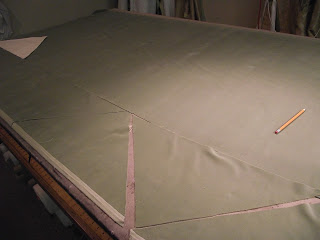
Total the measurements of the room where wooden strips need to be attached. You can use furring strips or lath strips. Both seemed to get a little expensive for me so I bought 2x10" wood and cut it down to strips 1/2" x 1 1/2" wide. I used a miter box, on site to cut them to the lengths I needed.
Step 4
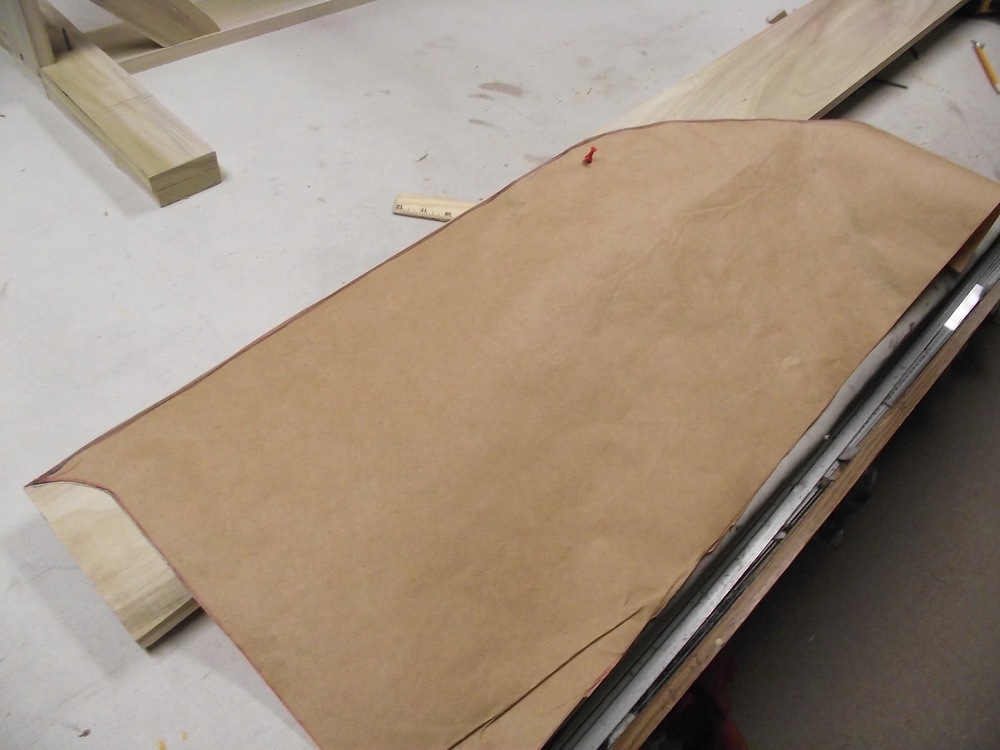
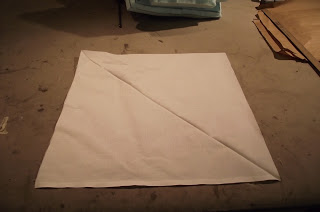
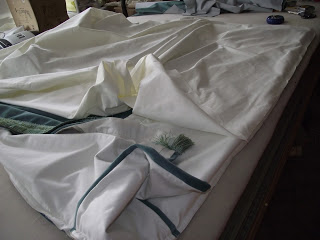
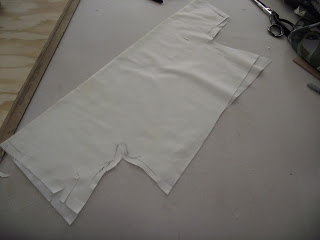
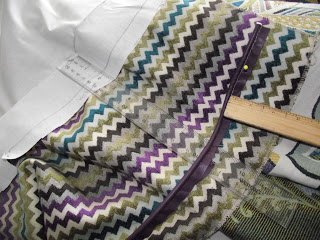
Using the measurements from your drawings cut the fabric to the length you need plus 4". This will give you 2" of trim top and bottom.
Using your elevation drawings and measurements cut the fabric for the first wall.
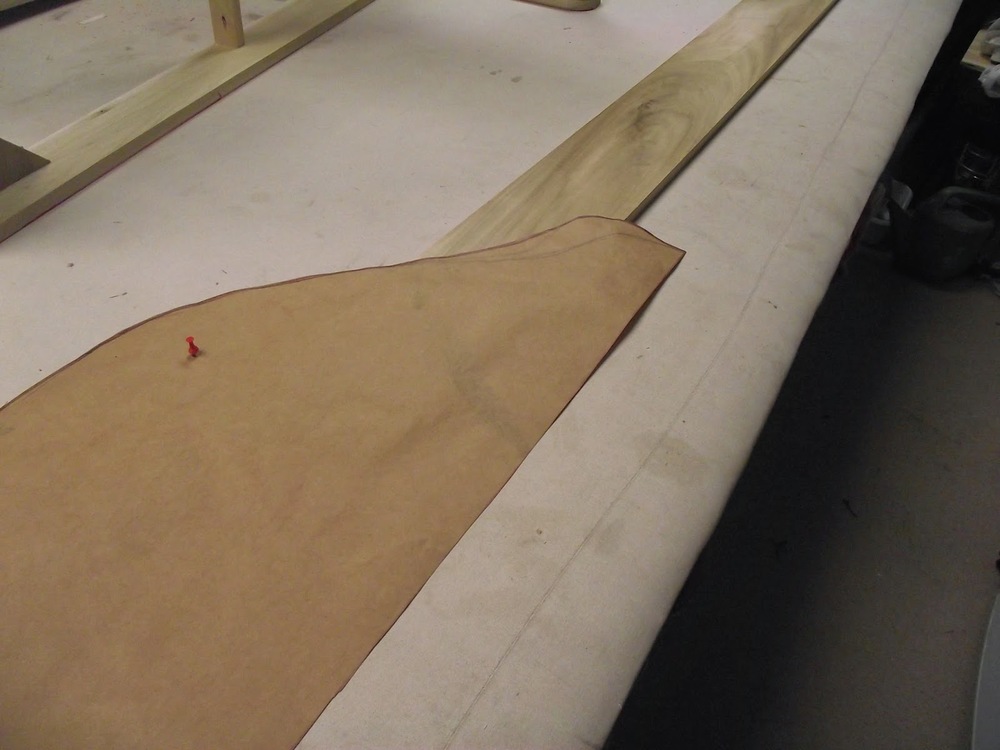
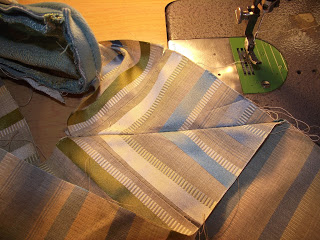
I started with the most important wall. The one with two windows and where the bed will go. Because I didn't want a seam down the middle of the wall I started in the middle and cut one full length( floor to ceiling +4". Then following my elevation plan cut a strip of fabric full length again. From that strip I cut a strip wide enough to reach from the left side of the full width to the edge of the window+ 1" (1/2" seam allowance for each side)
I then cut another strip the same width for the other side of the full panel. Each strip was sewn with a small stitch to each side fo the 54"width.
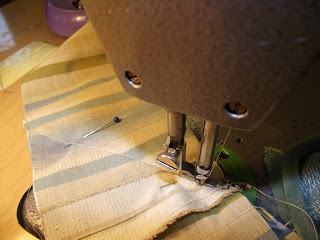
Next cut a piece the width of the window plus 1" (1/2" seam allowance on each side) and 4" longer than the distance from the ceiling to the top of the window.
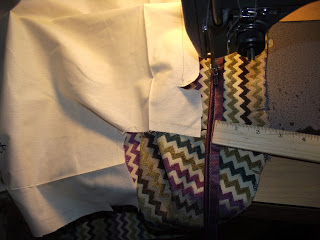
Always mark the top of each piece as you cut it. make sure to keep the top edges of the fabric aligned as you sew. You must use a very small stitch so seams not only hold but so that when you trim the fabric at seams, the seams don't unravel.
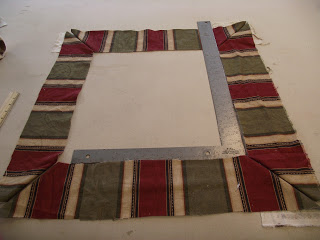
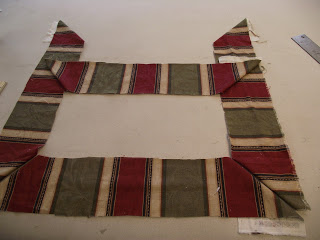
Repeat this process for the area below the window. Attach the pieces on the left side of the piece and do the same on the right side of the piece.
Cut your last strip the width of the space from the left edge of the window to the corner plus about 4". You need to allow extra to help in attaching the fabric in the corner. Stitch that strip to the left edge of the top and bottom piece. Besure to align the top edge of the "top" strip and sew from the top toward the middle. Align the bottom edges of the bottom strip sand thelong strip and again sew toward the middle.
Repeat the process to go around the right hand window.
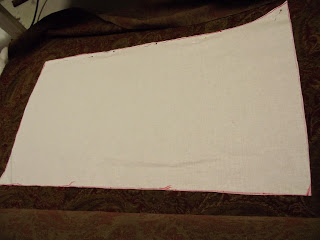
Fold this wall of fabric and mark the back clearly in several places with the letter corresponding with the wall in your elevation drawing.
Stitch together or cut as necessary the fabric for each elevation and clearly mark the back in several places with the corresponding letter.<br>
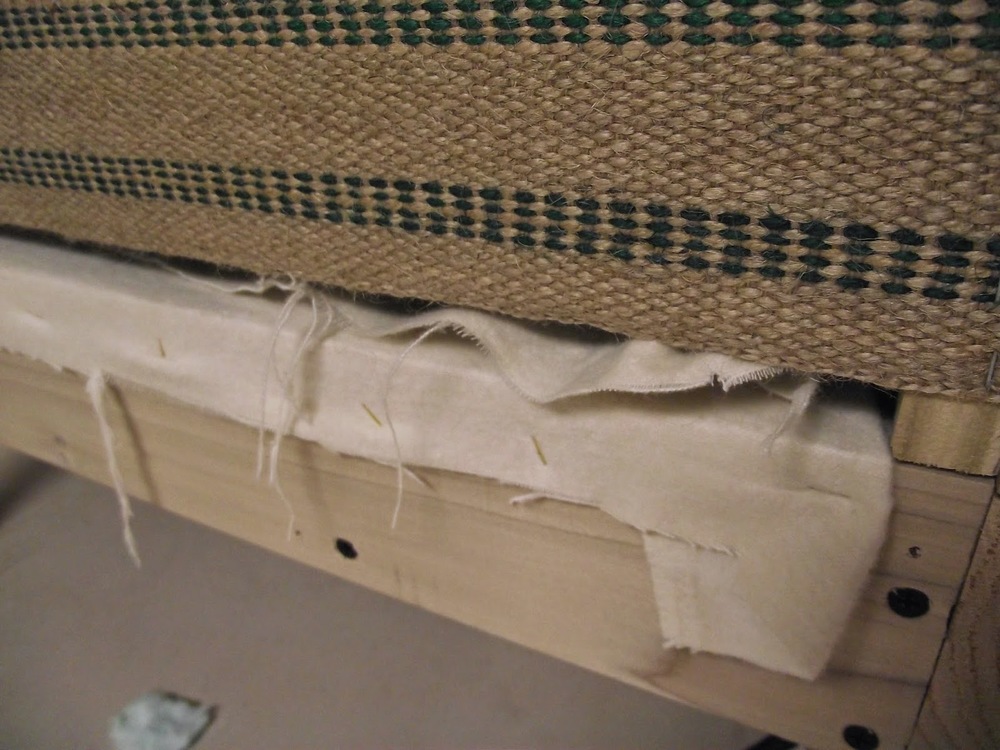
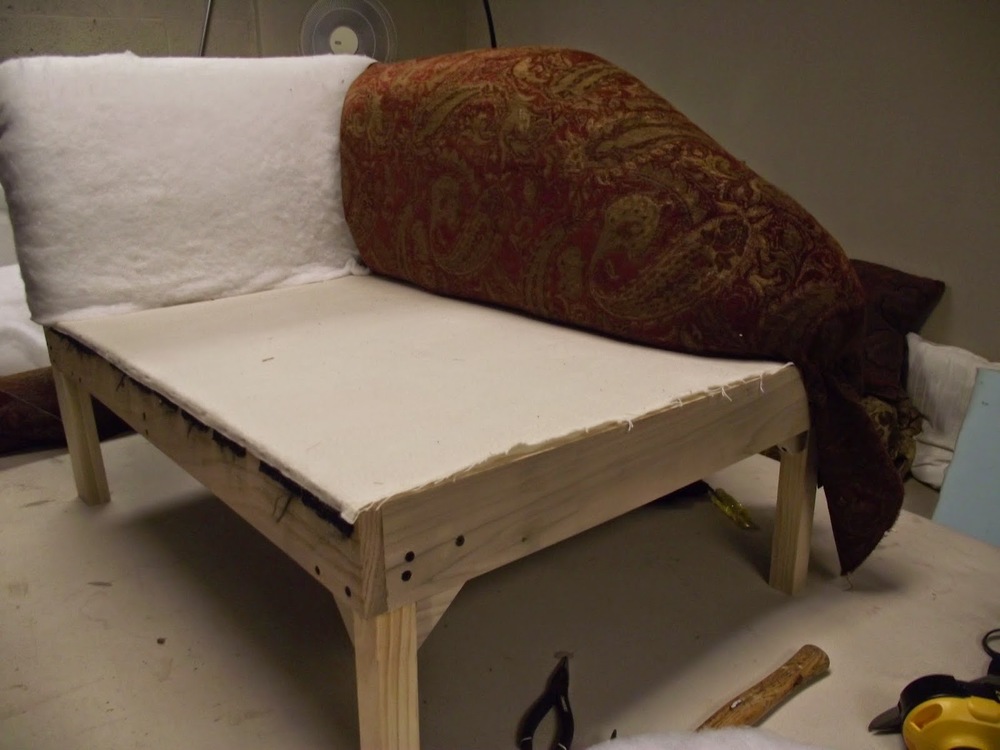
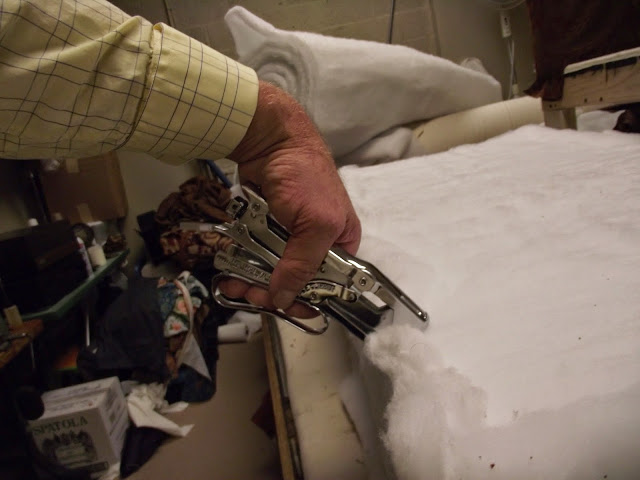
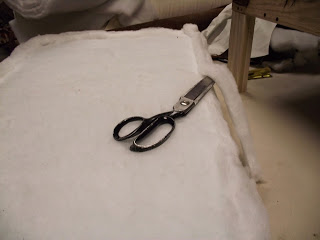
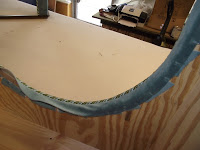
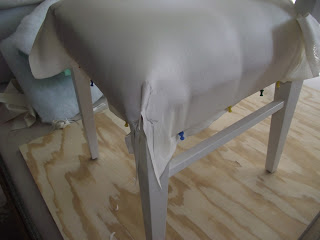
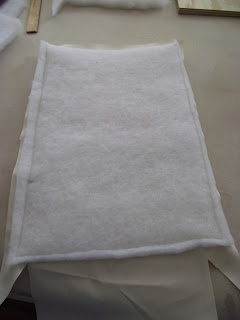
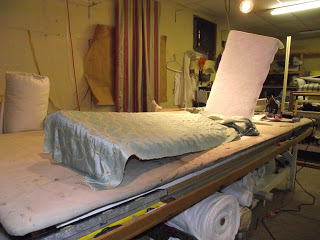
 Step 5. If you are truly upholstering the walls use 1" polyester fiber furniture batting. It comes in a roll about 70" wide. The furniture batting is much more stable and dense than quilting batting and less likely to pull loose from the wall. The last thing you want when the job is done is to have the batt pull loose from the wall under your fabric.
While you can glue it to the wall if you decide to go back to painted or papered walls it will make a disaster of your wall surfaces.
I prefer to staple it. Besure your staple is deep enough to not pull out easily. Start at the top and staple the batting to but against the fabric staple strip. Do not staple it to the strip this will cause an un sightlylumpy effect when the fabric is stapled. Supporting the weight with your free hand, staple it about 6" appart accross the top. Then coming down spot staple it in the midsections. Use enough staples so that it is evenly attached to the wall. When you are confident it is smooth and firmly attached trim the bottom to but against the bottom nailing strip. The batting will be thicker than the staple strips which will give your walls a soft padded look when the fabric is stretched over the batting.<br>

Step 6
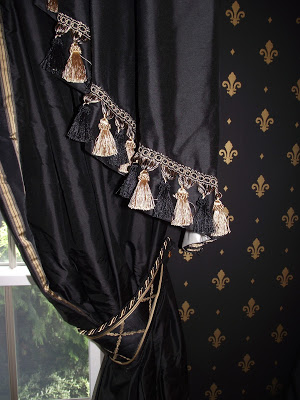
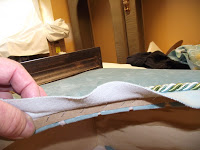
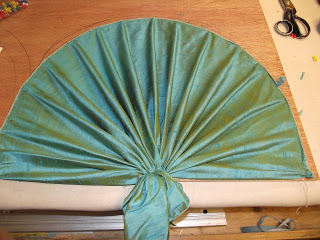
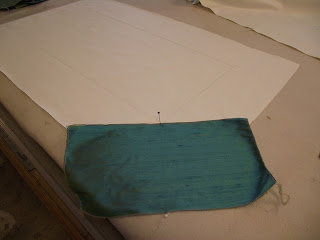
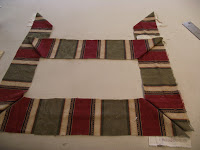
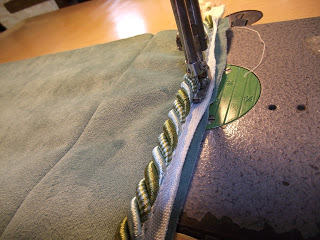
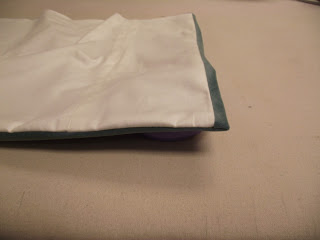
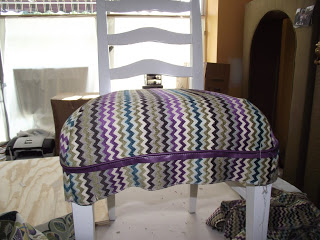
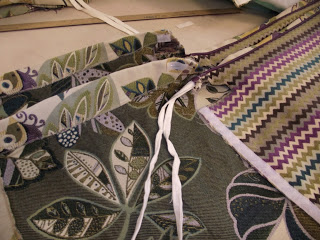
Make Miles of double welt.
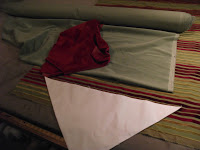
You can make your double welt out of the same fabric as the walls or out of a contrasting fabric.
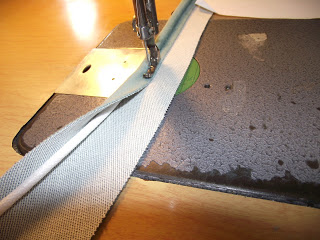
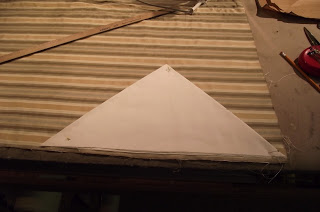
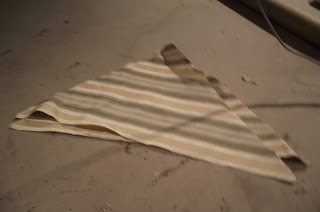
Cut the fabric on the bias in 3" wide strips to cover 1/4" furniture type cording.
Cover the first cord as you would normally, with 1/2" of selvage beyond the seam.
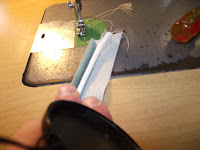
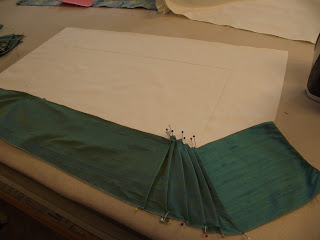
Lay the next cord to the right of the covered cord on top of the 1/2" selvedge.
Holding both cords together roll them over encasing the second cord with the wider selvedge and exposing the stitch from encasing the first cord.
Change the zipper foot to the regular straight stitch foot and carefully stitch on top of the first stitch to encase the second cord. Remember as you stitch to keep the fabric snug around the second cord. The double welt is done because a normal 1/4" cord would not be thick enough to cover the edges. While using a larger cord might cover it would also protrude further from the wall and be more likely to get caught on something and pulled loose.
<br>
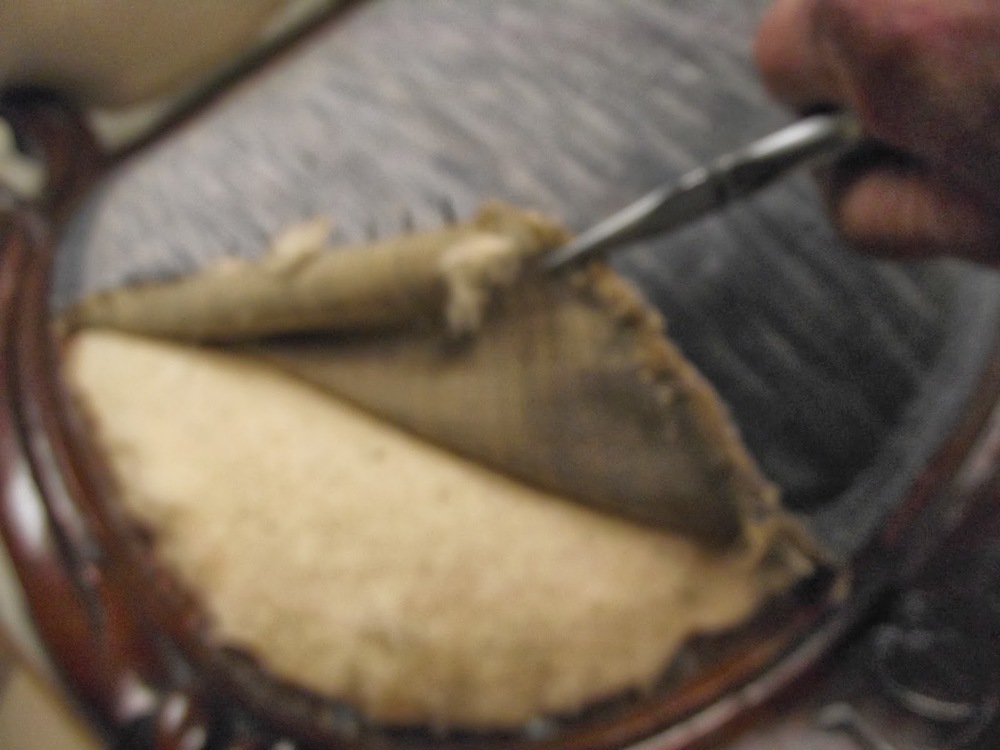
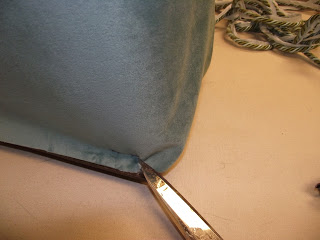
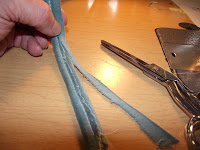
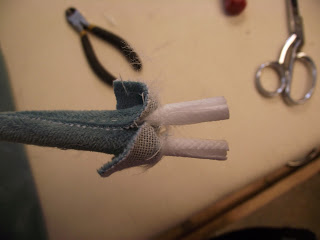
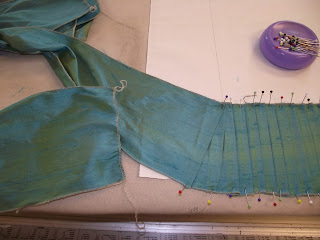
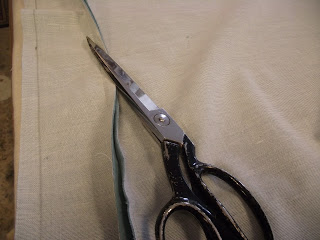
When all the double welt is sewn you must trim the selvedge leaving no more than 1/4"beyond the middle seam. Be careful not to get so close to the seam as to cause it to come loose. To save time I pinned the cord to my table, instead of cutting the selvedge I used my shears to "shave" it off in 3' sections.<BR>

Referring to your drawings and reference numbers find the fabric planned for the first wall.
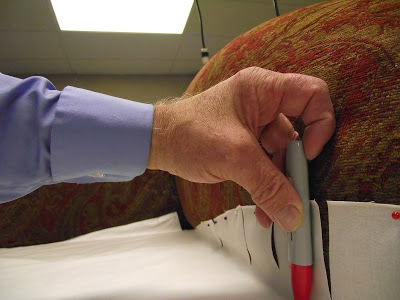
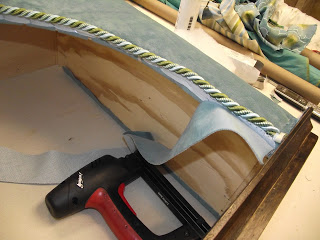
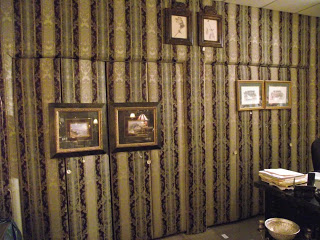
Starting at the top of the corner staple the fabric to the wooden strip. Allow about 2" of the fabric to lap around the corner.
Be careful to keep your staples as tight to the corner as possible and to maintain the 2" selvedge consistently. Staple the fabric every 3 or 4 inches top to bottom.<br>
Return to the top of the fabric and turn 1/2" selvedge under as you staple as close to the ceiling as possible. Be sure the fabric is pulled taunt as you staple.
Staple until you reach the first seam. Measure from that seam to the corner. Now go to the bottom strip. Measure the same distance and mark the wooden strip. Pull the fabric taunt across the bottom and down from the top and tack the seam at the measured mark.
Now go back to the corner and staple the bottom of the fabric every 3 or 4" keeping the fabric taunt top to bottom as you go. Staple as close to the top of the baseboard as possible without missing your wooden strip. Let the selvedge hang over the baseboard until all fabric is installed.
You may well find that although the fabric is attached the same distance from the corner top and bottom that the seam is not straight and belly's back in the middle.
When you get to the next vertical strip on the wall you will stretch the fabric to correct the seam so that it runs straight top to bottom.<br>
 >br>
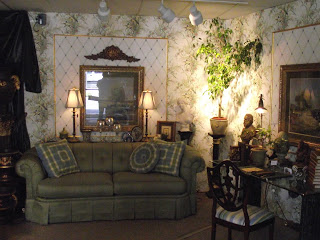
>br>
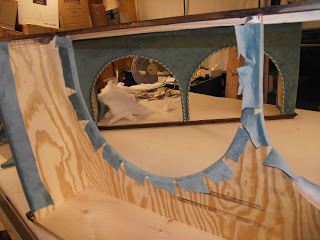
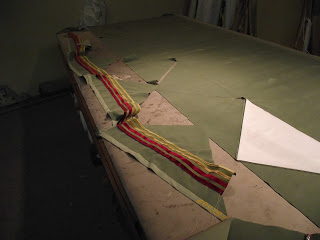
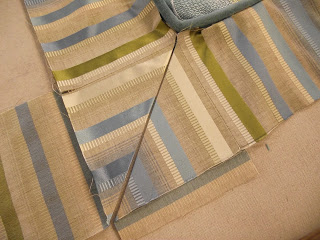
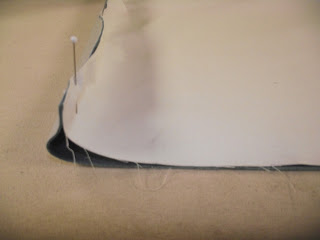
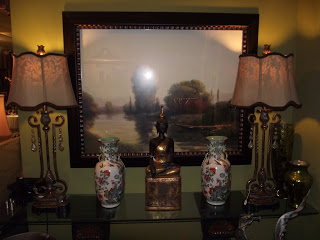
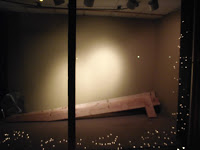
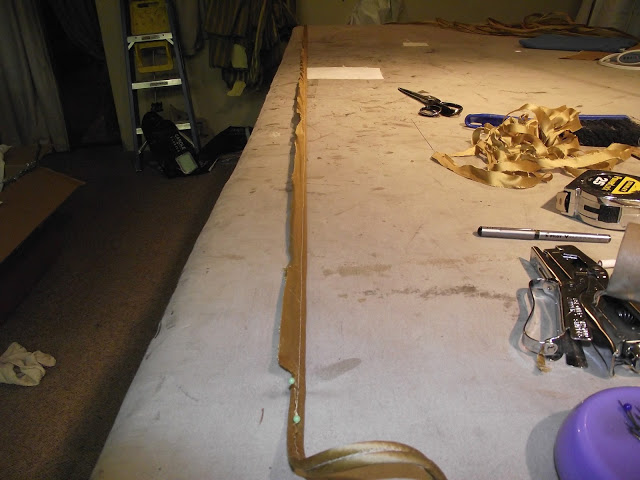
Above you can see the fabric has been stapled in the corner, across the ceiling top and the top of the door. It is being stretched taunt and stapled around the the edge of the mantle. As you approach sharp angles it is necessary to pull the fabric into corners and cut relief cuts on an angle to allow the fabric to be attached tight and smoothly.
Do not trim any selvages until all fabric in the room is attached and looks good. It is possible to carefully pull out staples and make adjustments as you go.<br>
 CORNERS
When you get to the first corner pull the fabric taunt and staple into the wood keeping the same amount of selvedge (around 4" all the way ceiling to floor.
Cut the selvedge down to about 2"
To start the next wall align the next fabric pattern with the strip just attached.
Starting at the top and working down surface staple the fabric about every 3" until reaching the bottom. Leave the selvedge until later.
Follow the same procedure stretching and stapling the fabric to strips.
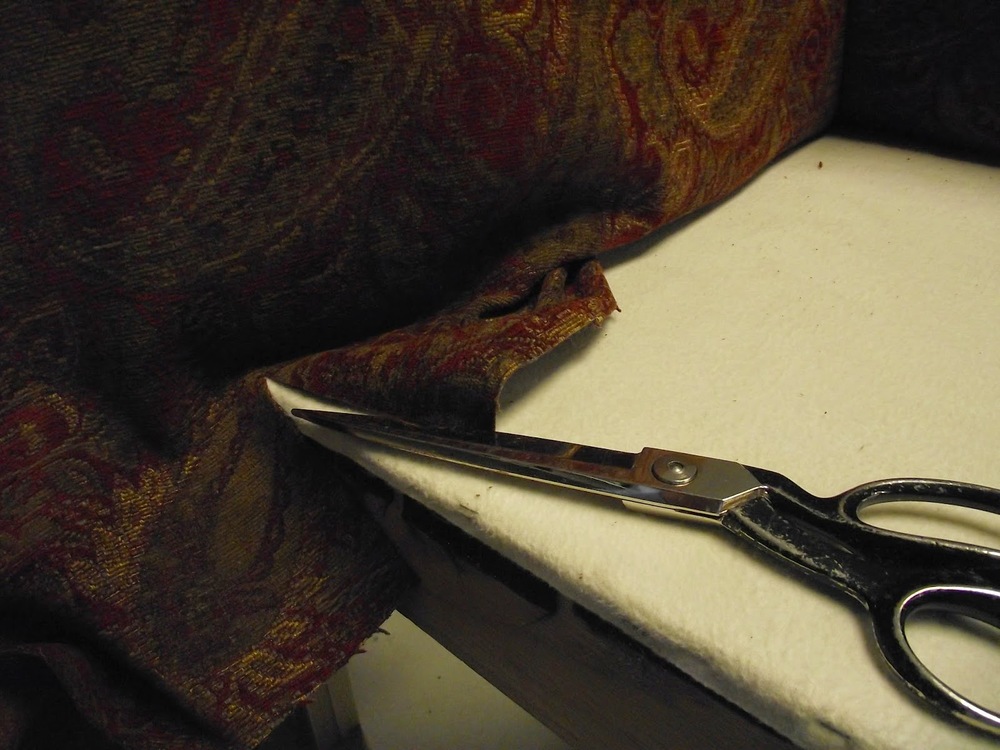
When all the fabric is stapled in place use a single edge razor blade to trim off excess selvedge.
In corners to cut the edge down to 1/4" be especially careful not to cut through and damage the good fabric.
At baseboards and around windows, doors, mantels etc trim to the edge of the wood work.
FINISH WITH DOUBLE WELT.
With stapler, straight pins and "tacky" glue at hand start the double welt in a top corner. Staple on the seam and 1/4" down from the ceiling. This will hold the welt in place while you glue the rest. Glue about 24" of the back of the double welt with tacky glue. Be careful not to get the glue on the fabric surface. Put the glued cord in place and pin at the end of the glued portion. Glue another 24" and continue until at the bottom.
When you reach the bottom put a staple on the seam of the double welt to hold in place. Bend welt around corner and staple again. Continue gluing procedure as before. Welt each wall separately. When you reach the starting point glue the welt and fit it into the 1/4" space left on the double welt when you started. The starting point welt should but tightly against the welt you are gluing. When you are satisfied with the joining use a new razor blade to cut the finish welt. and pin in place.
OUTLETS AND LIGHT SWITCHES
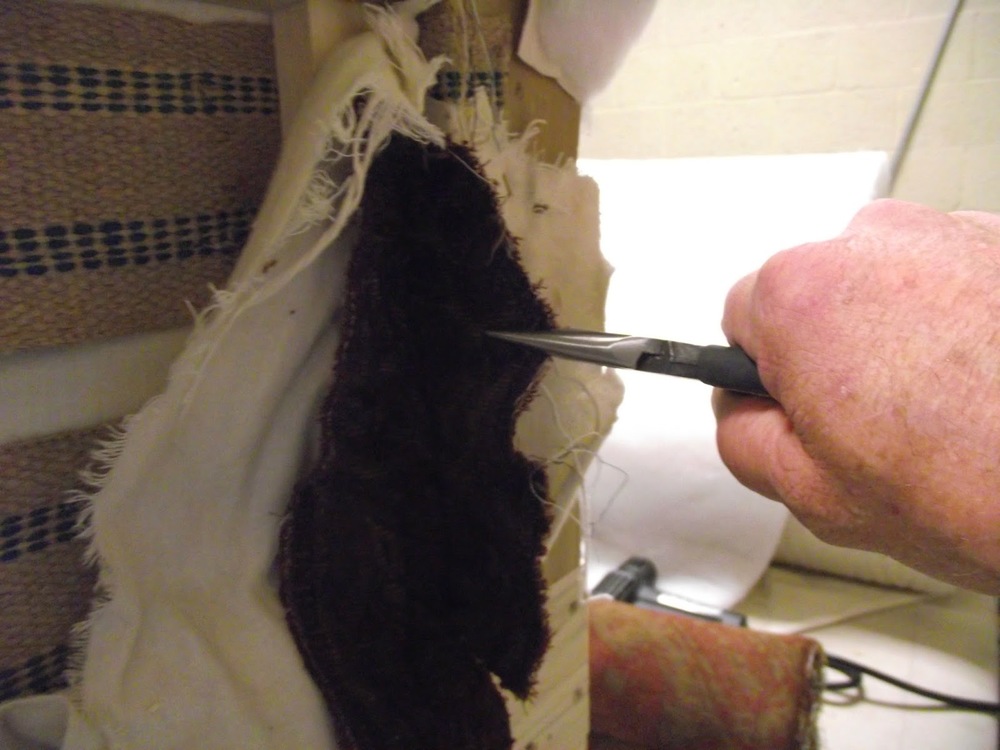
All covers should be removed before starting. After fabric is stretched and stapled be very careful to find the switches and outlets. Carefully use a fresh sharp blade to cut a small opening near the middle of the outlet or switch. You can use needle nose pliers to pull the fabric out from the receptacle. Trim the fabric to allow the surface to be exposed. Cut smaller rather than large. When you release the fabric from the pliers it will pull back some. You may cover the outlet with the fabric or paint it the background color and screw it in place.
When gluing the double welt be sure to cover staples. Any staples that are too far into the wall surface to cover should be re-stapled first closer to the edge and then removed.
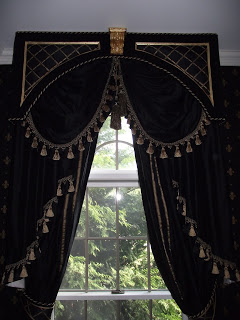
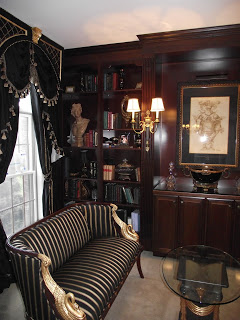
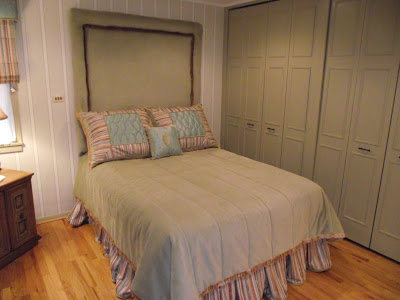
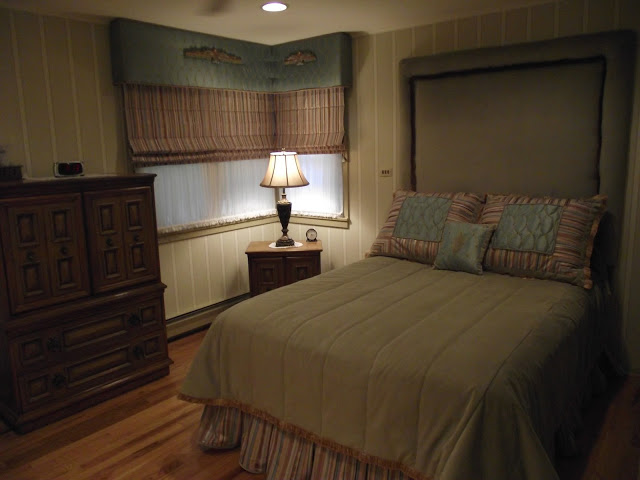
SIT BACK AND ADMIRE YOUR LUXURIOUS FINISHED ROOM.


<BR>
I hope you have found this to be helpful. I am happy to answer any questions you may have.
Bill Gantt
On a visit with my clients we were looking at both fabric and wallpaper samples. None of the wallpaper samples were exciting. <br>
My client noticed a fabric and commented it was a shame the fabric couldn't be put on the walls.The fabric was a beautiful woven stripe. I said that fabric can be installed like wallpaper and that we would use it for that purpose. I also lived to regret my next comment. Having been a professionally trained paperhanger many years back I had hung fabric on walls and said, "If we cannot find someone to hang it I will do it myself."
I quoted the job. Quote accepted I placed orders and contcted two paperhangers. They were both given fabric samples to test. One said it should be paperbacked. The other said he couldn't do it. I tried a sample on the wall at the shop and thought I could hang it. Long story short. I couldn't./
So now I have walls and I have fabric. I suggested to my client that I can attach it to the walls as if they are upholstered.
They agreed.
This was not the first I had upholsterd a wall. I also did a music room with upholstery to soften the sounds.<br>
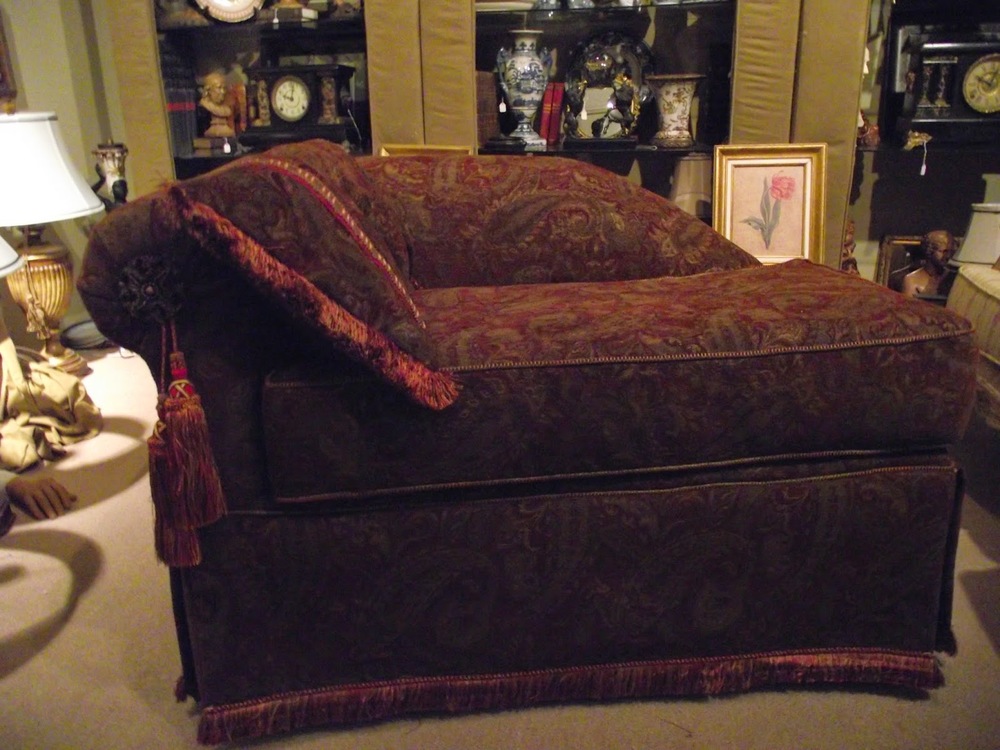
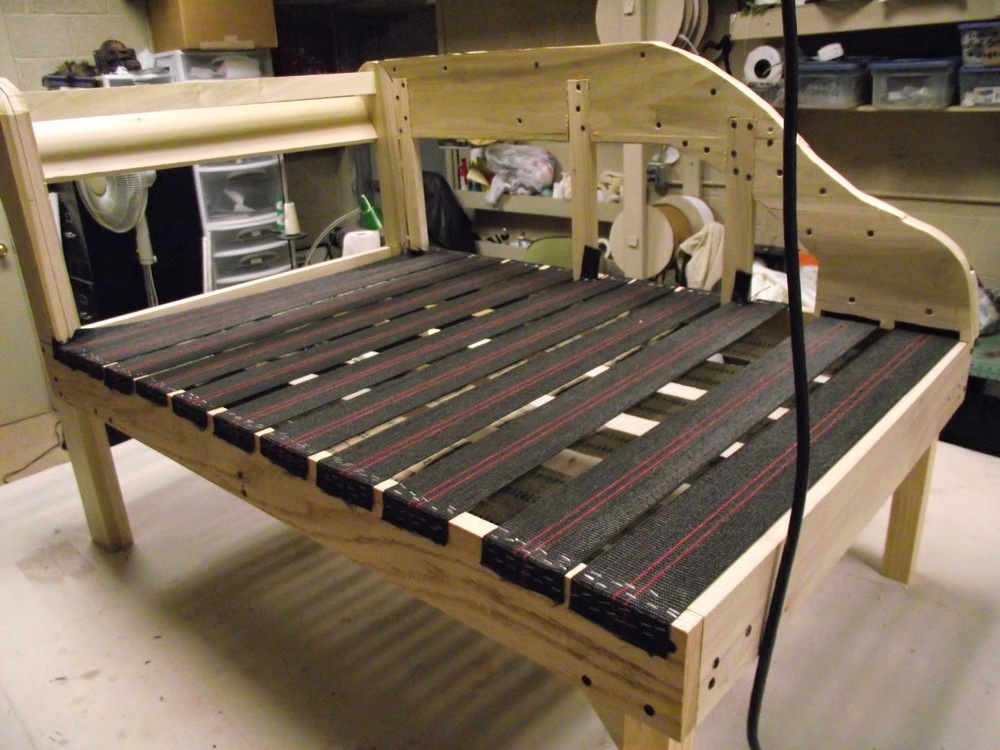
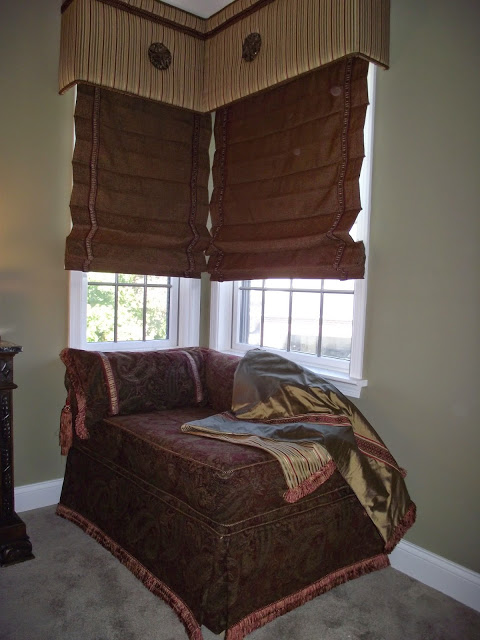
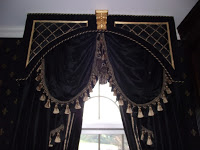
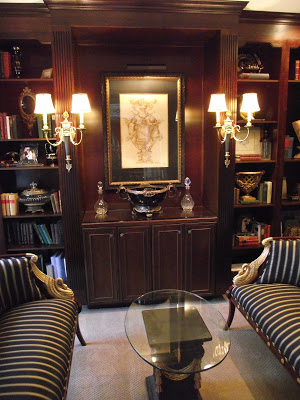
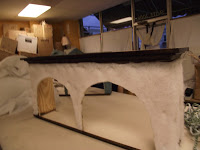
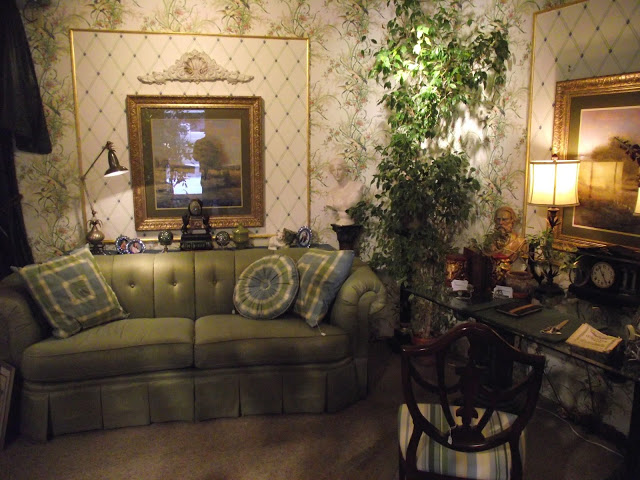
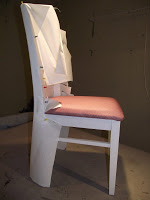
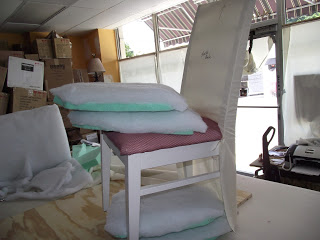
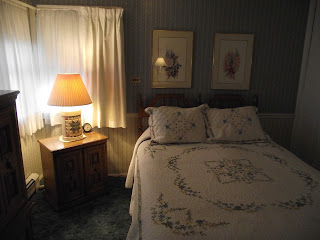
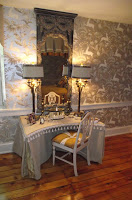
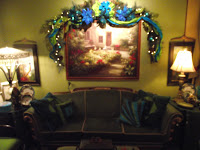
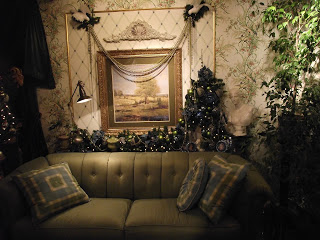
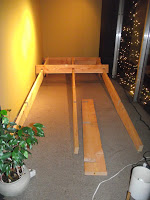
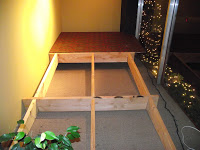
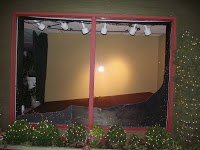
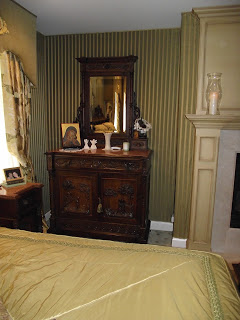
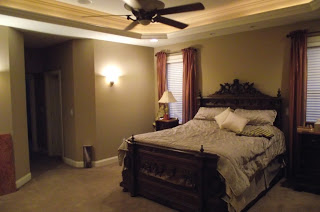 |
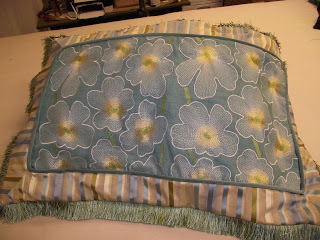
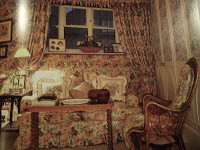
| Before Picture of Room<br> |
Measure all walls and do a set of elevation drawings showing all windows, doors ect.
On the drawings show ceiling height
space from corner to window or door,width of the window and the space above and below the window. Show the total width of the wall.
It is good to draw the outline of the room as if looking down at it, showing the shape of the room.
Label every flat space or wall in the room and mark it with a letter or number.
Be sure you have an accurate elevation drawing for each and label it to correspond with the space it represents on the outline drawing.
Step 2
Using your ACCURATE drawings determine how much fabric you need. Most fabrics are 54" wide. Determine where you want the seams of the fabric to fall and mark them on your outline drawing.
I like to plan to not have a seam on a focal area of a wall. For example above the bed I centered a 54" width over the headboard and worked out toward the ends of the walls.
If the fabric is plain or a stripe you can plan to put a seam at the edge of each window. This allows you to save fabric by sewing a short piece above the window and another short piece below the window.<br>
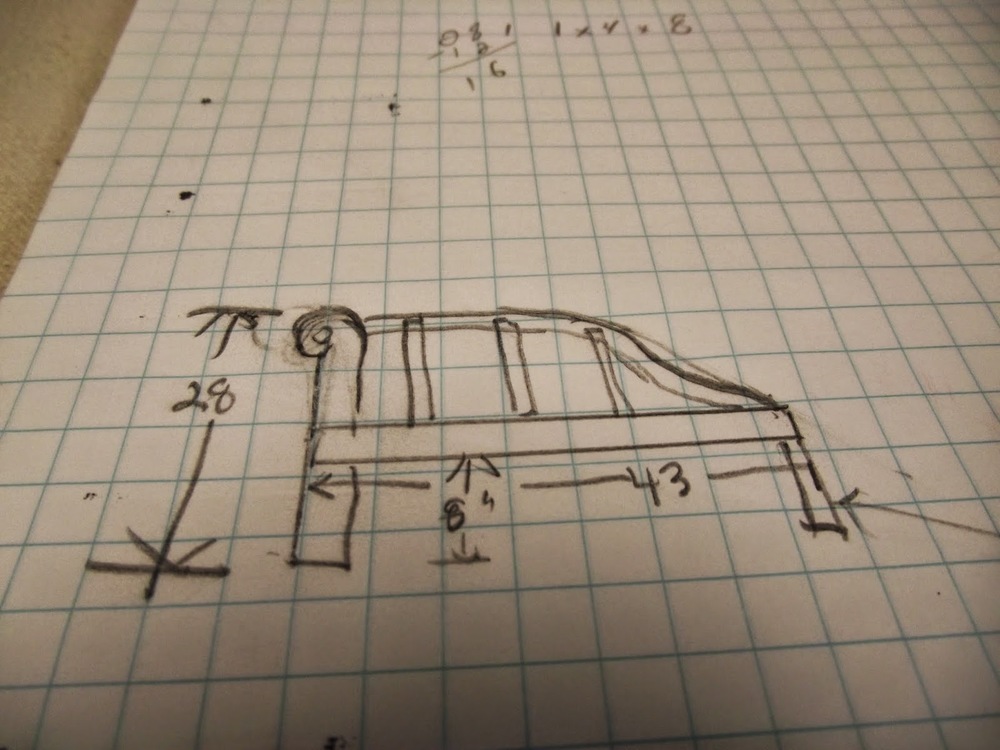
 |
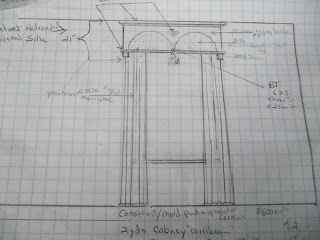
| Outline Drawing of the Shape of the room with door window and wall measurements shown. Also reference letters to elevation drawings for each wall<br> |
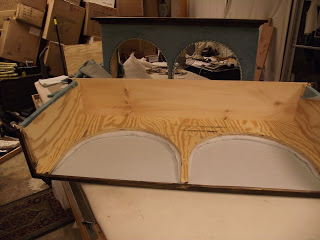
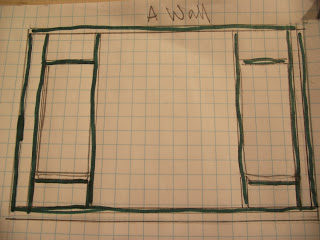 |
| Elevation of Bed Wall. Green showing where strips are attached <br> |
Ceiling to floor
Top of window to ceiling
Bottom of window to floor
Space between windows
Space outside edge of window to corner on both sides.
The Green lines on the elevstion show where wood strips need to be attached to the walls.<br>
Step 3
Total the measurements of the room where wooden strips need to be attached. You can use furring strips or lath strips. Both seemed to get a little expensive for me so I bought 2x10" wood and cut it down to strips 1/2" x 1 1/2" wide. I used a miter box, on site to cut them to the lengths I needed.
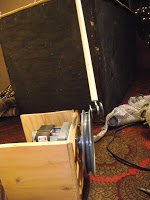
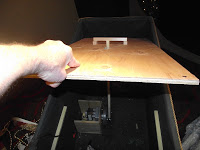
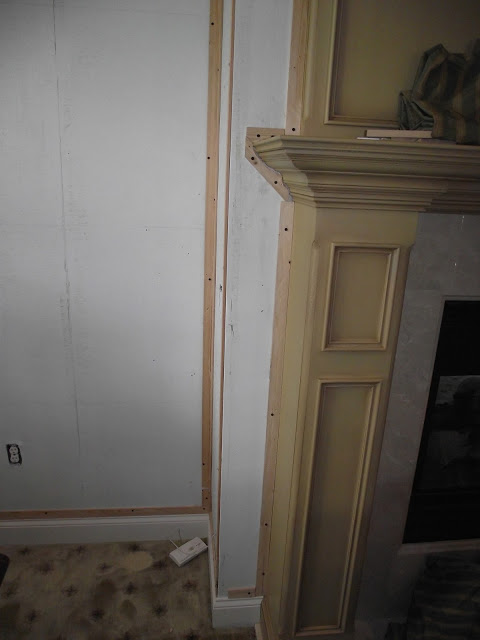 |
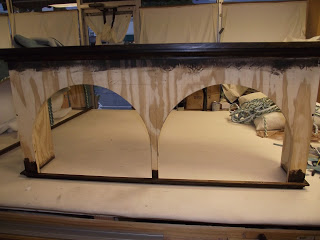
| Wood strips attached with drywall screws |
Using the measurements from your drawings cut the fabric to the length you need plus 4". This will give you 2" of trim top and bottom.
Using your elevation drawings and measurements cut the fabric for the first wall.
I started with the most important wall. The one with two windows and where the bed will go. Because I didn't want a seam down the middle of the wall I started in the middle and cut one full length( floor to ceiling +4". Then following my elevation plan cut a strip of fabric full length again. From that strip I cut a strip wide enough to reach from the left side of the full width to the edge of the window+ 1" (1/2" seam allowance for each side)
I then cut another strip the same width for the other side of the full panel. Each strip was sewn with a small stitch to each side fo the 54"width.
Next cut a piece the width of the window plus 1" (1/2" seam allowance on each side) and 4" longer than the distance from the ceiling to the top of the window.
Always mark the top of each piece as you cut it. make sure to keep the top edges of the fabric aligned as you sew. You must use a very small stitch so seams not only hold but so that when you trim the fabric at seams, the seams don't unravel.
Repeat this process for the area below the window. Attach the pieces on the left side of the piece and do the same on the right side of the piece.
Cut your last strip the width of the space from the left edge of the window to the corner plus about 4". You need to allow extra to help in attaching the fabric in the corner. Stitch that strip to the left edge of the top and bottom piece. Besure to align the top edge of the "top" strip and sew from the top toward the middle. Align the bottom edges of the bottom strip sand thelong strip and again sew toward the middle.
Repeat the process to go around the right hand window.
Fold this wall of fabric and mark the back clearly in several places with the letter corresponding with the wall in your elevation drawing.
Stitch together or cut as necessary the fabric for each elevation and clearly mark the back in several places with the corresponding letter.<br>
While you can glue it to the wall if you decide to go back to painted or papered walls it will make a disaster of your wall surfaces.
I prefer to staple it. Besure your staple is deep enough to not pull out easily. Start at the top and staple the batting to but against the fabric staple strip. Do not staple it to the strip this will cause an un sightlylumpy effect when the fabric is stapled. Supporting the weight with your free hand, staple it about 6" appart accross the top. Then coming down spot staple it in the midsections. Use enough staples so that it is evenly attached to the wall. When you are confident it is smooth and firmly attached trim the bottom to but against the bottom nailing strip. The batting will be thicker than the staple strips which will give your walls a soft padded look when the fabric is stretched over the batting.<br>
Step 6
Make Miles of double welt.
You can make your double welt out of the same fabric as the walls or out of a contrasting fabric.
Cut the fabric on the bias in 3" wide strips to cover 1/4" furniture type cording.
Cover the first cord as you would normally, with 1/2" of selvage beyond the seam.
Lay the next cord to the right of the covered cord on top of the 1/2" selvedge.
Holding both cords together roll them over encasing the second cord with the wider selvedge and exposing the stitch from encasing the first cord.
Change the zipper foot to the regular straight stitch foot and carefully stitch on top of the first stitch to encase the second cord. Remember as you stitch to keep the fabric snug around the second cord. The double welt is done because a normal 1/4" cord would not be thick enough to cover the edges. While using a larger cord might cover it would also protrude further from the wall and be more likely to get caught on something and pulled loose.
<br>
When all the double welt is sewn you must trim the selvedge leaving no more than 1/4"beyond the middle seam. Be careful not to get so close to the seam as to cause it to come loose. To save time I pinned the cord to my table, instead of cutting the selvedge I used my shears to "shave" it off in 3' sections.<BR>
Referring to your drawings and reference numbers find the fabric planned for the first wall.
Starting at the top of the corner staple the fabric to the wooden strip. Allow about 2" of the fabric to lap around the corner.
Be careful to keep your staples as tight to the corner as possible and to maintain the 2" selvedge consistently. Staple the fabric every 3 or 4 inches top to bottom.<br>
Return to the top of the fabric and turn 1/2" selvedge under as you staple as close to the ceiling as possible. Be sure the fabric is pulled taunt as you staple.
Staple until you reach the first seam. Measure from that seam to the corner. Now go to the bottom strip. Measure the same distance and mark the wooden strip. Pull the fabric taunt across the bottom and down from the top and tack the seam at the measured mark.
Now go back to the corner and staple the bottom of the fabric every 3 or 4" keeping the fabric taunt top to bottom as you go. Staple as close to the top of the baseboard as possible without missing your wooden strip. Let the selvedge hang over the baseboard until all fabric is installed.
You may well find that although the fabric is attached the same distance from the corner top and bottom that the seam is not straight and belly's back in the middle.
When you get to the next vertical strip on the wall you will stretch the fabric to correct the seam so that it runs straight top to bottom.<br>
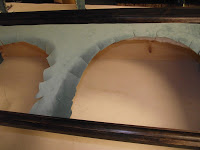
Above you can see the fabric has been stapled in the corner, across the ceiling top and the top of the door. It is being stretched taunt and stapled around the the edge of the mantle. As you approach sharp angles it is necessary to pull the fabric into corners and cut relief cuts on an angle to allow the fabric to be attached tight and smoothly.
When you get to the first corner pull the fabric taunt and staple into the wood keeping the same amount of selvedge (around 4" all the way ceiling to floor.
Cut the selvedge down to about 2"
To start the next wall align the next fabric pattern with the strip just attached.
Starting at the top and working down surface staple the fabric about every 3" until reaching the bottom. Leave the selvedge until later.
Follow the same procedure stretching and stapling the fabric to strips.
When all the fabric is stapled in place use a single edge razor blade to trim off excess selvedge.
In corners to cut the edge down to 1/4" be especially careful not to cut through and damage the good fabric.
At baseboards and around windows, doors, mantels etc trim to the edge of the wood work.
FINISH WITH DOUBLE WELT.
With stapler, straight pins and "tacky" glue at hand start the double welt in a top corner. Staple on the seam and 1/4" down from the ceiling. This will hold the welt in place while you glue the rest. Glue about 24" of the back of the double welt with tacky glue. Be careful not to get the glue on the fabric surface. Put the glued cord in place and pin at the end of the glued portion. Glue another 24" and continue until at the bottom.
When you reach the bottom put a staple on the seam of the double welt to hold in place. Bend welt around corner and staple again. Continue gluing procedure as before. Welt each wall separately. When you reach the starting point glue the welt and fit it into the 1/4" space left on the double welt when you started. The starting point welt should but tightly against the welt you are gluing. When you are satisfied with the joining use a new razor blade to cut the finish welt. and pin in place.
OUTLETS AND LIGHT SWITCHES
All covers should be removed before starting. After fabric is stretched and stapled be very careful to find the switches and outlets. Carefully use a fresh sharp blade to cut a small opening near the middle of the outlet or switch. You can use needle nose pliers to pull the fabric out from the receptacle. Trim the fabric to allow the surface to be exposed. Cut smaller rather than large. When you release the fabric from the pliers it will pull back some. You may cover the outlet with the fabric or paint it the background color and screw it in place.
When gluing the double welt be sure to cover staples. Any staples that are too far into the wall surface to cover should be re-stapled first closer to the edge and then removed.
SIT BACK AND ADMIRE YOUR LUXURIOUS FINISHED ROOM.
<BR>
I hope you have found this to be helpful. I am happy to answer any questions you may have.
Bill Gantt