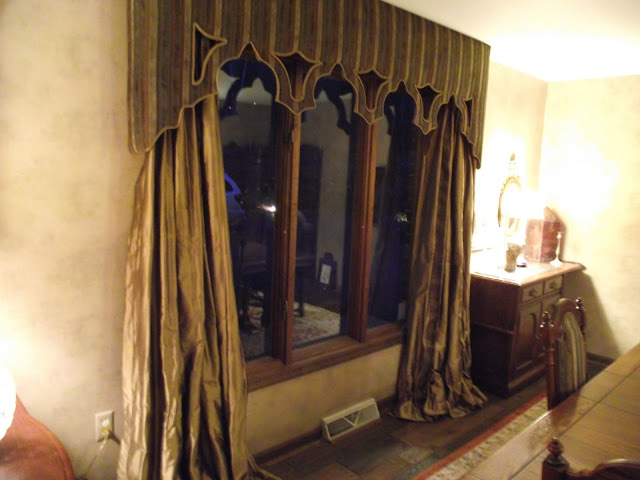
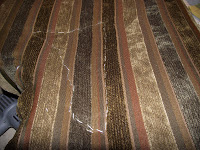
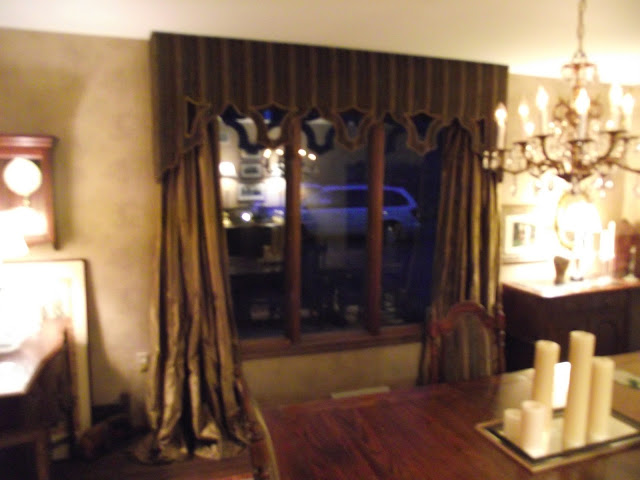
We came to the conclusion that her dining room would be the biggest problem when it came to resale. The wallpaper was busy and very dated. The large window in the room had, in my opinion a window treatment that was made up of two types of treatments that did not belong on one window. Eventually my client agreed we should change it. I learned that when the house was built she had wanted it to have an English
Tudor theme. Unable to find an appropriate tapestry fabric, we settled on a chenille stripe fabric.
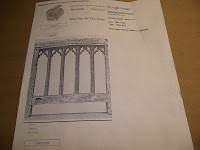 |
| Design for a Tudor Window |
no coverings, tapestry or simple drapes on poles and rings. I also
found this design for a window. Using it as inspiration I presented
My client with two designs to choose from.
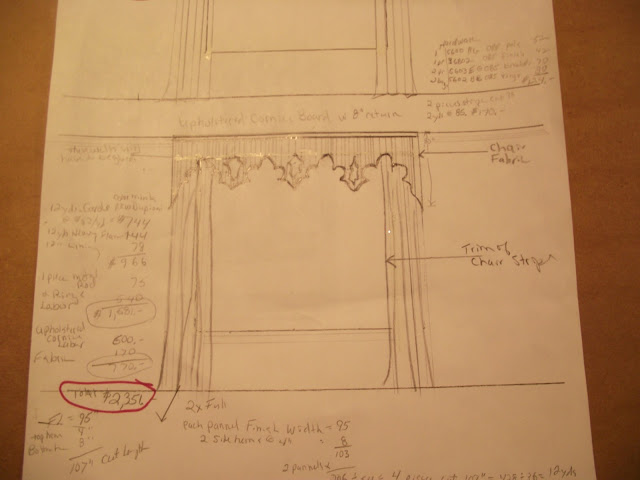 |
| Design for a Tudor styled window treatment |

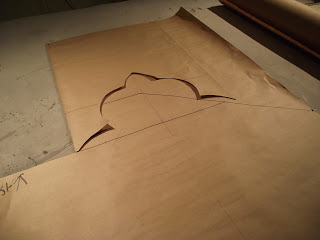
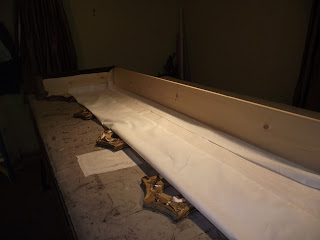
On the pattern paper, I first establish the perimeters of the design.
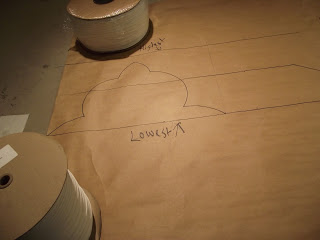 |
| Cording spools |
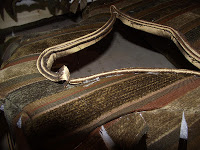
Once I know the upper and lower limits, I fold
the paper in half and start to draw the design. It is necessary of course to decide how many elements
will be in the design and determine their size. The combination of elements must end up being the width I need. Then using cording spool edges as circle guides I create the first pattern element.
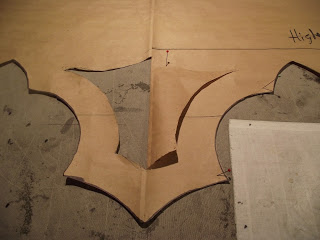
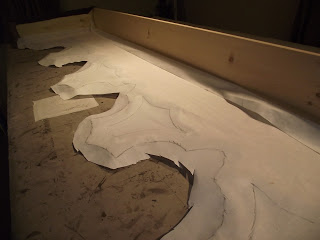
 The bottom line of one element is cut and the paper is folded and the first is traced and the next element is cut.
 The elements on each outside end are modified to make the cornice have a more graceful overall shape.
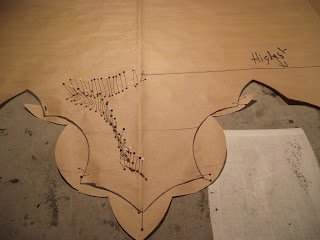
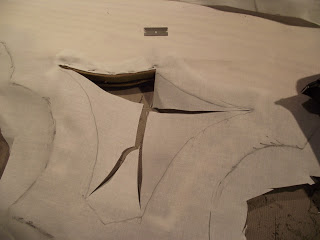
Once the bottom of the pattern is cut the cutout parts must be measured and marked. Straight pins were inserted ever 1/4 inch or so to establish the line of the cut out. Only the left half was done.
After the left half is cut out it is folded over the right side, traced and the balance cut out.
This was then used as the pattern for the balance of the cut outs.
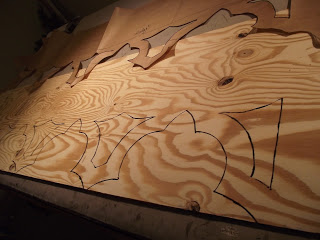
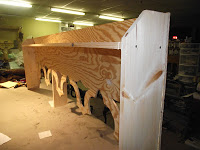
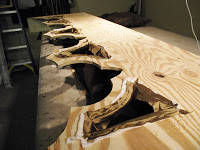
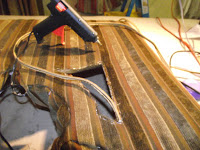
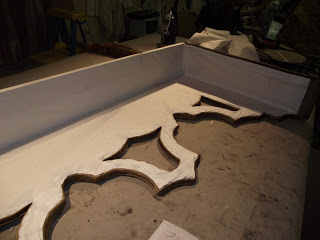
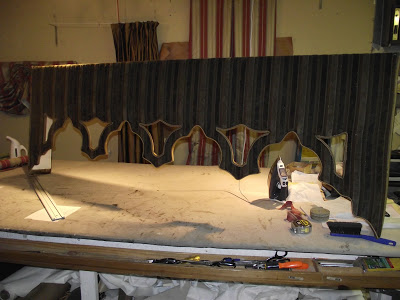
The paper pattern completed, it was taped onto plyboard, and traced with a medium width marker.
Using the marker is faster and cleaner than pencils.
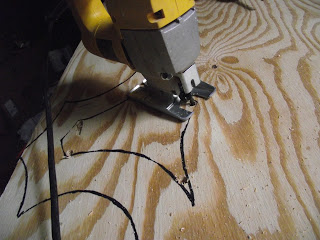
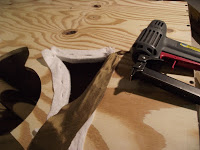
When cutting you just have to remember to cut on the inside edge of the line (in other words, when you cut the part you are going to use will not have any black marker on it.)
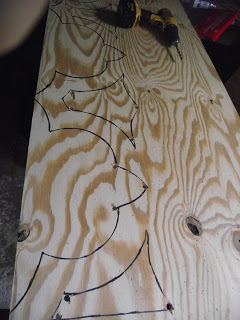
Strategically drilled holes allow the sabre saw to make clean turns on sharp angles.
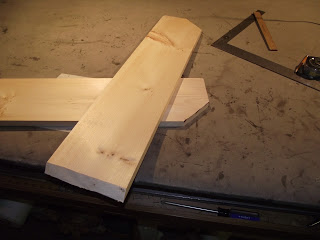 |
| Top of end pieces are cut to accommodate crown molding |
 |
| End pieces anr glued and screwed to the front |
 |
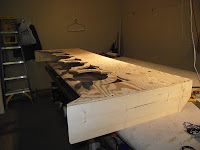
| Top board is glued and screwed low enough to clear the bottom of the crown molding |
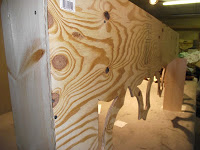
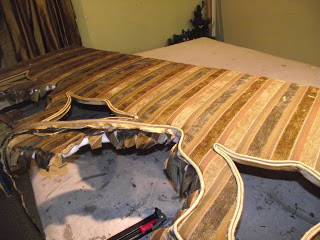
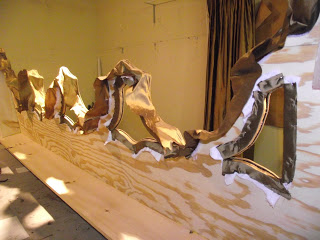
As you can see from the progressive construction pictures in almost all cases I like my window treatment tops to cover crown moldings. It makes the room look taller to interrupt the horizontal lines of the crown.
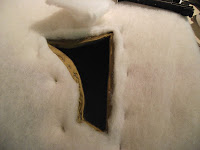
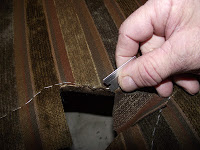
Because I try to make each design unique, when I present the sketch I do not know how it will be made. After the client makes his/her selection I must then figure out how to make it. This design incorporated several cut out patterns. The shape the cut out would prevent me from stapling welt, stripping and fabric on the edges as is normally done. My solution was to staple pieces of flannel over the thickness, stretching it into the inaccessible corners. Silk was then stapled over the flannel.
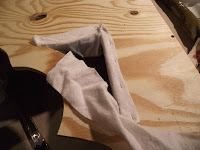 |
| Flannel pads inside of cut outs |
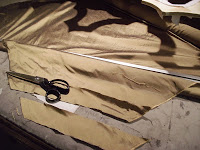 |
| Silk strips are cut on the bias to cover inside of cut outs |
 |
| Silk is stapled over flannel Each plain is covered with a separate strip of fabric. Ends are turned under and pulled tight into corners |
 |
| All inside cut outs covered. |
 |
| Batting is cut away from cut outs |
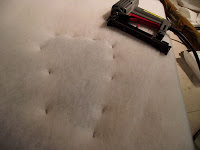 |
| Batting is stapled about 1/4 from the edge of the cut outs |
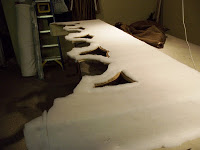 |
| cornice covered with furniture bat |
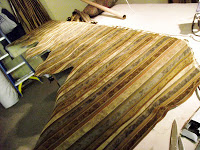 |
| Fabric is stapled and stretched horizontally over the cornice. It is then cut roughly into shape. The top was stapled, bottom drawn taunt and stapled into the thickness of the ply board. |
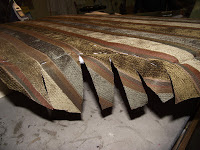 |
| Relief cuts are are made so that the fabric can be stretched evenly around edges. |
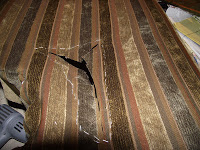 |
| Using a razor blade, start at each inside edge of the cut out in to the center |
 |
| Fabric is stapled as close to the edges of cut outs as possible |
 |
| Cut about 1/2" of cord out of the ends of the double welt. Fold the ends of the welt over for a clean start. Start on inside corner and carefully glue on covering staples. |
 |
| Changing blades often, closely trim the fabric being careful not to cut the silk. |
 |
| Cord being cut for start. |
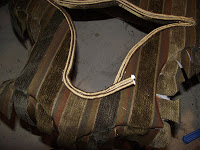 |
| Double welt ready to be finished |
 |
| cording ready to be finished |
      |
 |
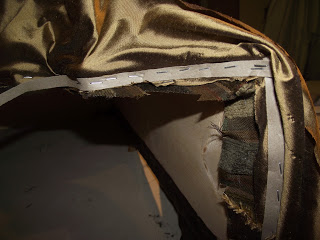
With cut outs complete and the bottom stapled, the single welt is stapled along the edge. Excess fabric is cut off around the bottom.
Next bias cut silk is ( face side toward the face of the cornice) stapled on top of the cording selvage. Now cardboard stripping is stapled tight against the inside edge of the cording.
Pleat in about 1" extra silk at each sharp angle.
Now pull the silk over the stripping and down to the other side of the cornice. Before stapling check to be sure the edge created by the striping is neat and out far enough. If it is not it is not necessary to remove the striping. Just staple a piece on top of the problem area correcting it.. Pull the silk down so it is smooth on the thickness of the ply board and staple it. It will be necessary to make many relief cuts to get a smooth finish as you go.
Cut off any excess silk that interferes with the cut outs.
To line the cornice board, measure the total width and length(including cut outs). Add about 4" to each and cut. Staple the lining on one end of the board, stretching it tight staple it on the other end. Be sure to leave a couple extra inches at the top and bottom as shown. When this is done, hold the extra lining at the top on the top board and staple it tight into the corner. The staple will go into the "top" board.
Now pull the lining tight as you staple it every few inches about 1/4" from the bottom edge.
Start in the middle and work toward each end.
Using a pencil and your sense of feel mark the outermost edge of the bottom and cut outs as shown. Staple about 1/4" from the edge around all the cut outs. Like we did with the face fabric, it is necessary to do relief cuts with your single edge razor. Cut the lining at the bottom about every inch along the edge. Cut relief cuts from the inside of each angle of the cut outs to the middle.
With the single edge razor carefully cut the lining neatly to the edge as shown.
Cut pieces of lining 2 or 3" wider and longer than the end and top boards. Now fold edges down and staple as close into the corners as possible and around all outside edges. On the top board outside edge pull the lining around the edge and staple it on the top.
DONE!!!! . I hope you found this useful and will tell your friends. Please leave a message about your feelings. For a little social commentary and humor visit my other blogg Uncle Billy Thinks