 |
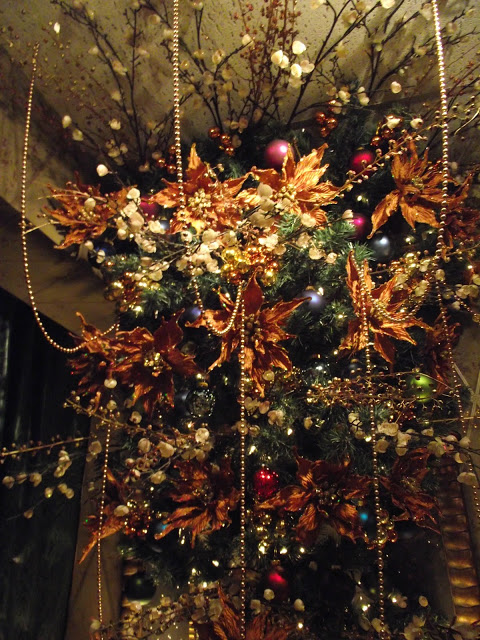
| A different take on beads on this upside down tree |
 |
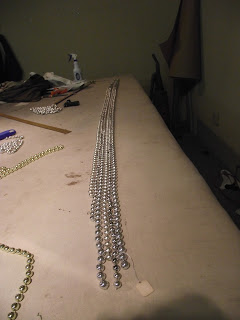
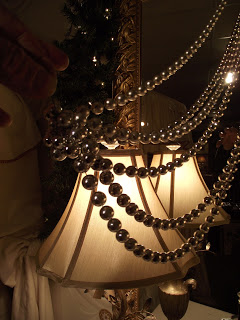
| Three strands of different sizes of beads hung together make a nice impact. |
Over the last 25 years I have experimented with different ways to use beads. I refuse to do Christmas without them. Beads are so versatile and when used in abundance provide a lot of sparkle.
They add a richness that is unparalleled.
About 5 or 6 years ago I came up with an idea that I think is hard to top. Instead of using one anemic looking little strand, I like to use four or five of different colors and sizes and knot them like pearls every eight inches or so. The following video shows how to do it.
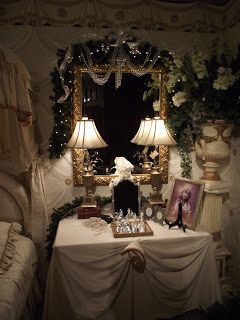
This is what knotting 3 sizes of gold and one copper beads look like on the the tree. Belissimo! I don't know if I spelled it right but I couldn't resist using it.
Other ways to use beads include: If you have skirted tables, pin them along the top edge of the table.
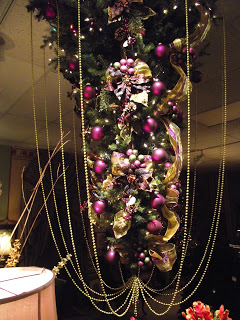
When your accessories are in place, randomly snake them around your table top. Use them in your Christmas center piece. Dribble them around the outside edge of your Dining Room Center piece.
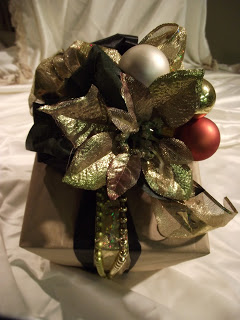
I often loop or swag them on the arms of chandeliers and hold them up with bows. I haven't done this. The idea just now came to me. Hot glue small beads around the edge of place mats! I incorporate them into gift wrap (see Gift wrap in black and gold-ganttsdecorating.com). The possibilities are limited only by your imagination.
 |
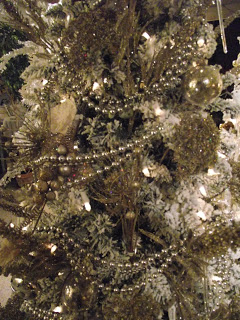
| A rare situation when just a few strands do the job |
 |
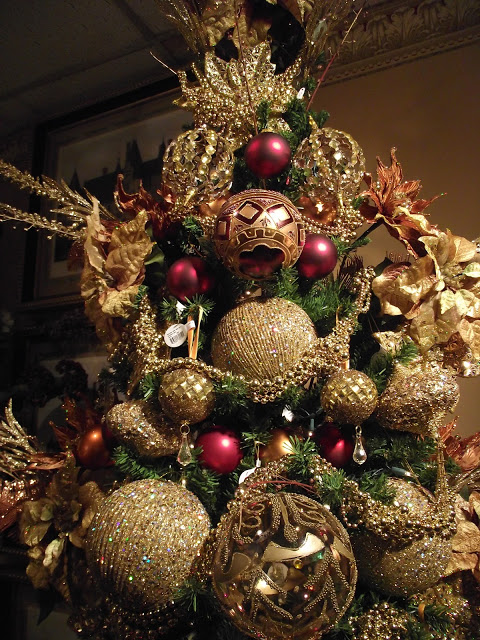
| Beads give a Bird Cage effect on this Upside down tree |
Another idea I came up with is a take off of the
knotting idea. Let m show it to you.
 |
| Beads cut successively shorter |
If you want your "knot and Swag" bead treatment to be perfect, you can hang two strings where the treatment is to go. One sting will go where the top strand will be and the other string will hang where the bottom strand will go. Measure both strings and cut one strand the length of the long one and one the length of the short one. Divide the difference in length between long and short
by the number of strands to be between the two. For example is you plan to use 6 strands total. There will be 4 strands between long and short. If the difference between long and short is 8", you will make the second longest 2" shorter than the longest and so on. Personally I like to work by site -fast and not so neat. I don't like math.
 |
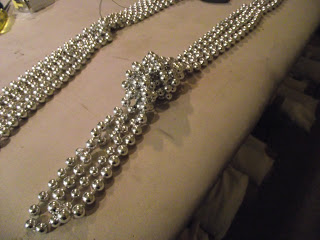
| Wire beads together in the center |
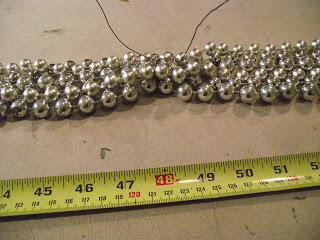
 Next cut 24" lengths (longer if you use really large beads, or you can make the knot first and then cut the beads. Cut half as many beads as in the ones wired together, but one of each size used.
Find the center of these beads and put a strand of pearls knot in them. You will have a 6 to 8" loop in the bottom- a knot - and beads coming out the top.
The knotted piece will now have as many strands showing as the side (swag strands). Florist wire the knot in place. Florist wire the top beads together.
Attach the knotted piece in the center of the "swag" strands.
You don't want the two sides of the swag beads to get mixed
so it is a good idea to temporarily wire the "swag "beads together
a few inches from the end of the shortest one.
 |
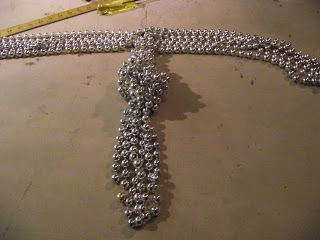
| Knotted center is attached while "swag beads are kept separated. |
Greenery is not necessary. You can attach the center to a picture hook. The greenery shown is attached to a picture hook and the center is attached to the same hook.
Once the center is attached, take the temporary wire off one side only.
 |
| Swag effect takes shape |
Wire the ends of the swag beads together one at a time. Start with the shortest. Wire it . Then wire it to the next longest and so on until the ends of one side are connected. Pull that side up where you want it and wire it. Do the same on the other side.
Be sure both sides are hung at the same height.
I f you're like me and don't like to measure now is the time to adjust the lengths of strands to even them up. Do the same procedure, but hold the swag beads where you want them and wire them one by one making each a little longer than the last.
Visually do the same to the other side making them match .
DONE!
If you liked this blog, let me know. Please leave a comment.
For more how to blogs go to ganttsdecorating.com.
Holiday Open House is Dec. 1 & 2 Everything in the shop is 1/2 off!!!!